mardi 3 septembre 2019

Background collage technique for Lindy's stamp gang

Hi Lindy’s lovers!

Valerie here and I’m back today with a special background collage technique, it’s very simple to create and adds lots of wonderful colors and textures on your background. You can use magazine pages or books, rice papers or any thin papers.

P1170299 (2)

First of all, choose your collage papers and 3-4 sprays which fit well with your color palette.

P1170282 (2)

As usual, I started with a thin coat of Clear Gesso over my paper.
After that, I used a stencil and Modeling Paste to create texture on my background.

P1170285 (2)

Then, I ripped pieces from my collage papers and I glued here and there on my background with 3d Gel Medium.

P1170286 (2) 

P1170287 (2)

When it’s dry, I covered the pieces with another coat of Clear Gesso.  I love the effect of the Moonshadow spray to create a dark effect. I used 5 colors on this watercolor background: Pegleg Pete Purple, Moonlit Mulberry, Phantom Fuchsia, Blazing Black, Witch’s Potion Purple.

P1170304 (2)

I added my sprays using brush and I added one color at a time, then I added water to create paler colors.

P1170288 (2) 

P1170289 (2)

Don’t forget to let your background dry after each color. You can use a heat gun too to hurry things up.

P1170292 (2) 

P1170293 (2)

Add photos and embellishments and my layout is finished.

P1170299 (2) 

P1170302 (2)

Lindy’s Products

Other Products
  • Maremi’s Small Art paper, stencil, die-cuts and phrase stickers, clear gesso, 3D gel
See you soon ladies!
Have a very nice day,
Lindys Blog Designer badge 2019 Valerie 2


dimanche 21 juillet 2019

Easy Layout for Beginners using Lindy’s Magical Shakers

Hi Lindy’s lovers!

Valerie here and I’m back today with a fabulous layout created with just 2 shakers! It’s a very very easy background. Perfect for the beginners. I used a watercolor paper for the best result because I used a lot of water with this technique.

P1170234 

I’m using Vicki Boutin watercolor card is very white compared to some of the other brands, so the colors really POP. First, I used modeling paste over a stencil.

P1170211 

Once dried, I sprinkled some Guten Tag Teal and Cathedral Pines Green over the page, but just over my modeling paste.

P1170212

Then, I added a lot of water with a sprayer to activate the powder.

P1170214 

P1170215 

Sponge the excess with a towel to have a clean surface at the center of the layout.

P1170216 

P1170217 

When it’s dry, use the shaker to create inks in a palette by mixing a little powder with water and use it to add some drops and splatters to the page with a brush.

P1170221

You can add 1-2 drips too.

P1170224

I used a white doily and some pieces of cheese cloth to put behind my photo.

P1170225

Then, I added some flowers, flair, and sequins to create a fabulous layout.

P1170236

Here are some close-ups of my finished layout.

P1170237 

P1170238 

P1170230

Lindy’s Products

See you soon ladies!
Have a very nice day,
Lindys Blog Designer badge 2019 Valerie 2


vendredi 14 juin 2019

You, perfectly perfect to me for Dusty Attic

Hi Dusty Attic fans! 
 This is my LAST post on Dusty Attic website :( 

Thank you so much Jennifer for this opportunity. I am very grateful and have had great moments among you during these years. Dusty is a beautiful family, a beautiful community. I love you very much. See you outside on the web xxxx 


 And some close ups


Materials used:

Dusty Attic Cogs & Gears
Dusty Attic Industrial border #3 
Dusty Attic Mini house keys 
Lindy's stamp gang Squirt
Finnabair wax
Finnabair golden nugget paste
13arts paper

 Follow me on my blog xx

http://leblogdevall04.blogspot.com/


mercredi 12 juin 2019

Stamping and painting background for Lindy's stamp gang


Hi Lindy’s lovers!
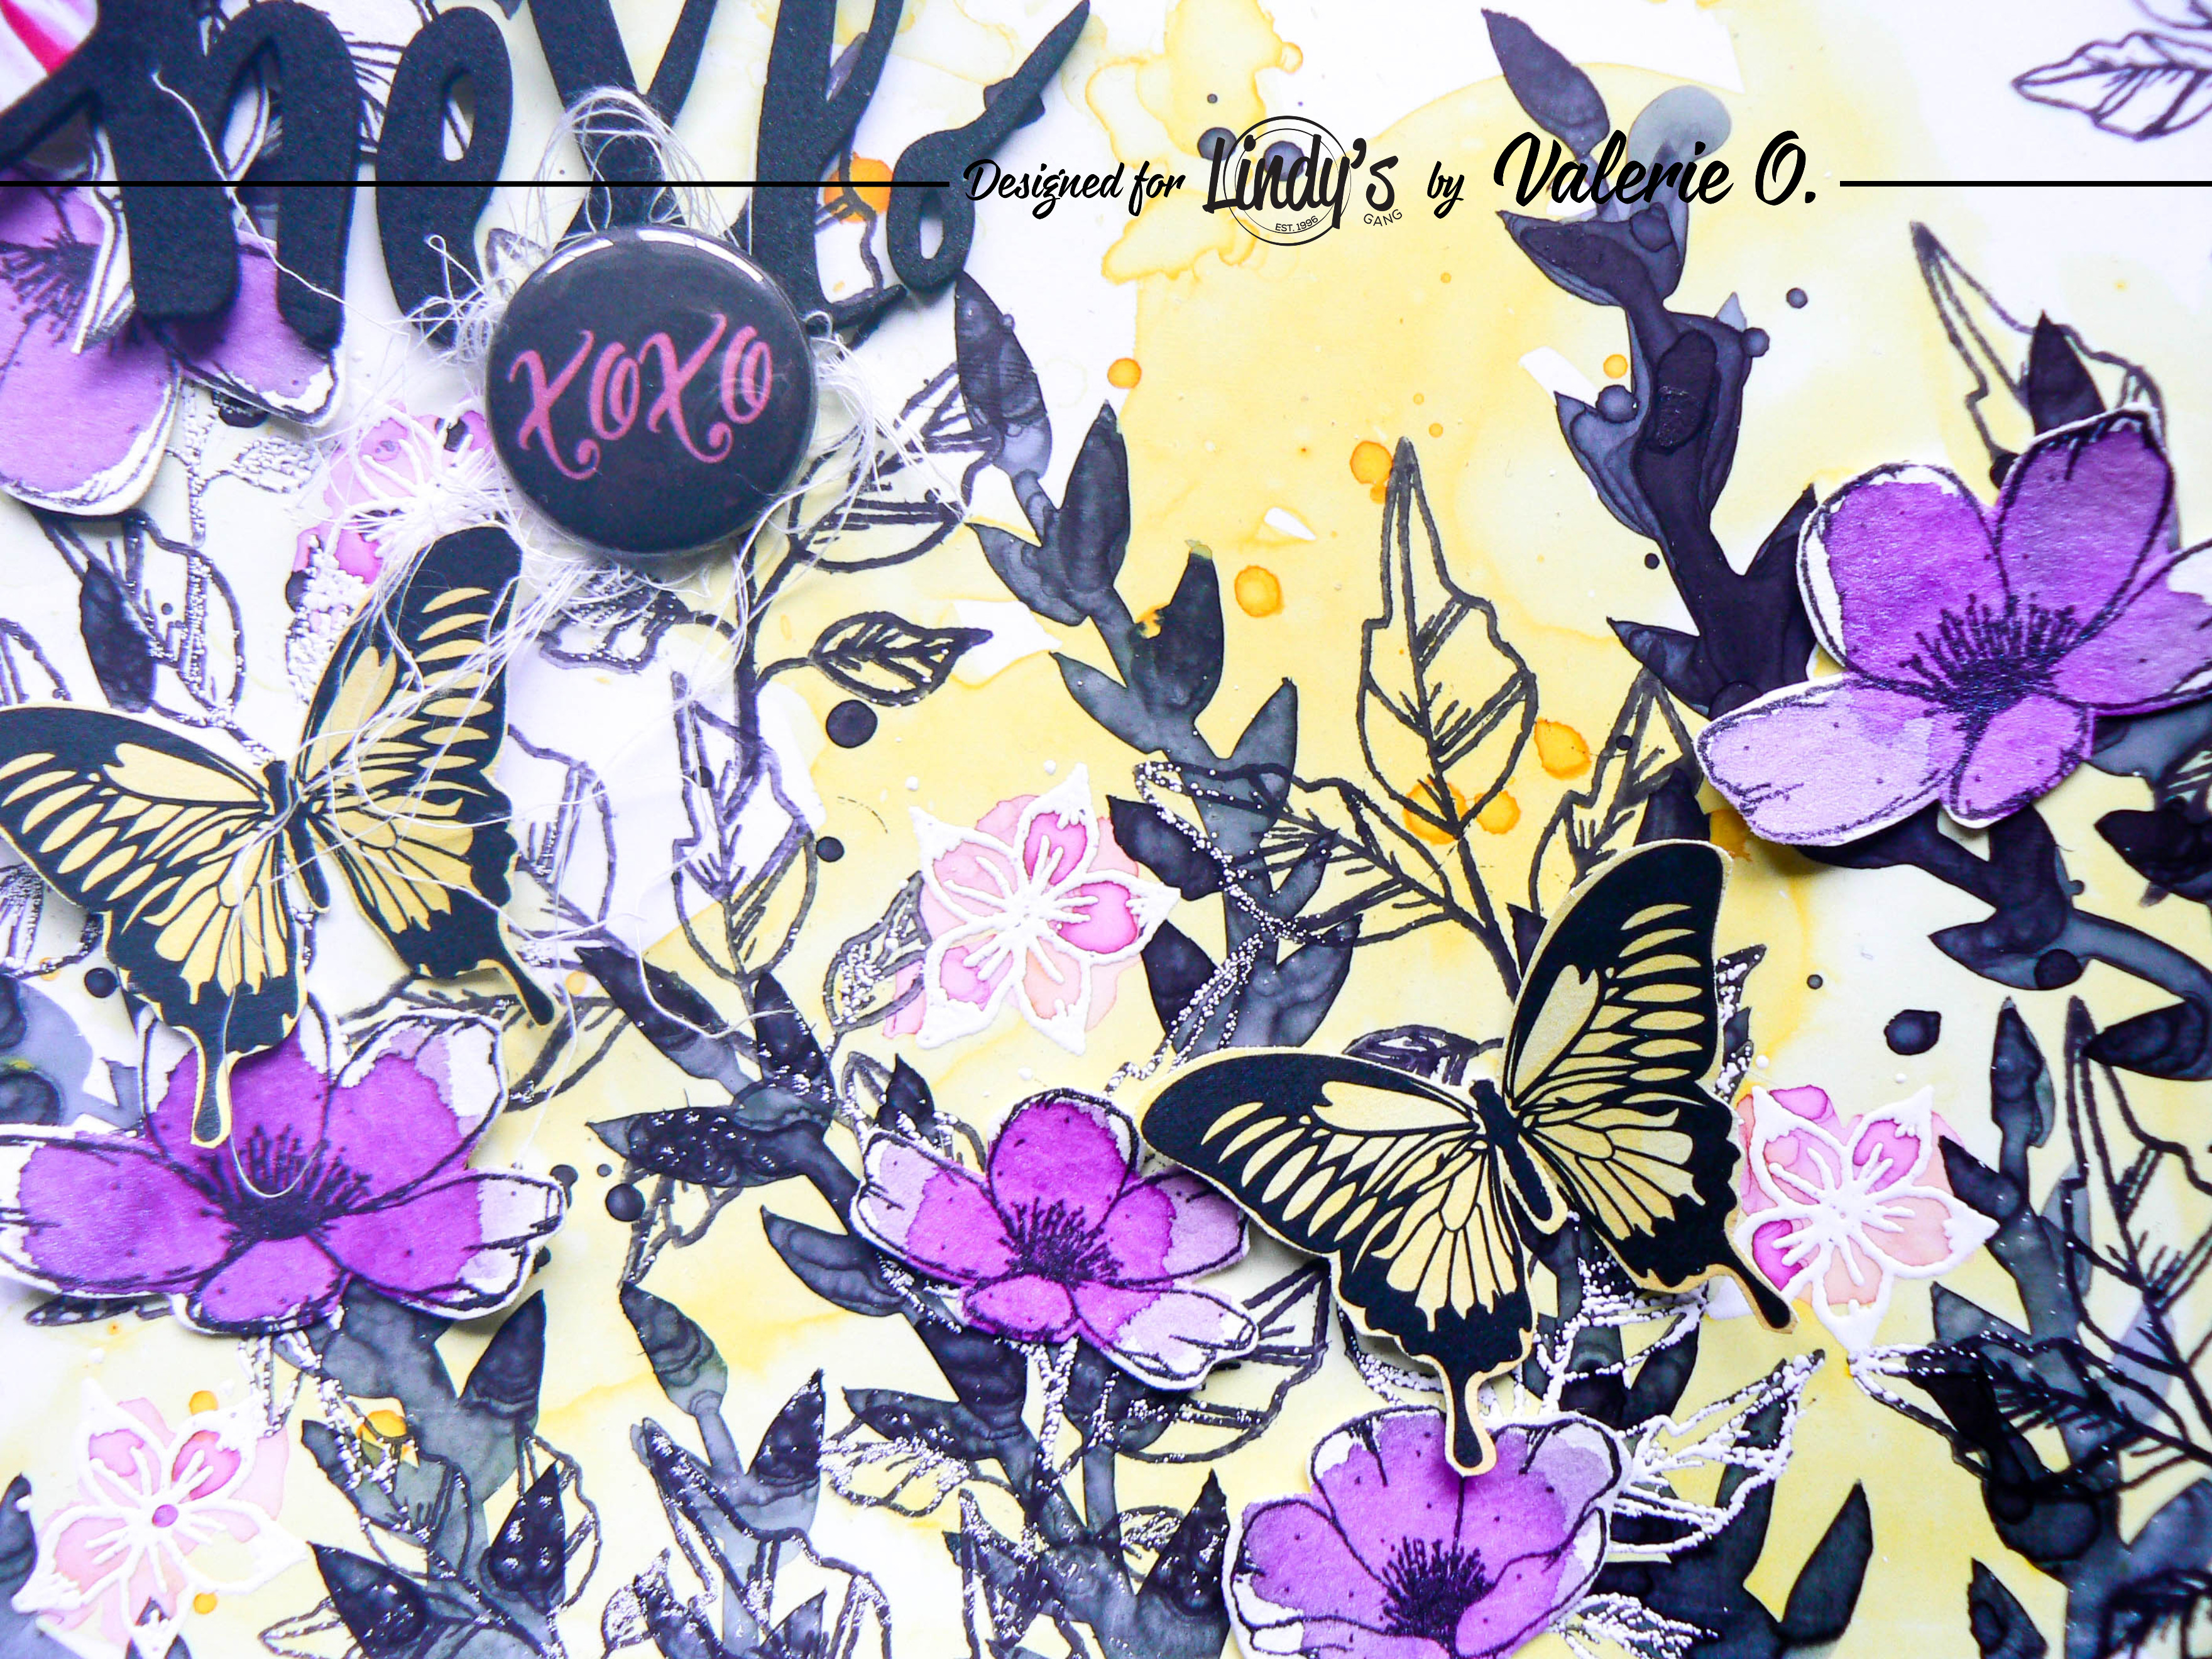
Valerie here and I’m back today with a fabulous layout created with stamping and painting techniques. For this layout, I used a simple white cardstock that I primed with clear gesso. You can use a watercolor paper too.

P1170175

Basic Process

  1. Choose your main color. I used Pineapple paradise.
  2. Create a watercolor background by adding water and ink.
  3. Use Archival black ink to stamp your leaves.
  4. Use Versamark to add some flowers and emboss with Purely white embossing powder.
  5. Paint your little flowers with another color of ink which matches your background color. (Poppin' Pink)
  6. To finish your background, paint some leaves with a detail brush and Blazing Black ink.
  7. Create some flowers and leaves die-cut on another paper and color them. (Tea Pot Purple, Poppin' Pink)
  8. You can now assemble your page
I’ve created a step-by-step video so you can watch the entire process


Here are some close-ups of my finished layout.

P1170176 

P1170177 

P1170182

Lindy’s Products

See you soon ladies!
Have a very nice day,
Lindys Blog Designer badge 2019 Valerie 2


mardi 4 juin 2019

Tropical State of Mind - Dusty Attic June moodboard

Hello Dusty fans!
I'm back today to share with you my new layout inspired by the June Moodboard. I really love this color combo. 
The picture are very inspiring and I used a photo of my lastest summer vacation.


Here are a few more close ups....


Materials used:

-Dusty Attic Mini anchors
-Dusty Attic Mini Captions #12
-Dusty Attic Pine sprigs  
-Stamp Designed by Valerie set 2-3
-13arts Paper
-Lindy's stamp gang Squirts
-Lindy's stamp gang embossing powder
-Wild orchid craft flowers
-Finnabair wax
-Nuvo mousse