Affichage des articles dont le libellé est Mes vidéos. Afficher tous les articles

mercredi 12 juin 2019

Stamping and painting background for Lindy's stamp gang


Hi Lindy’s lovers!
Valerie here and I’m back today with a fabulous layout created with stamping and painting techniques. For this layout, I used a simple white cardstock that I primed with clear gesso. You can use a watercolor paper too.

P1170175

Basic Process

  1. Choose your main color. I used Pineapple paradise.
  2. Create a watercolor background by adding water and ink.
  3. Use Archival black ink to stamp your leaves.
  4. Use Versamark to add some flowers and emboss with Purely white embossing powder.
  5. Paint your little flowers with another color of ink which matches your background color. (Poppin' Pink)
  6. To finish your background, paint some leaves with a detail brush and Blazing Black ink.
  7. Create some flowers and leaves die-cut on another paper and color them. (Tea Pot Purple, Poppin' Pink)
  8. You can now assemble your page
I’ve created a step-by-step video so you can watch the entire process


Here are some close-ups of my finished layout.

P1170176 

P1170177 

P1170182

Lindy’s Products

See you soon ladies!
Have a very nice day,
Lindys Blog Designer badge 2019 Valerie 2


mercredi 15 mai 2019

Textured Watercolor Background with Embossing Powder


Hi Lindy’s lovers!
Valerie here and I’m coming back today with a fabulous watercolor technique. Yes yes another one, haha. I’m in love with watercolor techniques! For this layout, I created a beautiful smooth texture with Lindy’s embossing powders and stamps.

P1170118 

P1170125 

It’s very simple but gives awesome results.
Don’t forget to watch my video to understand the technique properly.


P1170145

Basic Process

  1. Use watercolor paper and choose your colors. I used Pineapple paradise, Emerald Eh!? and Banff Blue
  2. Pick your embossing powder. It’s very important to choose a pale one. The result will be more beautiful. I used Sunset Yellow Orange.
  3. Use Versamark to stamp your background. You can use different floral stamps and create a magical field of flowers. Emboss with your powder.
  4. When it’s dry and your design is complete, add one color of ink at a time. Don’t forget to add a lot of water.
  5. Sponge the excess to create a degraded textured effect.
  6. Let the color dry and give a second layer with the darker one. But not on the whole surface. Add a lot of water and sponge the excess another time.
  7. To finish, add some drops of Frozen Jack Frost spray

Here are some close-ups of my finished layout.
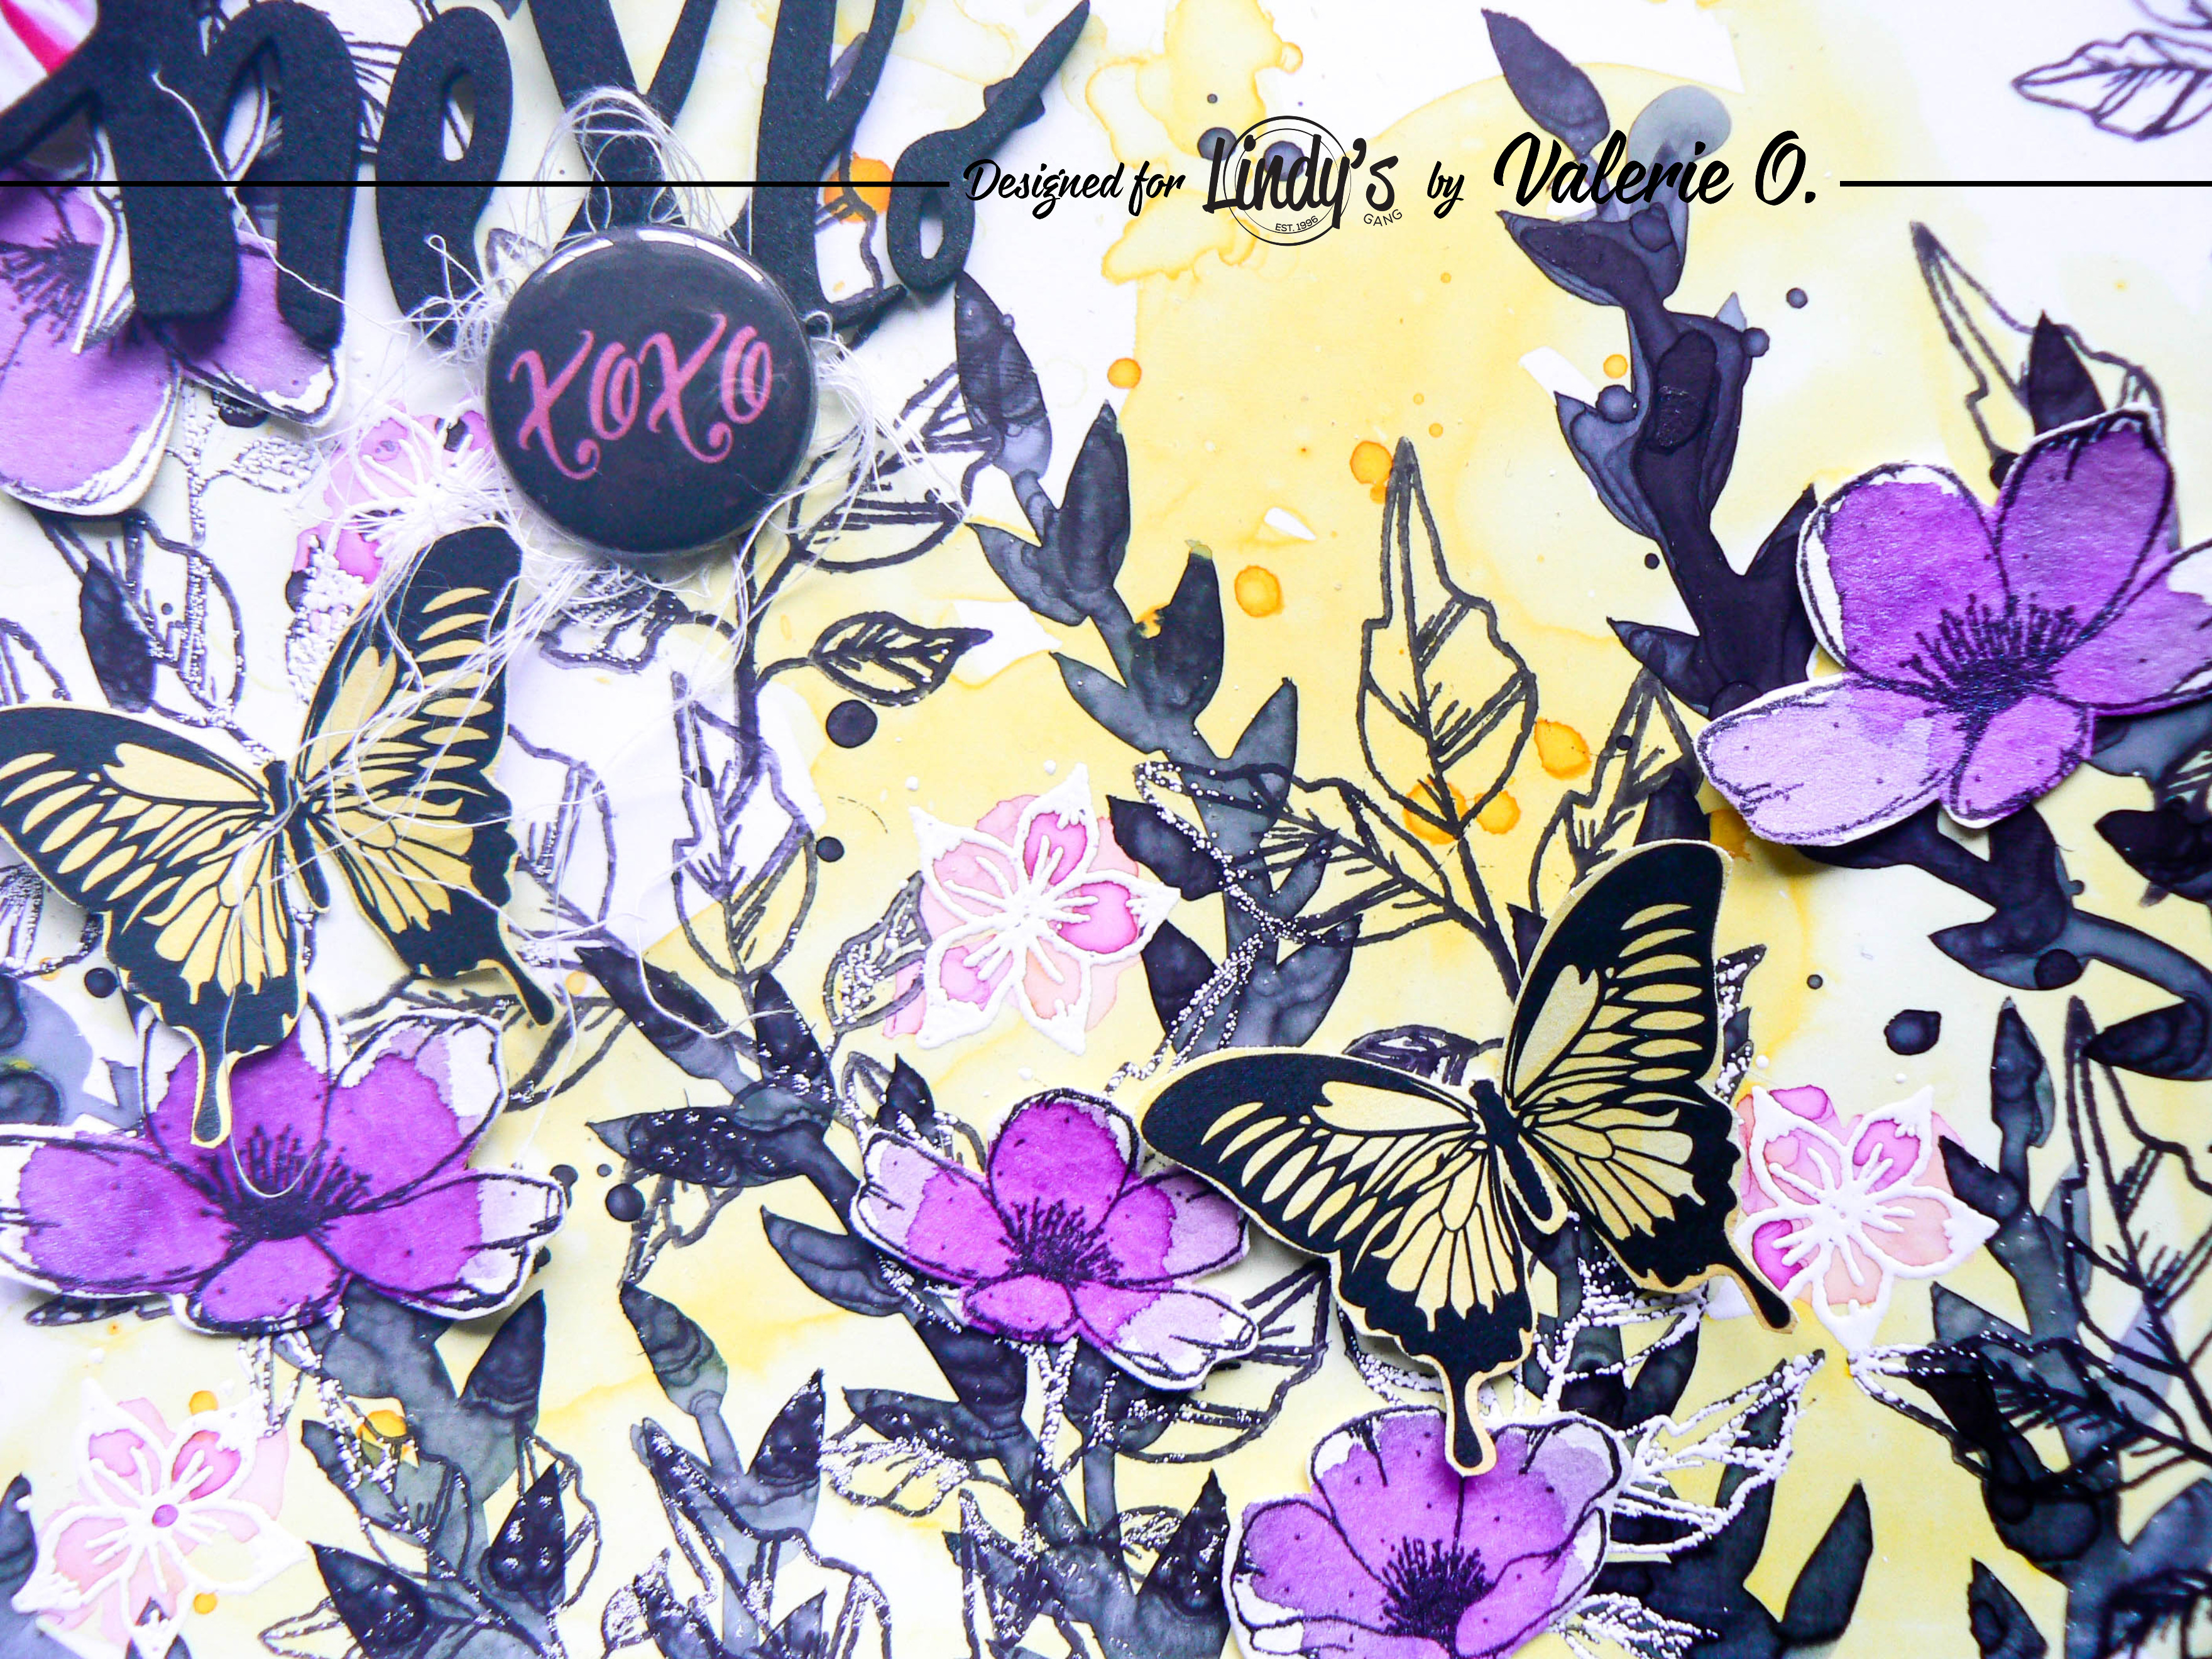
P1170137 

P1170136 

P1170135 

P1170142

Lindy’s Products

See you soon ladies!
Have a very nice day,
Lindys Blog Designer badge 2019 Valerie 2

mercredi 17 avril 2019

Watercolor technique with layers of ink for Lindy's stamp gang

Hi Lindy’s lovers!
Valerie here and I’m coming back today with a fabulous watercolor technique with layers. This technique is very interesting with Squirts because once dry, it is permanent and therefore doesn't mix with other layers that I add.
Don't forget to watch my video to understand the technique.

P1170070 

P1170072

Basic Process

  1. Use watercolor paper
  2. Choose 1-3 colors of Lindy’s squirts. I used Polite People Purple , Loonie Toonie Teal and Banff Blue
  3. Add water on the section would you like to create your watercolor
  4. Add one color at a time and add lot of water
  5. Create some splatters with your ink and water
  6. Let dry without heat gun
  7. When it's dry, add another layer of ink here and there. No to much!!
  8. Add once again splatters with inks and water
  9. At the end, add some drops of Frozen Jack Frost spray
I’ve created a step-by-step video so you can watch the entire process


Here are more close-ups of my finished layout

P1170075 

P1170074 

P1170073 

P1170079

Lindy’s Products

See you soon ladies!
Have a very nice day,
Lindys Blog Designer badge 2019 Valerie 2


vendredi 22 mars 2019

Watercolor Doily Background with Lindy's Squirts

Hi Lindy’s lovers!

Valerie here and I’m coming back today with a brand new project! I had fun with the new Squirts and I created a fabulous watercolor background using doilies. It’s a very simple technique and the result is fantastic. You only need doilies, water and Lindy’s Squirts inks.
The squirts have a thicker consistency than Lindy’s Sprays so this is the perfect ink for this technique since the ink doesn’t leak under the doily.

P1170037 

P1170028

Basic Process

  1. Use watercolor paper
  2. Place some doilies on your background
  3. Choose 1-2 colors of Lindy’s squirts. I used Polite People Purple and Banff Blue
  4. Paint directly on the doilies with a brush.
  5. Add water to create a watercolor effect
  6. Remove the doilies
  7. Add some drops with squirts on the layout and on the doilies
  8. Place the doilies one over the other and add your photo on it
I’ve created a step-by-step video so you can watch the entire process


Here are more close-ups of my finished layout

P1170038 

P1170039 

P1170040 

P1170043

Lindy’s Products

See you soon ladies!
Have a very nice day,
Lindys Blog Designer badge 2019 Valerie 2


mercredi 20 février 2019

Art Journal Bokeh Effect with Metallic Shakers


Art Journal Bokeh Effect with Metallic Shakers

Hi Lindy’s lovers!
It’s Valerie here and I’m coming back today with my new project! I created an art journal with the NEW metallic shakers! I’m in loooovveeeee with the new colors! They are already available in the Lindy’s shop now!.
On my creation, I used all the 5 colors with a watercolor technique and a bokeh effect created with white gesso.

P1160938 

P1160935

Basic Process

  1. Use watercolor paper
  2. Apply 3d Gel with a stencil to create a beautiful texture
  3. Mix all the colors with water and use it as watercolor
  4. Once dried, use a circle stencil and white gesso and create smooth circles with your finger.
  5. Add embellishments and 3d gel mixed with sequins
I’ve created a step-by-step video so you can watch the entire process


Here are more close-ups of my finished art journal page

P1160945 

P1160950

P1160944

Lindy’s Products

See you soon ladies!
Have a very nice day,
Lindys Blog Designer badge 2019 Valerie 2


mercredi 23 janvier 2019

Layout with Lindy's Moon Shadow spray ink

Hi Lindy’s lovers,

I’m back with a special layout. I used for the first time Moon Shadow Spray. For those who know me, I rarely use brown on my creations. I think that it is important to use it very slowly and in small doses. So, I decided to start the year with this personal challenge. Besides, my page goes perfectly with the color combo of the month. Let yourself be charmed by the beautiful colors of Moon Shadow Spray. I used Tawny Turquoise Vintage spray to create my background.

P1160855

Basic Process

  1. Prime your paper with Clear Gesso
  2. Use 3d Gel and stencil to create a beautiful smooth texture
  3. Rip pieces of cheese cloths and glue it on your background with staples and 3d gel
  4. Once dried, apply the Moon shadow ink with a brush on the cheese cloth
  5. Add the black one here and there to create a wonderful wave
  6. Stamp some background stamps around the cheese cloth and on the side of the layout
  7. Spray the chipboard foliage with Tawny Turquoise mist
  8. Glue mini letter stickers, your photo and embellishments
I’ve created a step-by-step video so you can watch the entire process


Here are some close-ups of my finished page

P1160856 

P1160857 

P1160859 

P1160860 

P1160863

Lindy’s Products

Others
  • Cuts2luv flair, Dusty Attic Chipboard, cheese cloths, background stamps, flowers
See you soon ladies!
Have a very nice day,
Lindys Blog Designer badge 2019 Valerie 2


vendredi 4 janvier 2019

Step-by-step Magical Snowing Background for Lindy's stamp gang

Hi Lindy’s lovers,
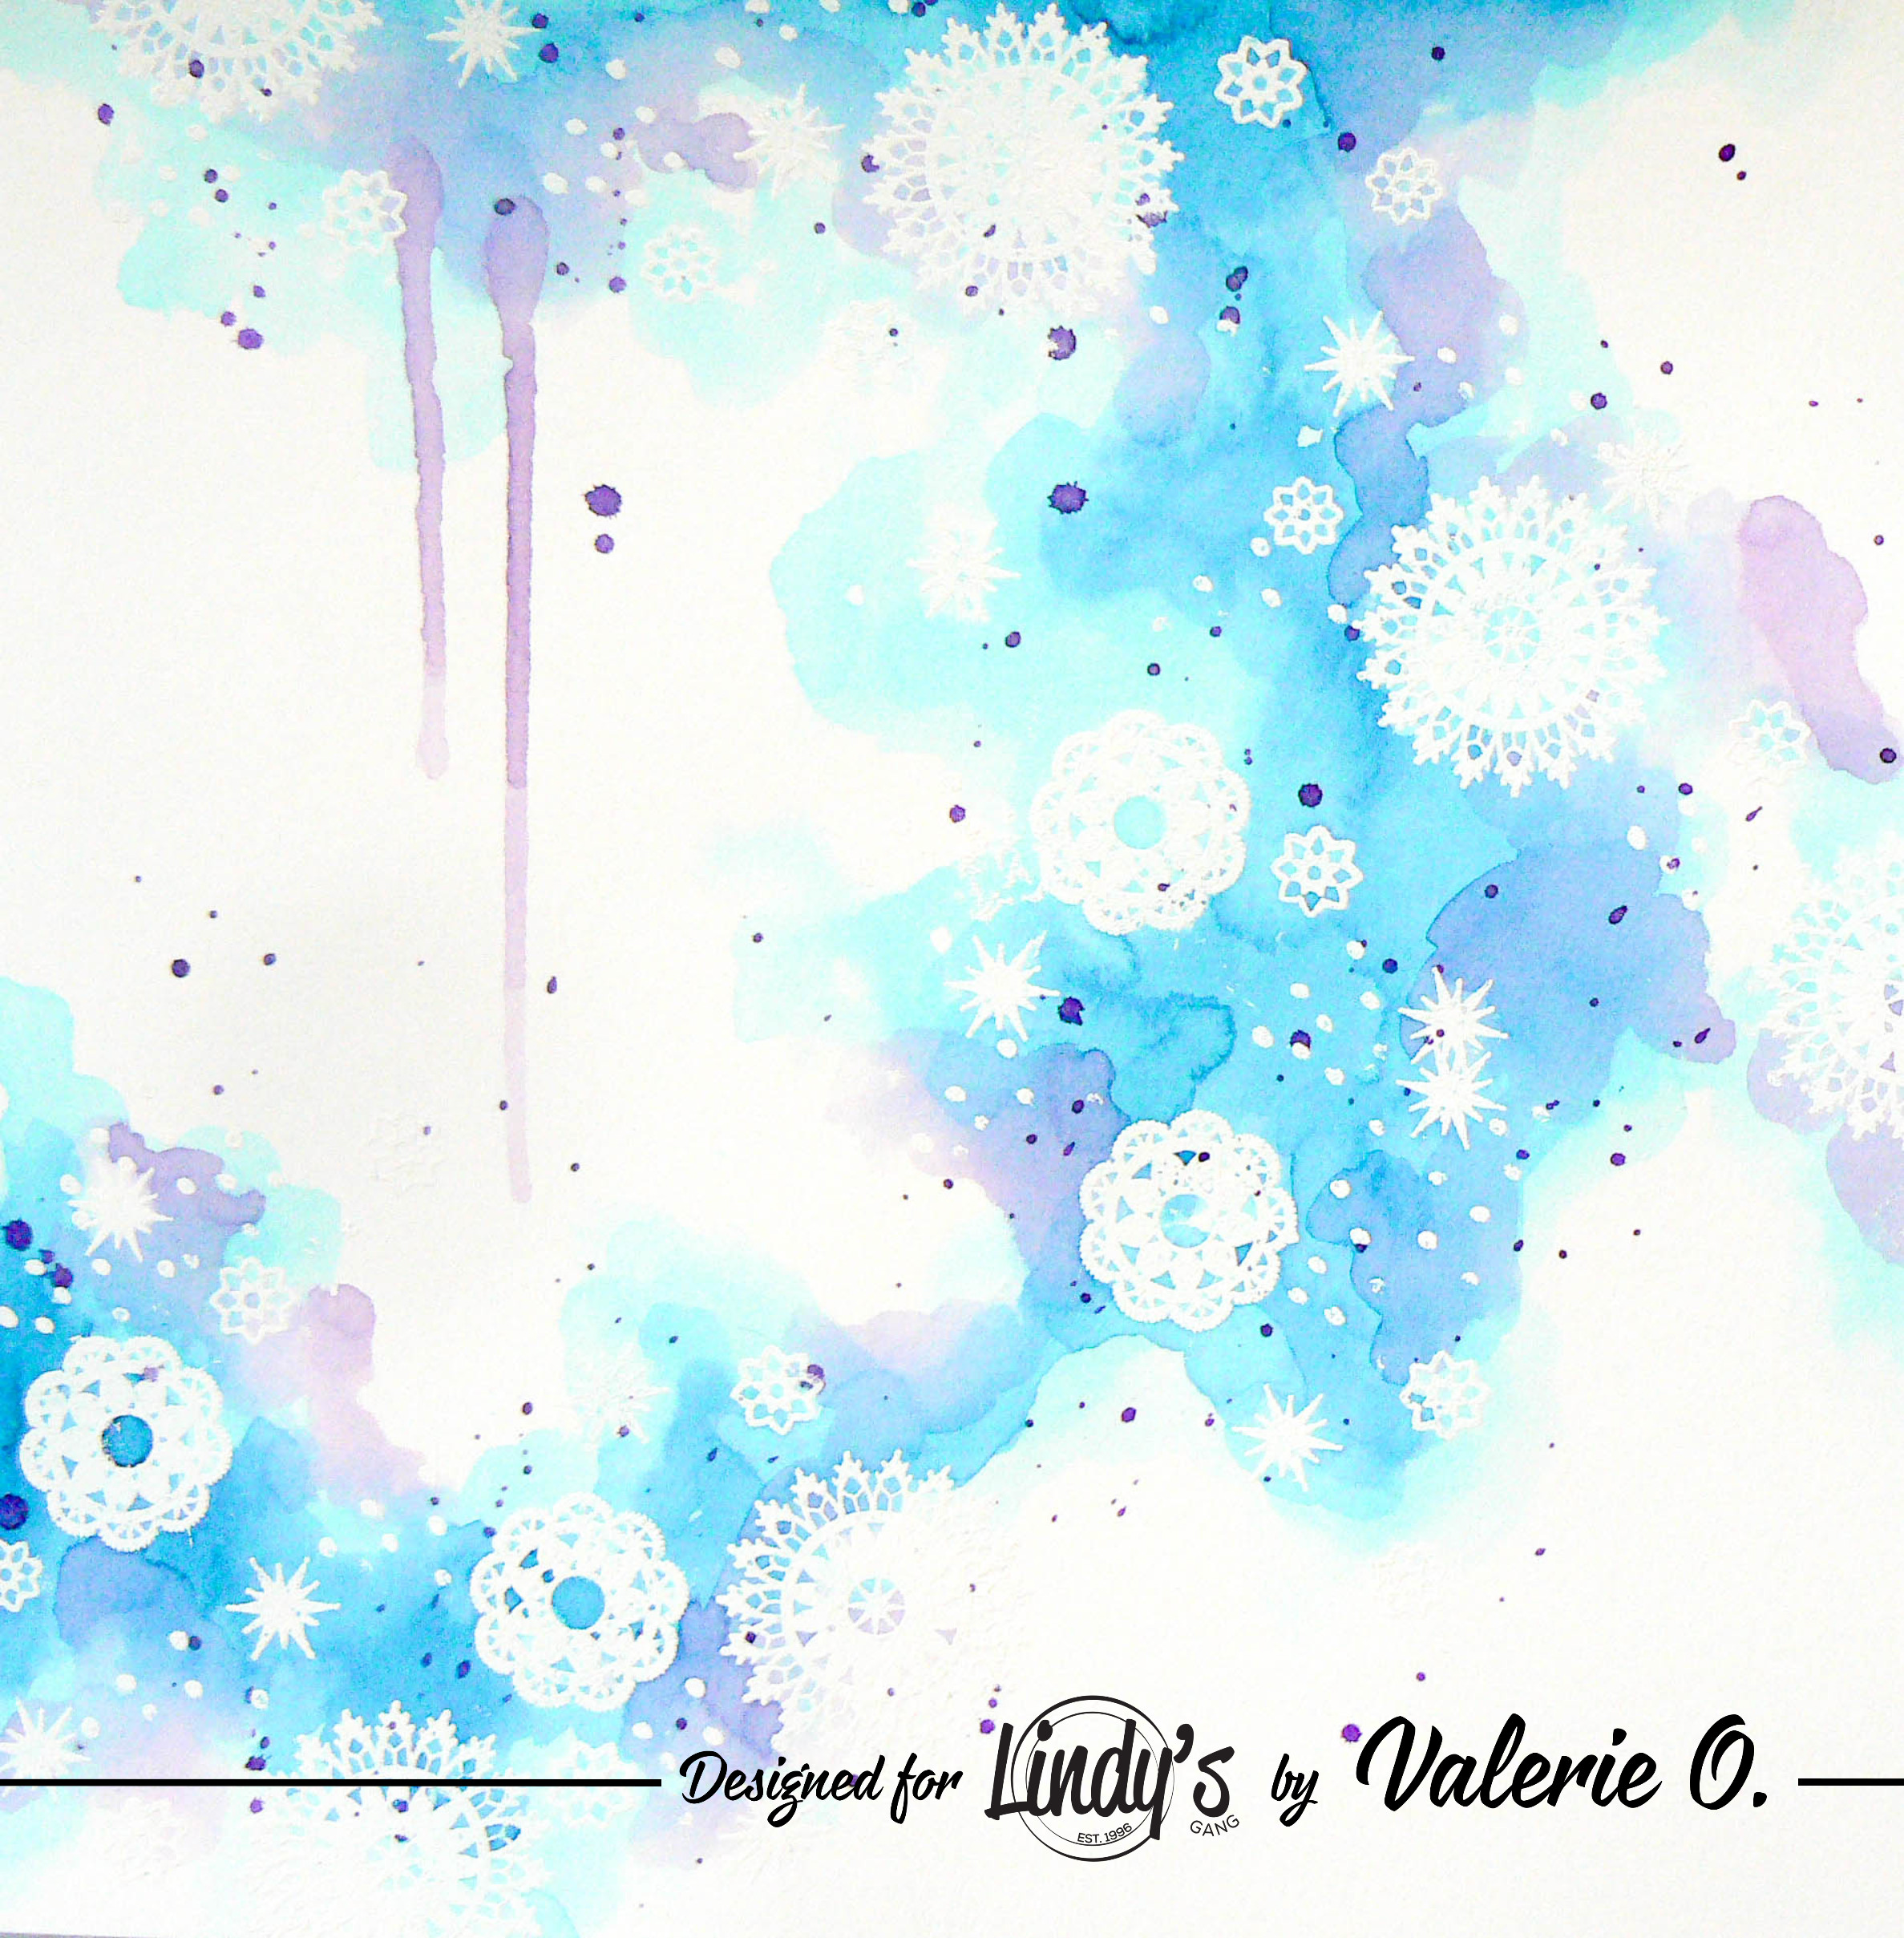
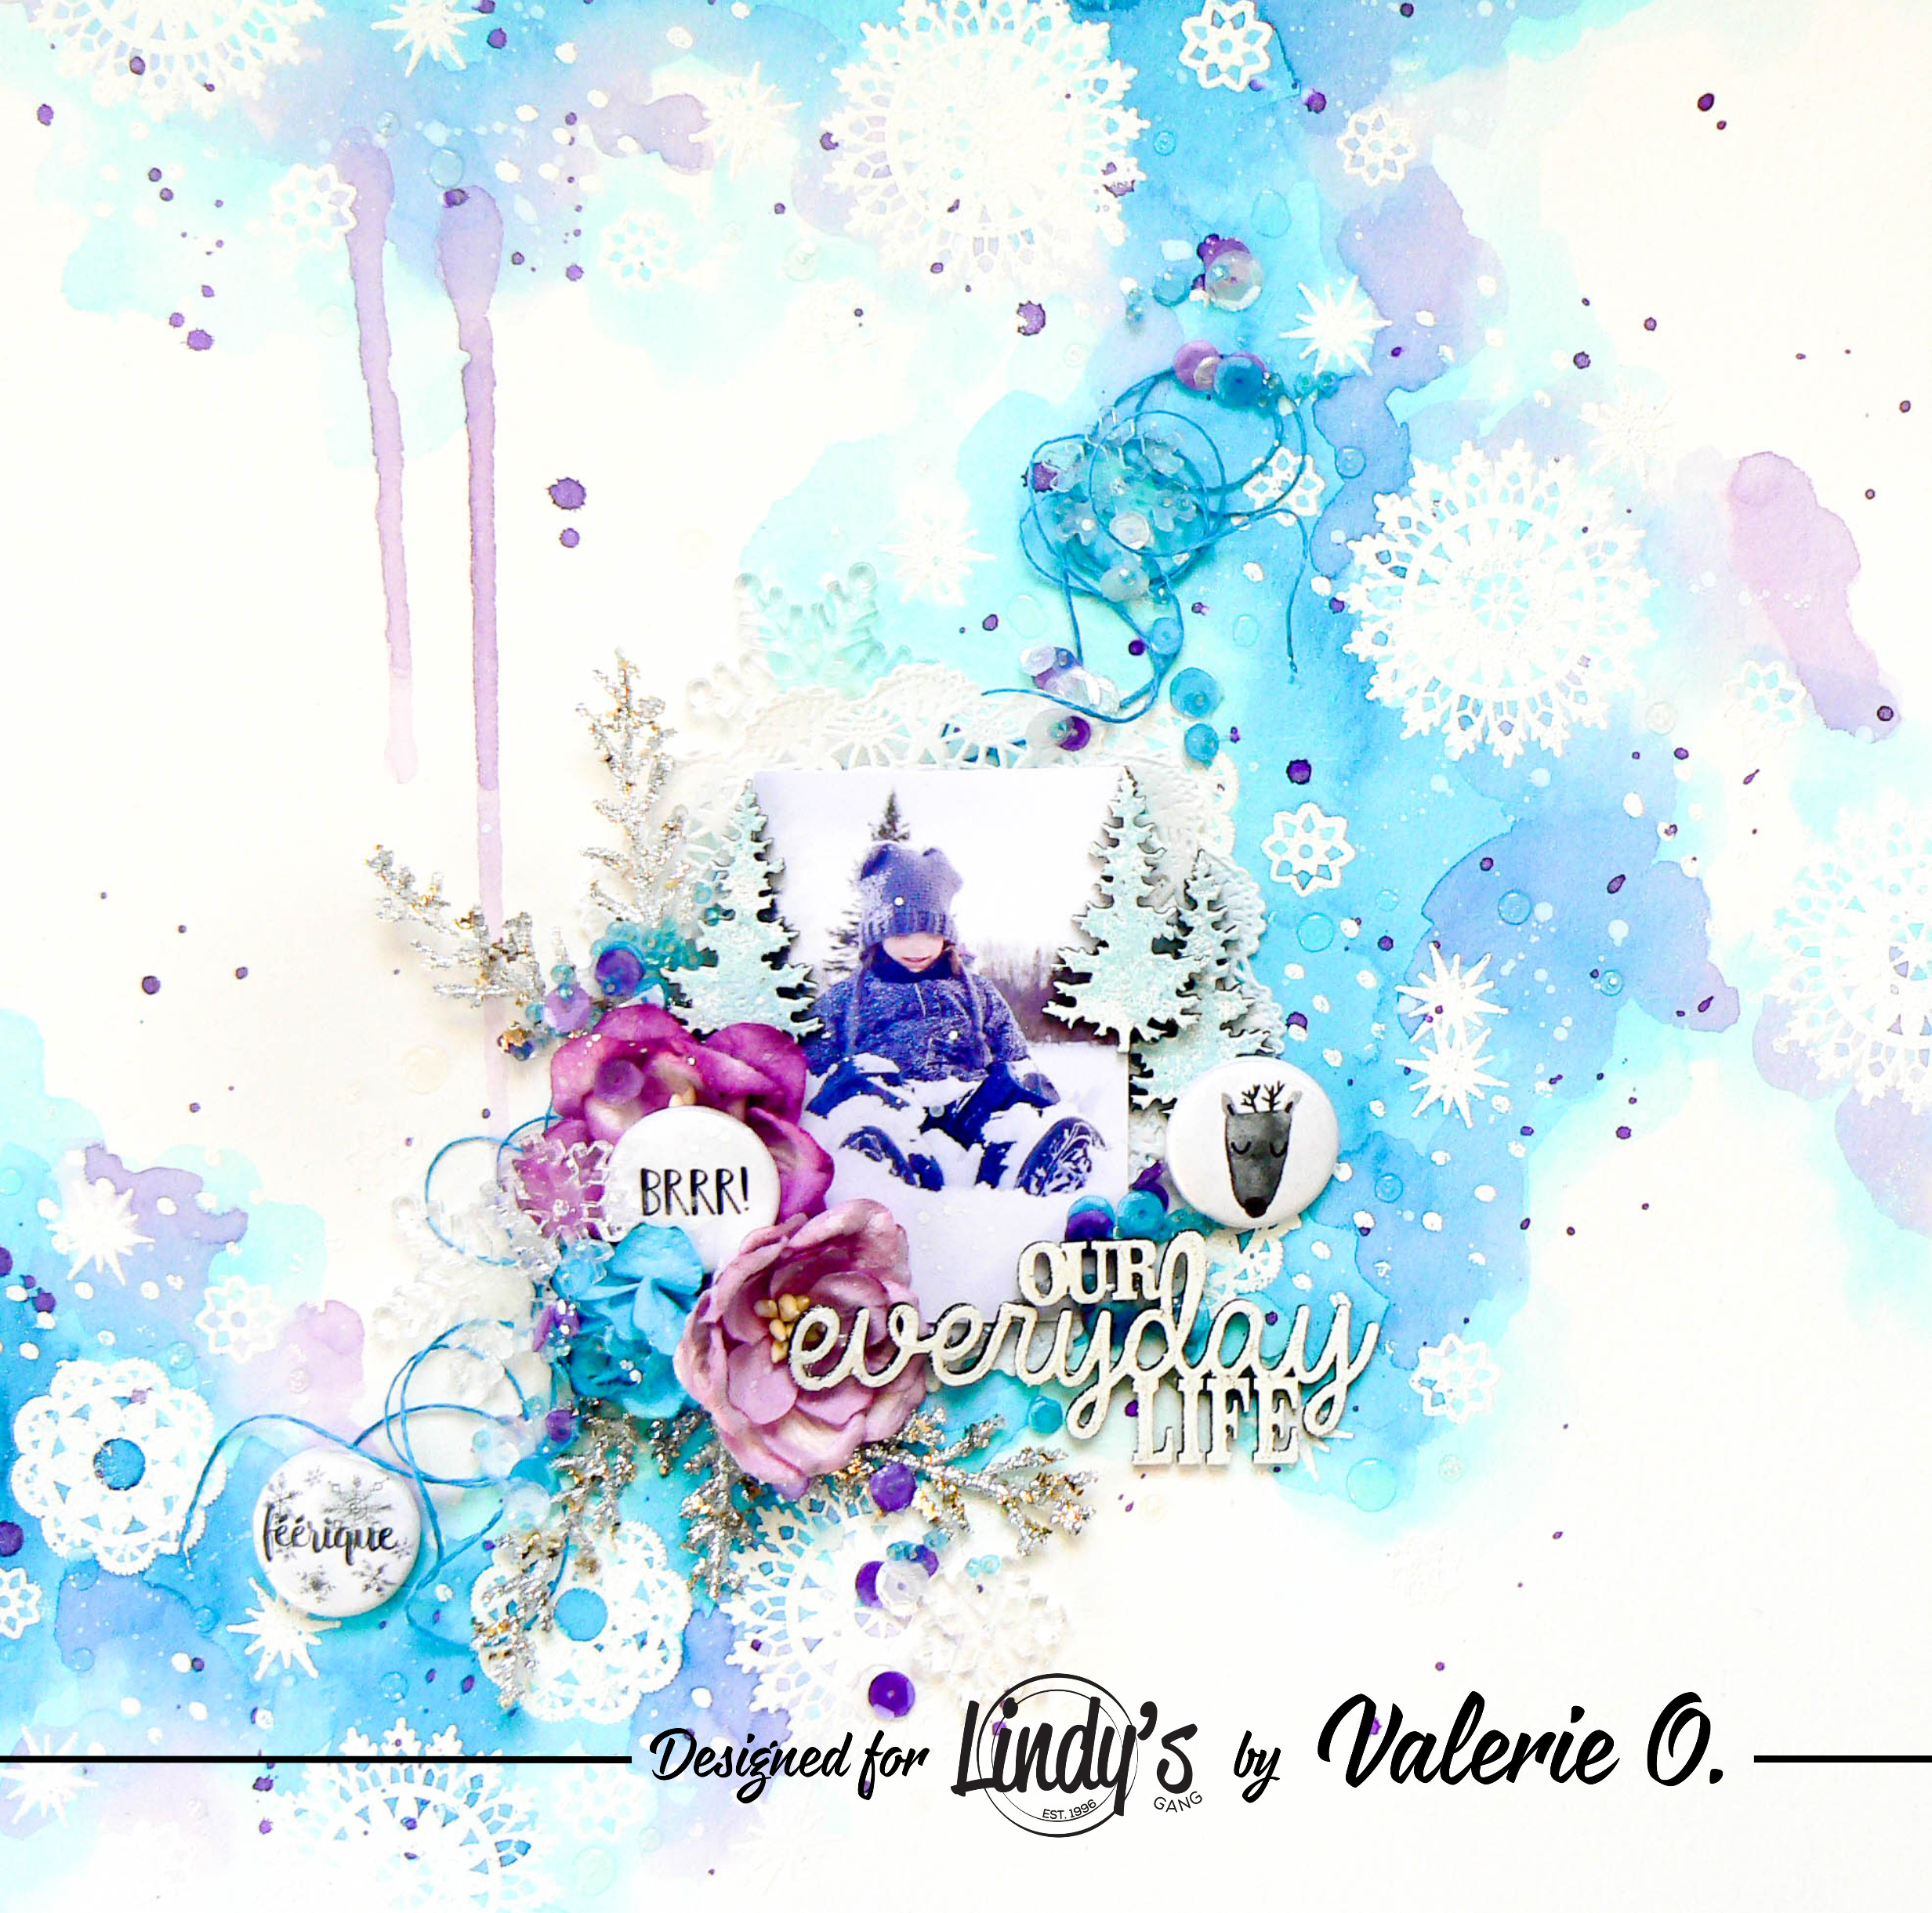
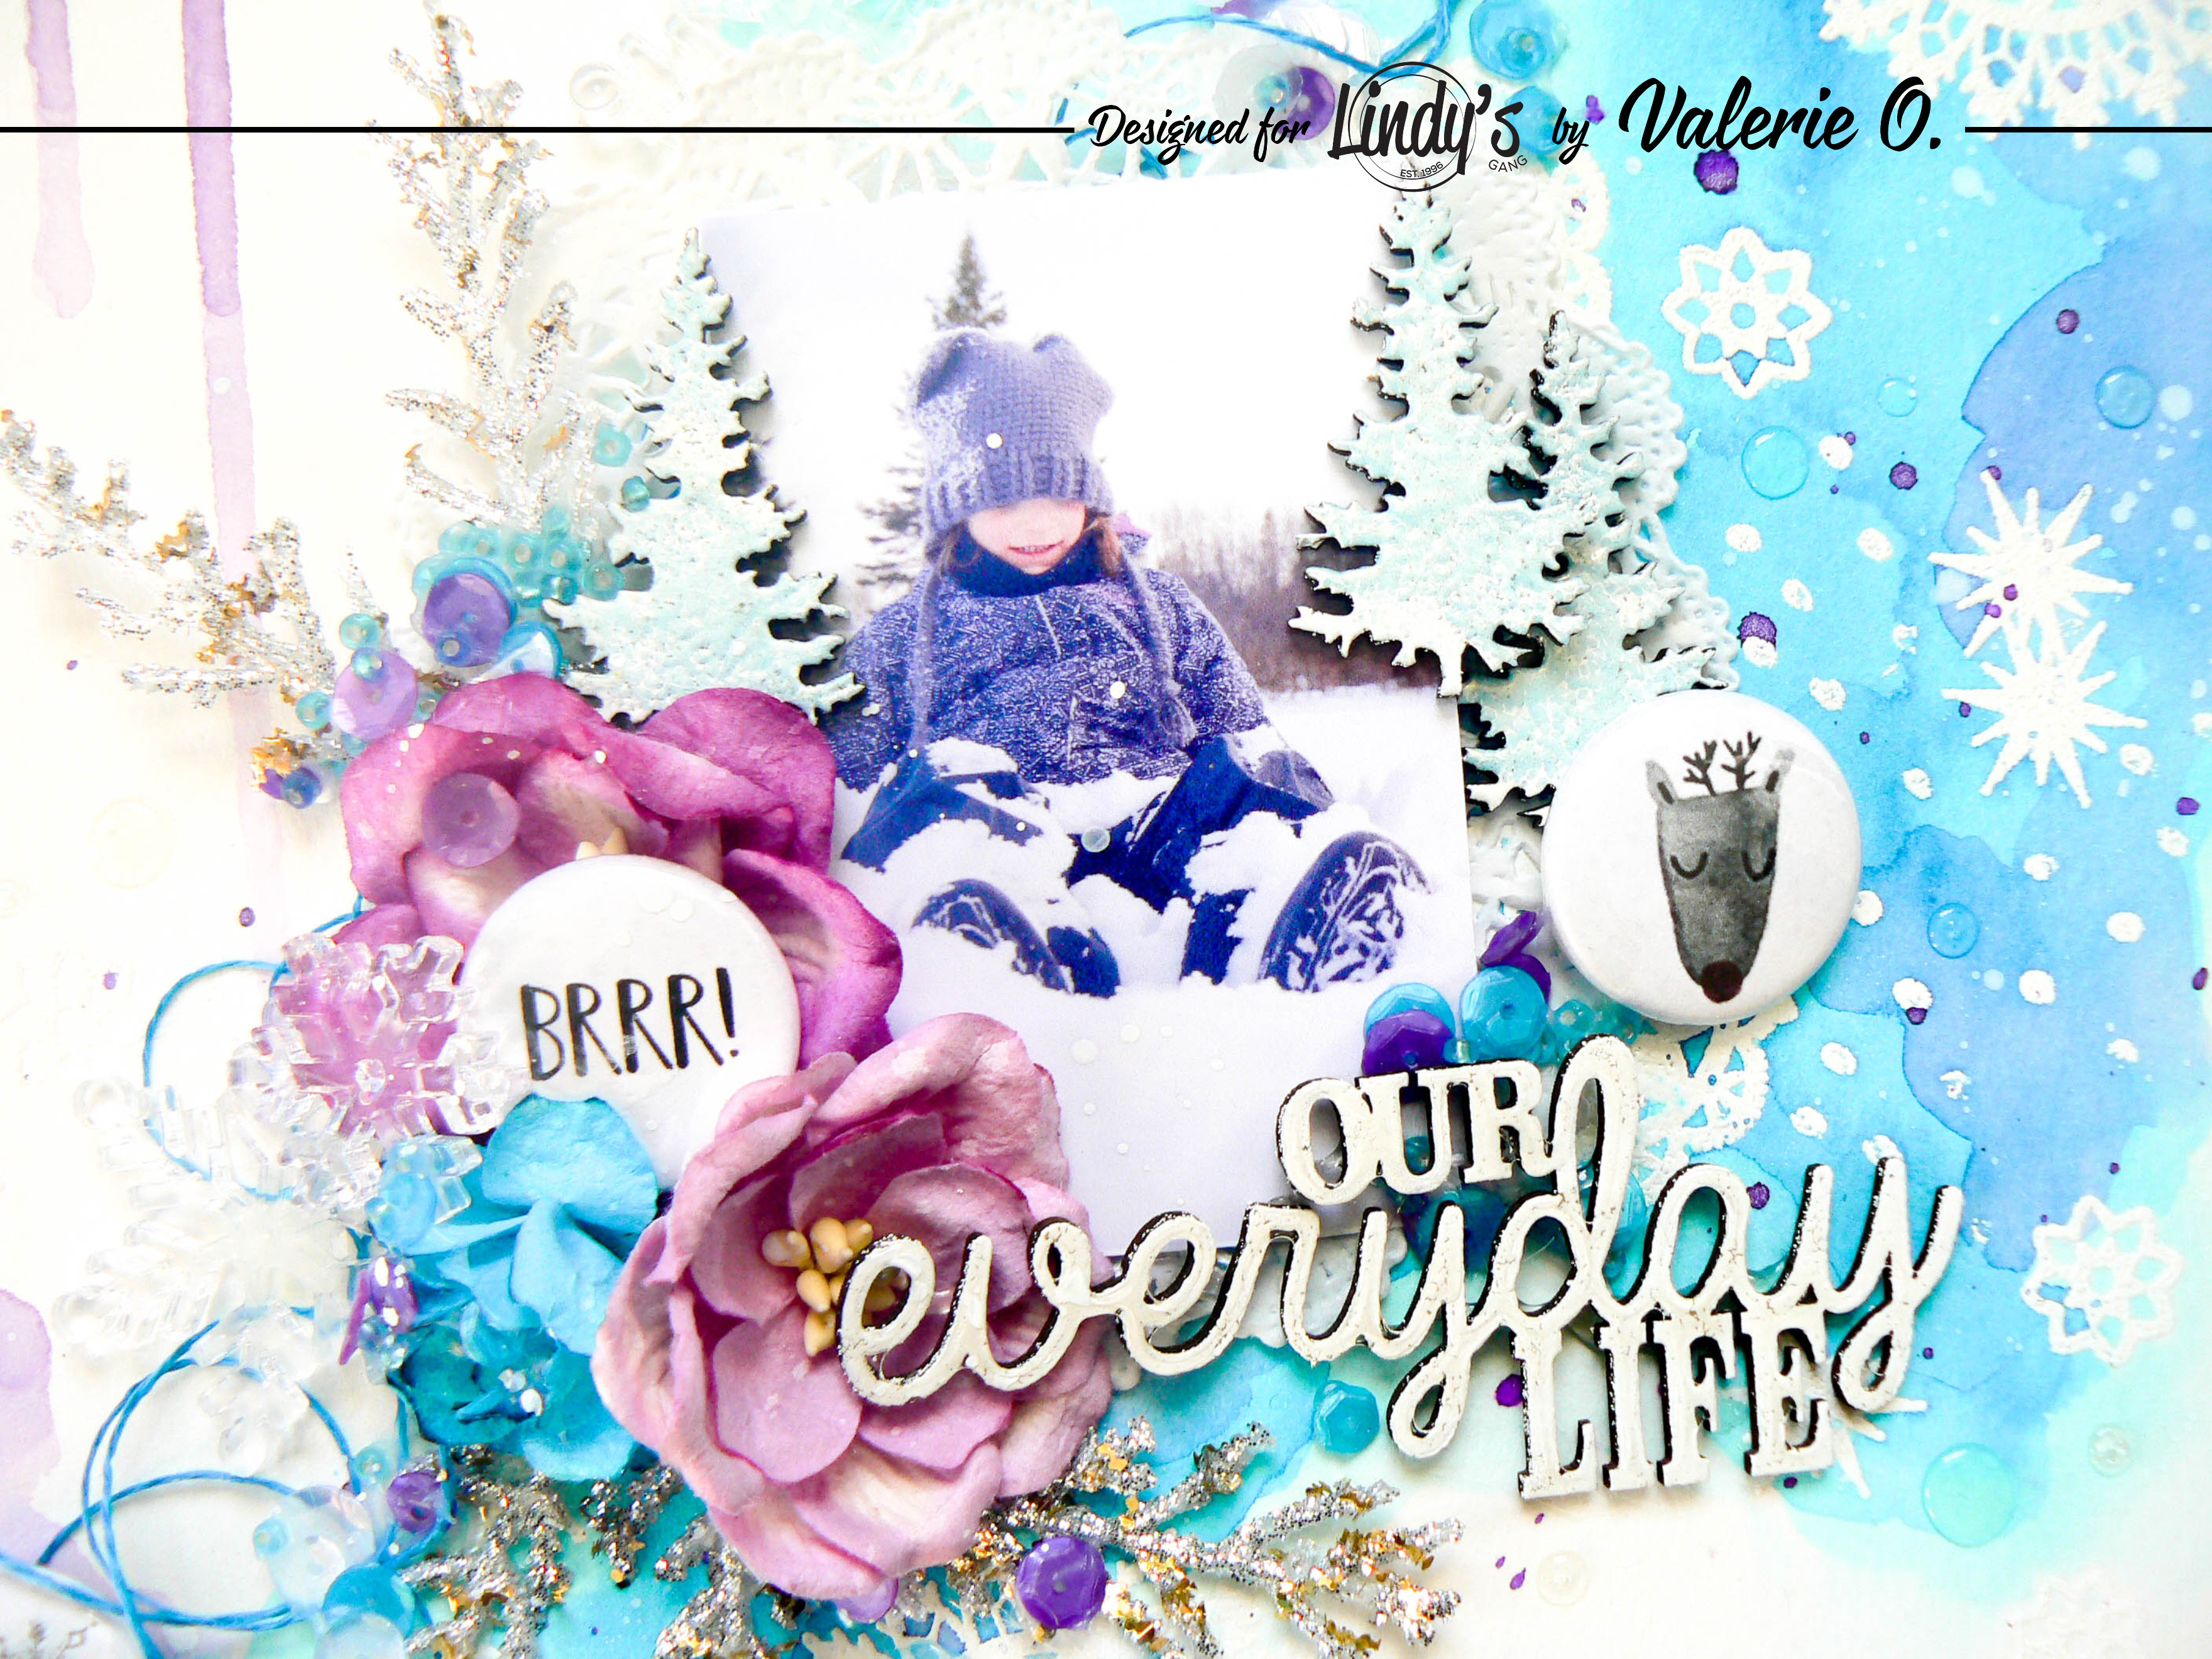
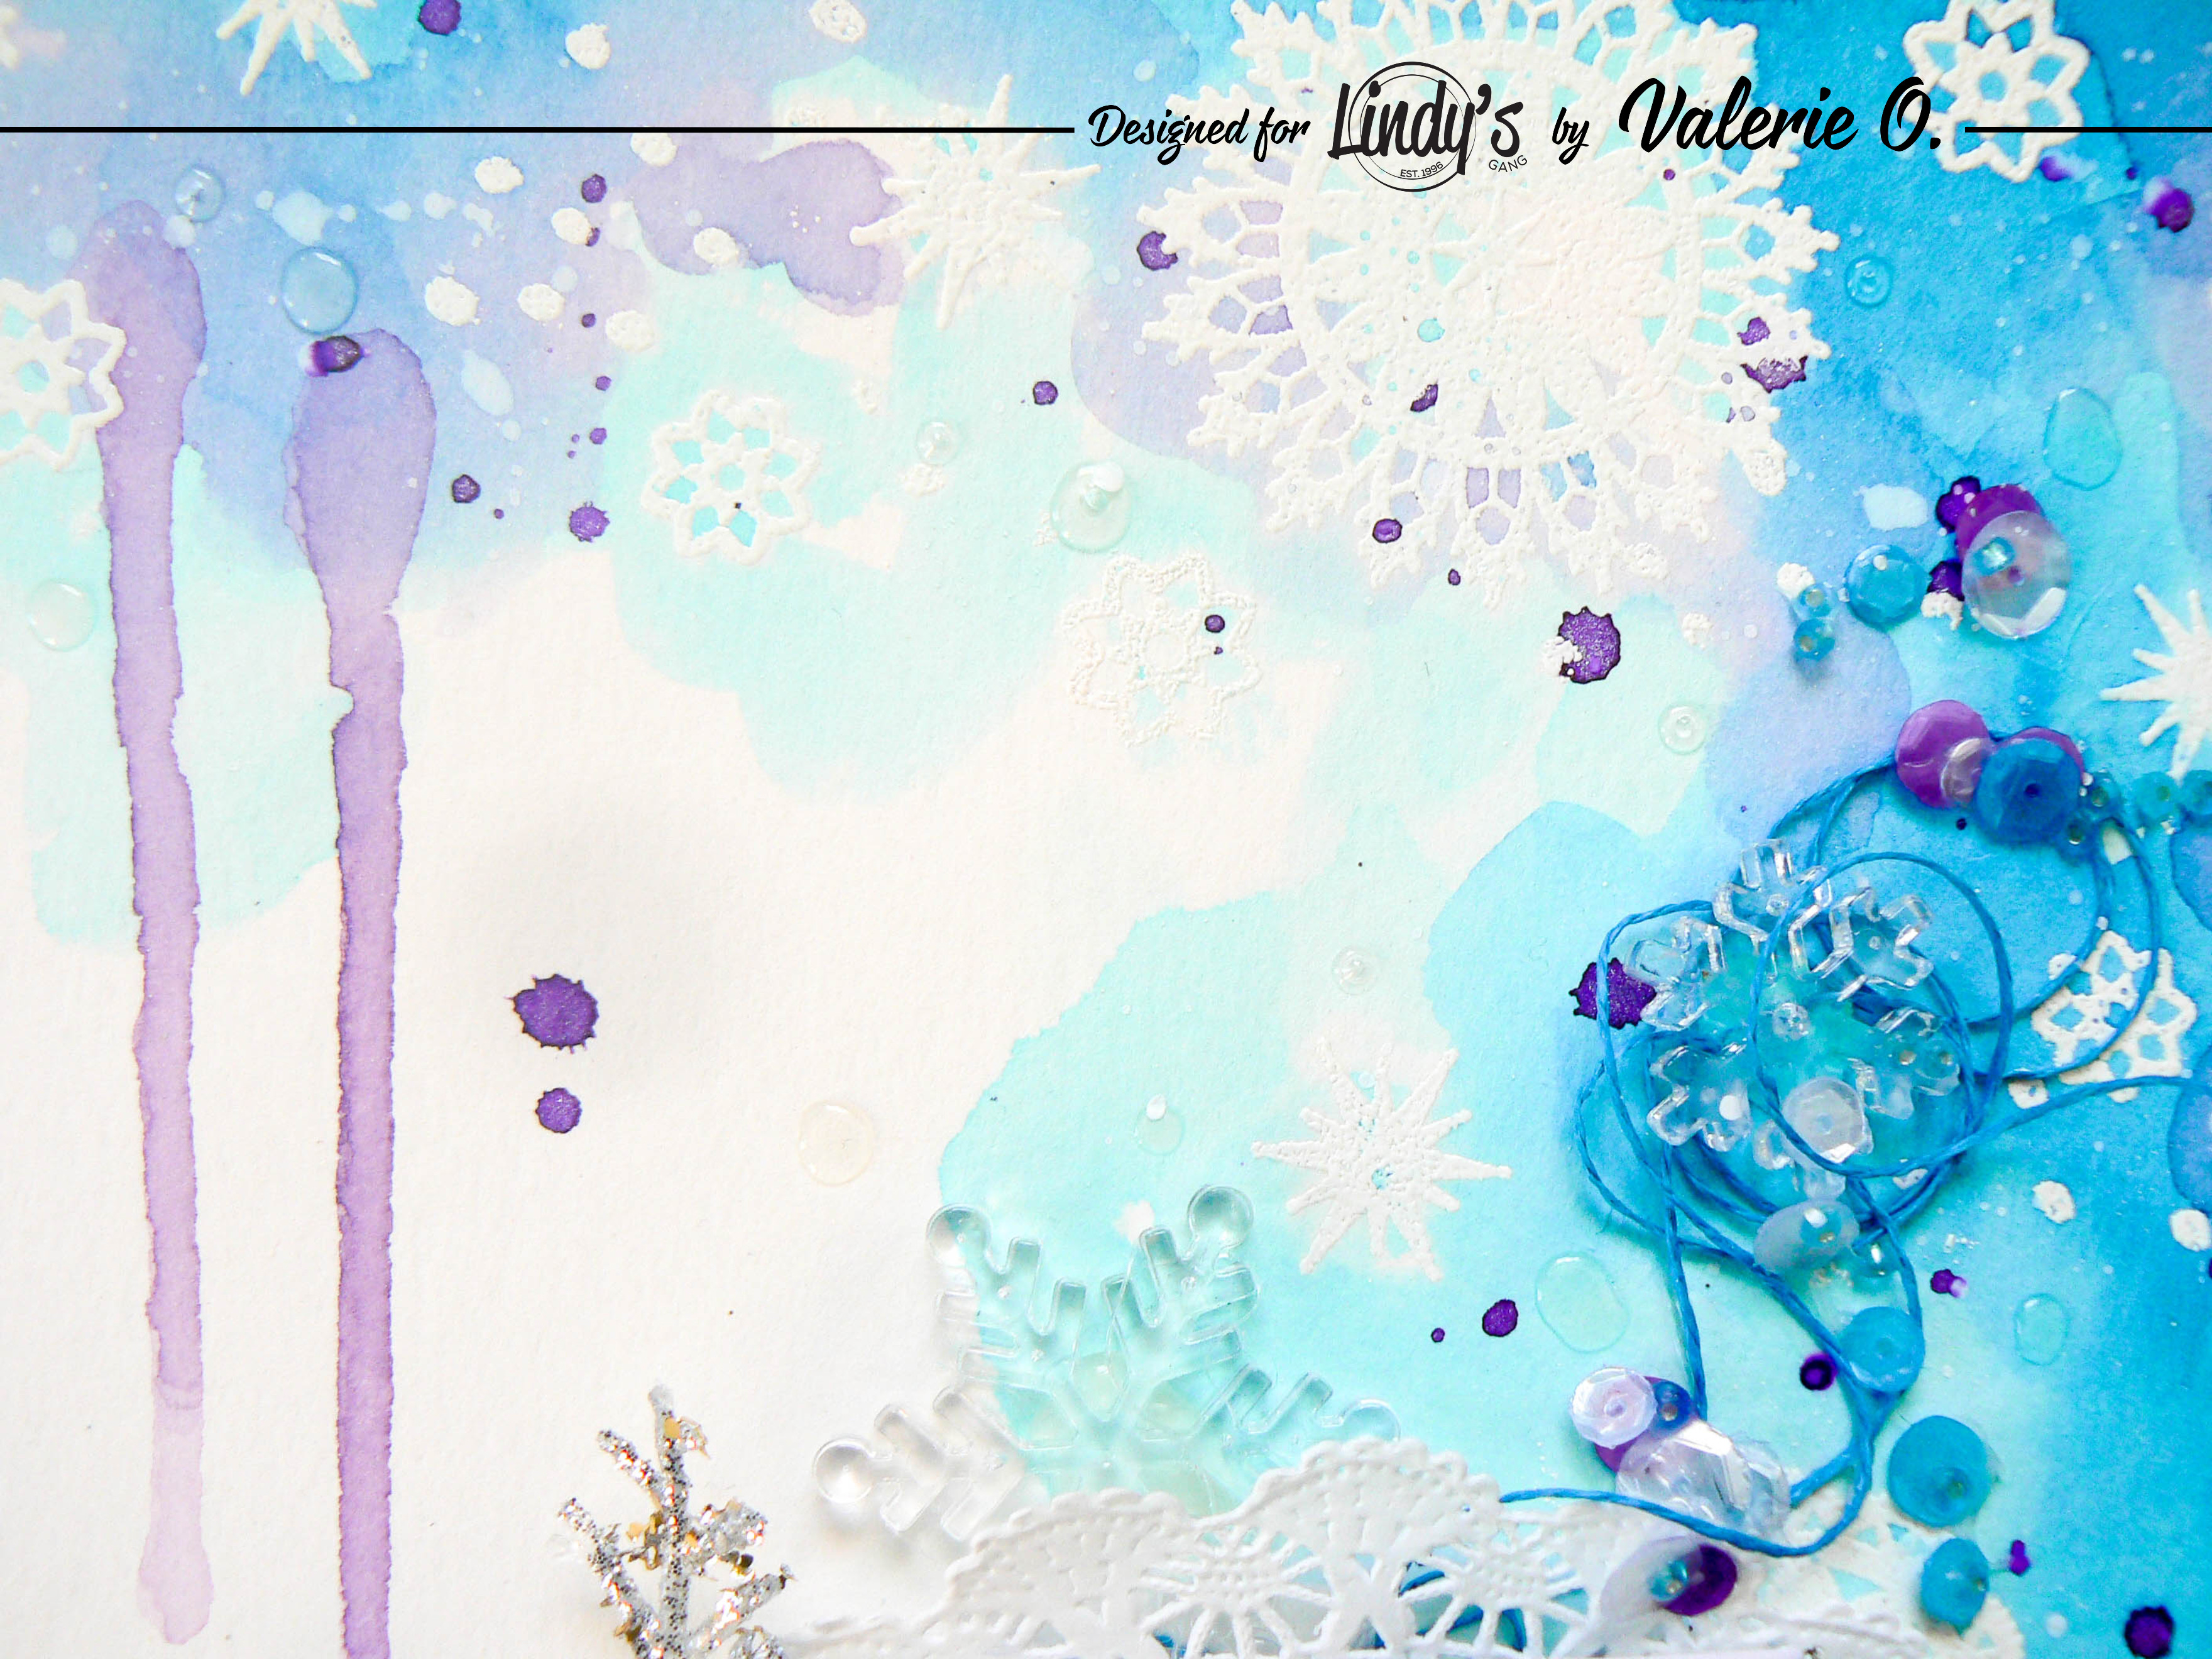
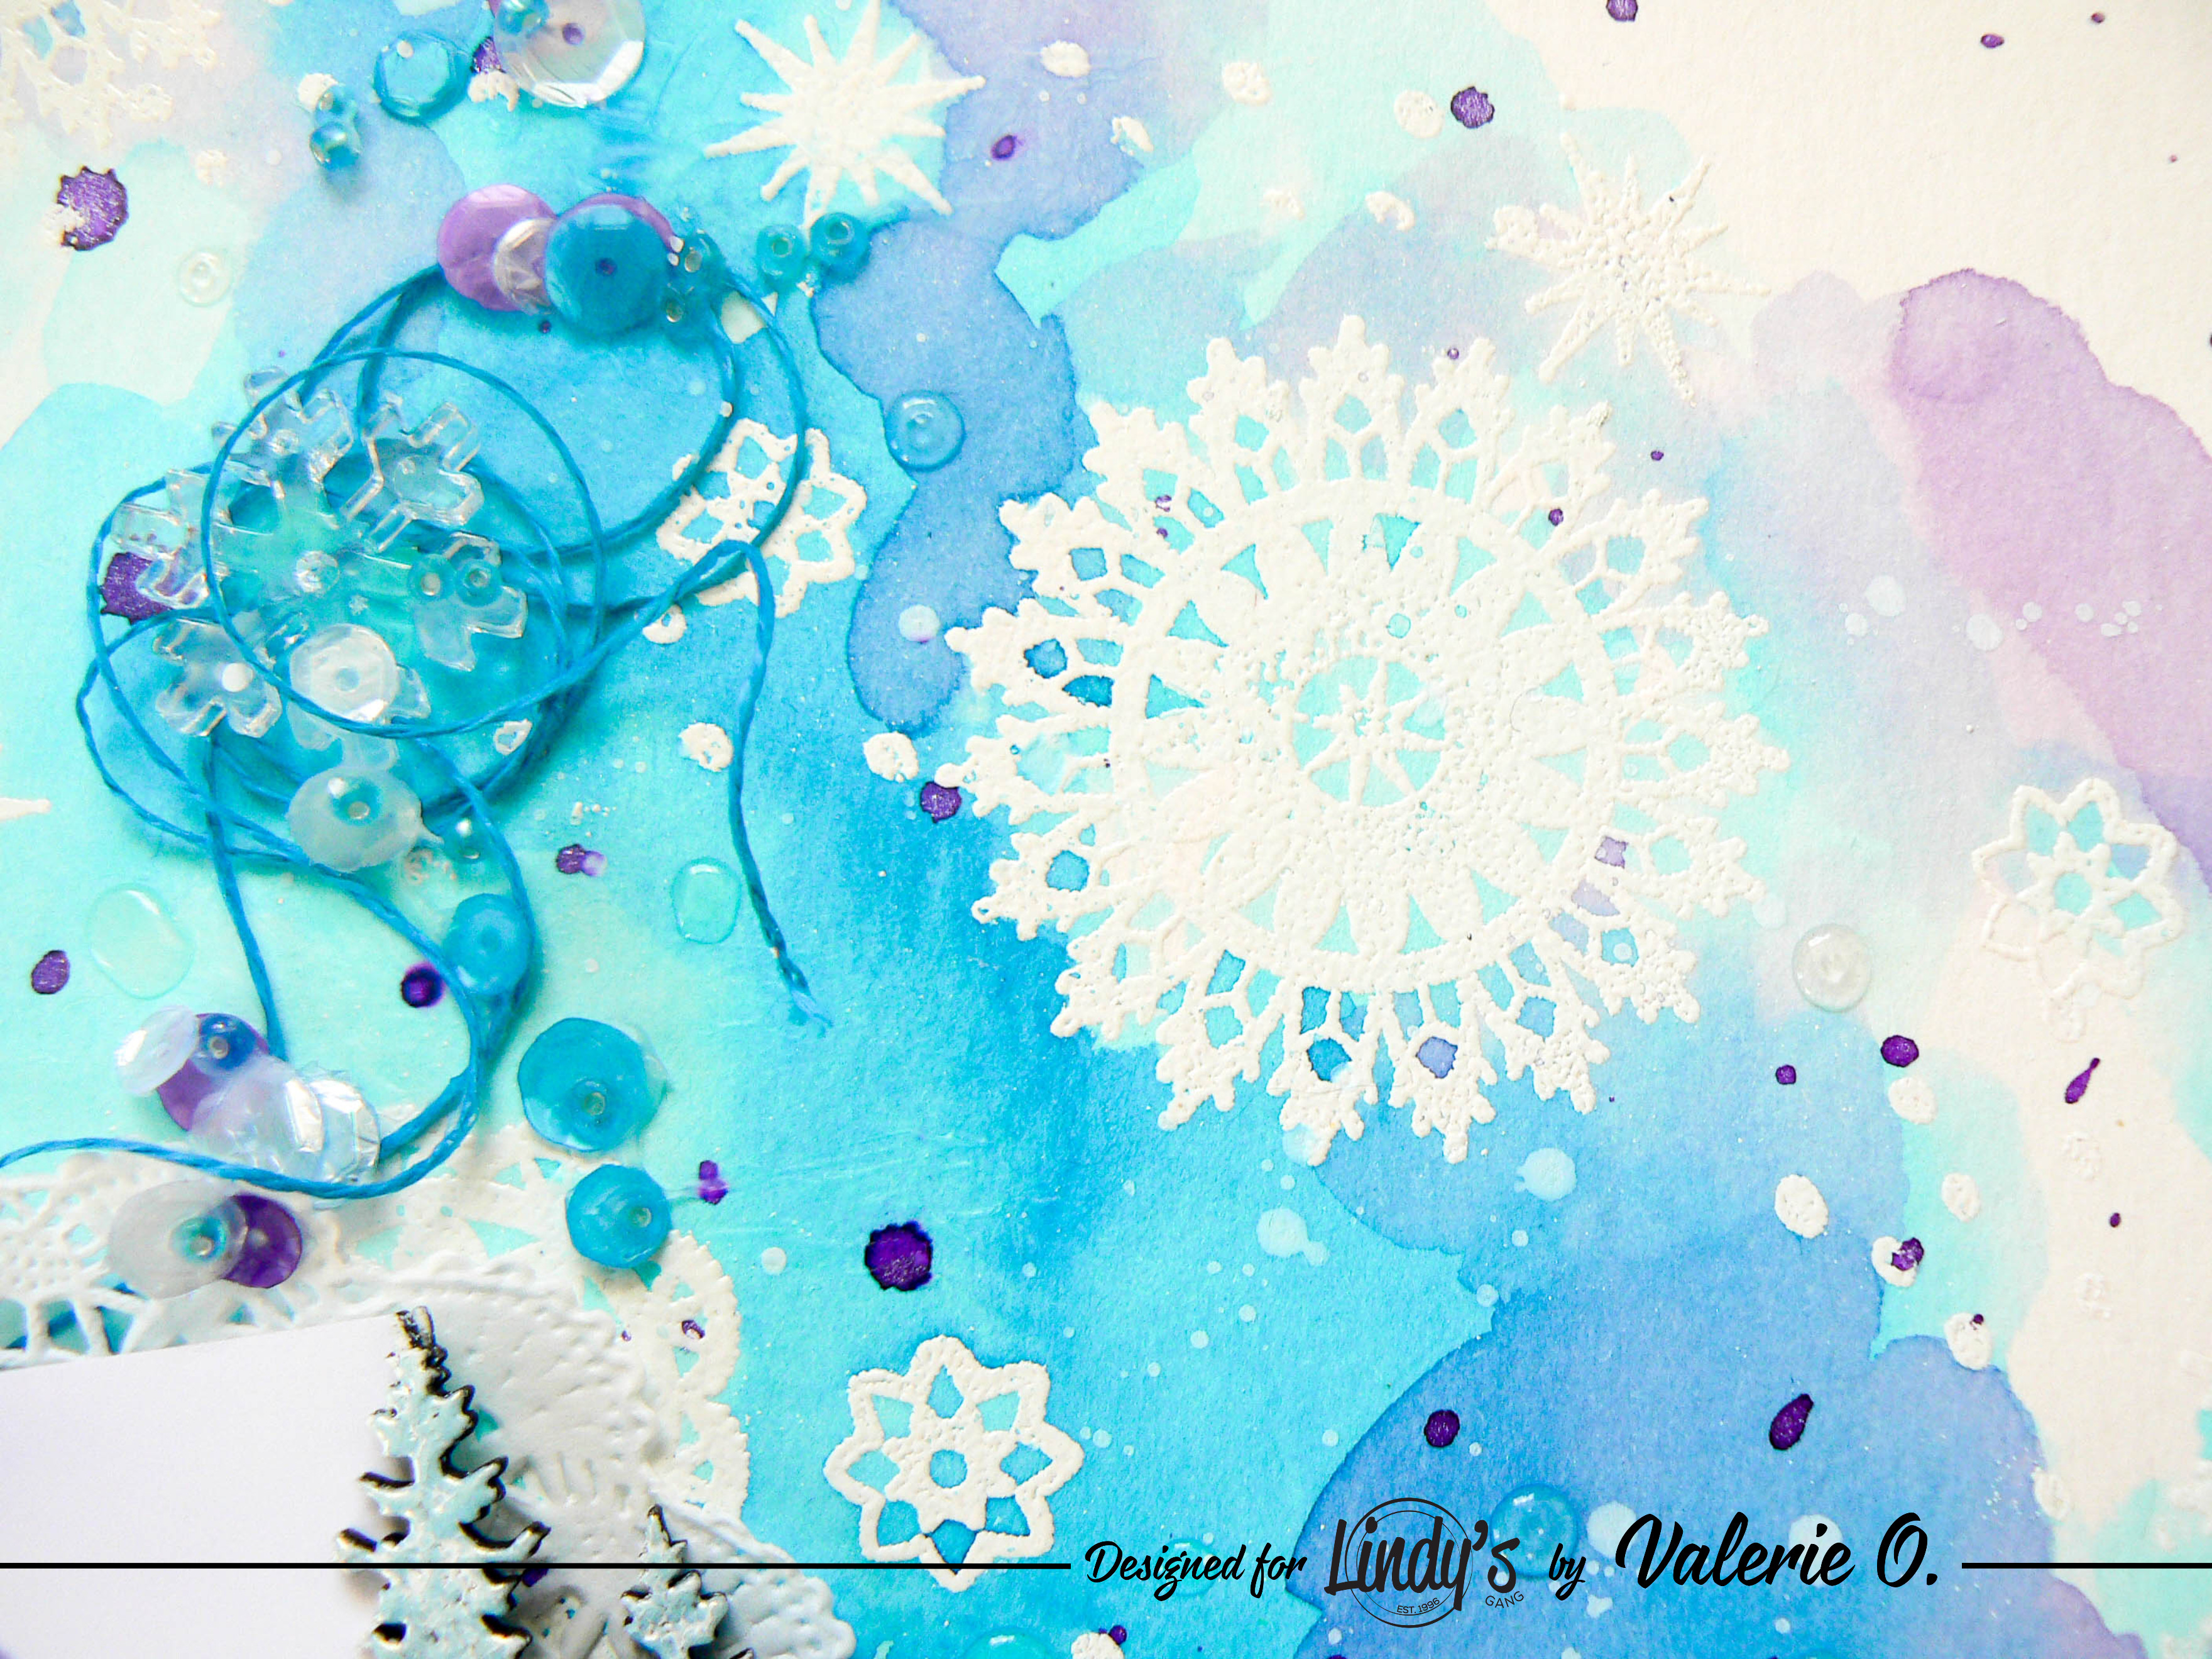
I'm back with another turquoise layout! It's not my fault. haha I love turquoise and Lindy's offers a nice variety of this color palette. I created a magical snowing background using my own style and I used white embossing powder to create a fabulous effect. Let me show you the steps.

P1160827
P1160845

Basic Process

  1. Use a watercolor paper
  2. Choose 3-4 sprays that fit well together
  3. Prepare a pot of clean water
  4. Choose 3-4 stamps (snowflakes, doillies, little dots, little stars)
  5. Visualize where you will put your ink and stamp with versamark
  6. Use Lindy's Purely white embossing powder on your stamping and heat
  7. Now, you are ready to put your colors
  8. Choose a medium round brush. It's easier
  9. At the beginning, use the palest tone and add water to blend the color and dry
  10. Add the second one on the first color and dry. Do the same things with every colors.
  11. Avoid putting it everywhere
P1160831 

I’ve created a step-by-step video so you can watch the entire process


Here are some close-ups of my finished project

P1160840 

P1160836 

P1160842 

P1160839 

P1160838

Lindy’s Products

Others
  • Cuts2luv flair, Dusty Attic chipboard
See you soon ladies! Have a very nice day,
Lindys Blog Designer badge 2019 Valerie 2


vendredi 7 décembre 2018

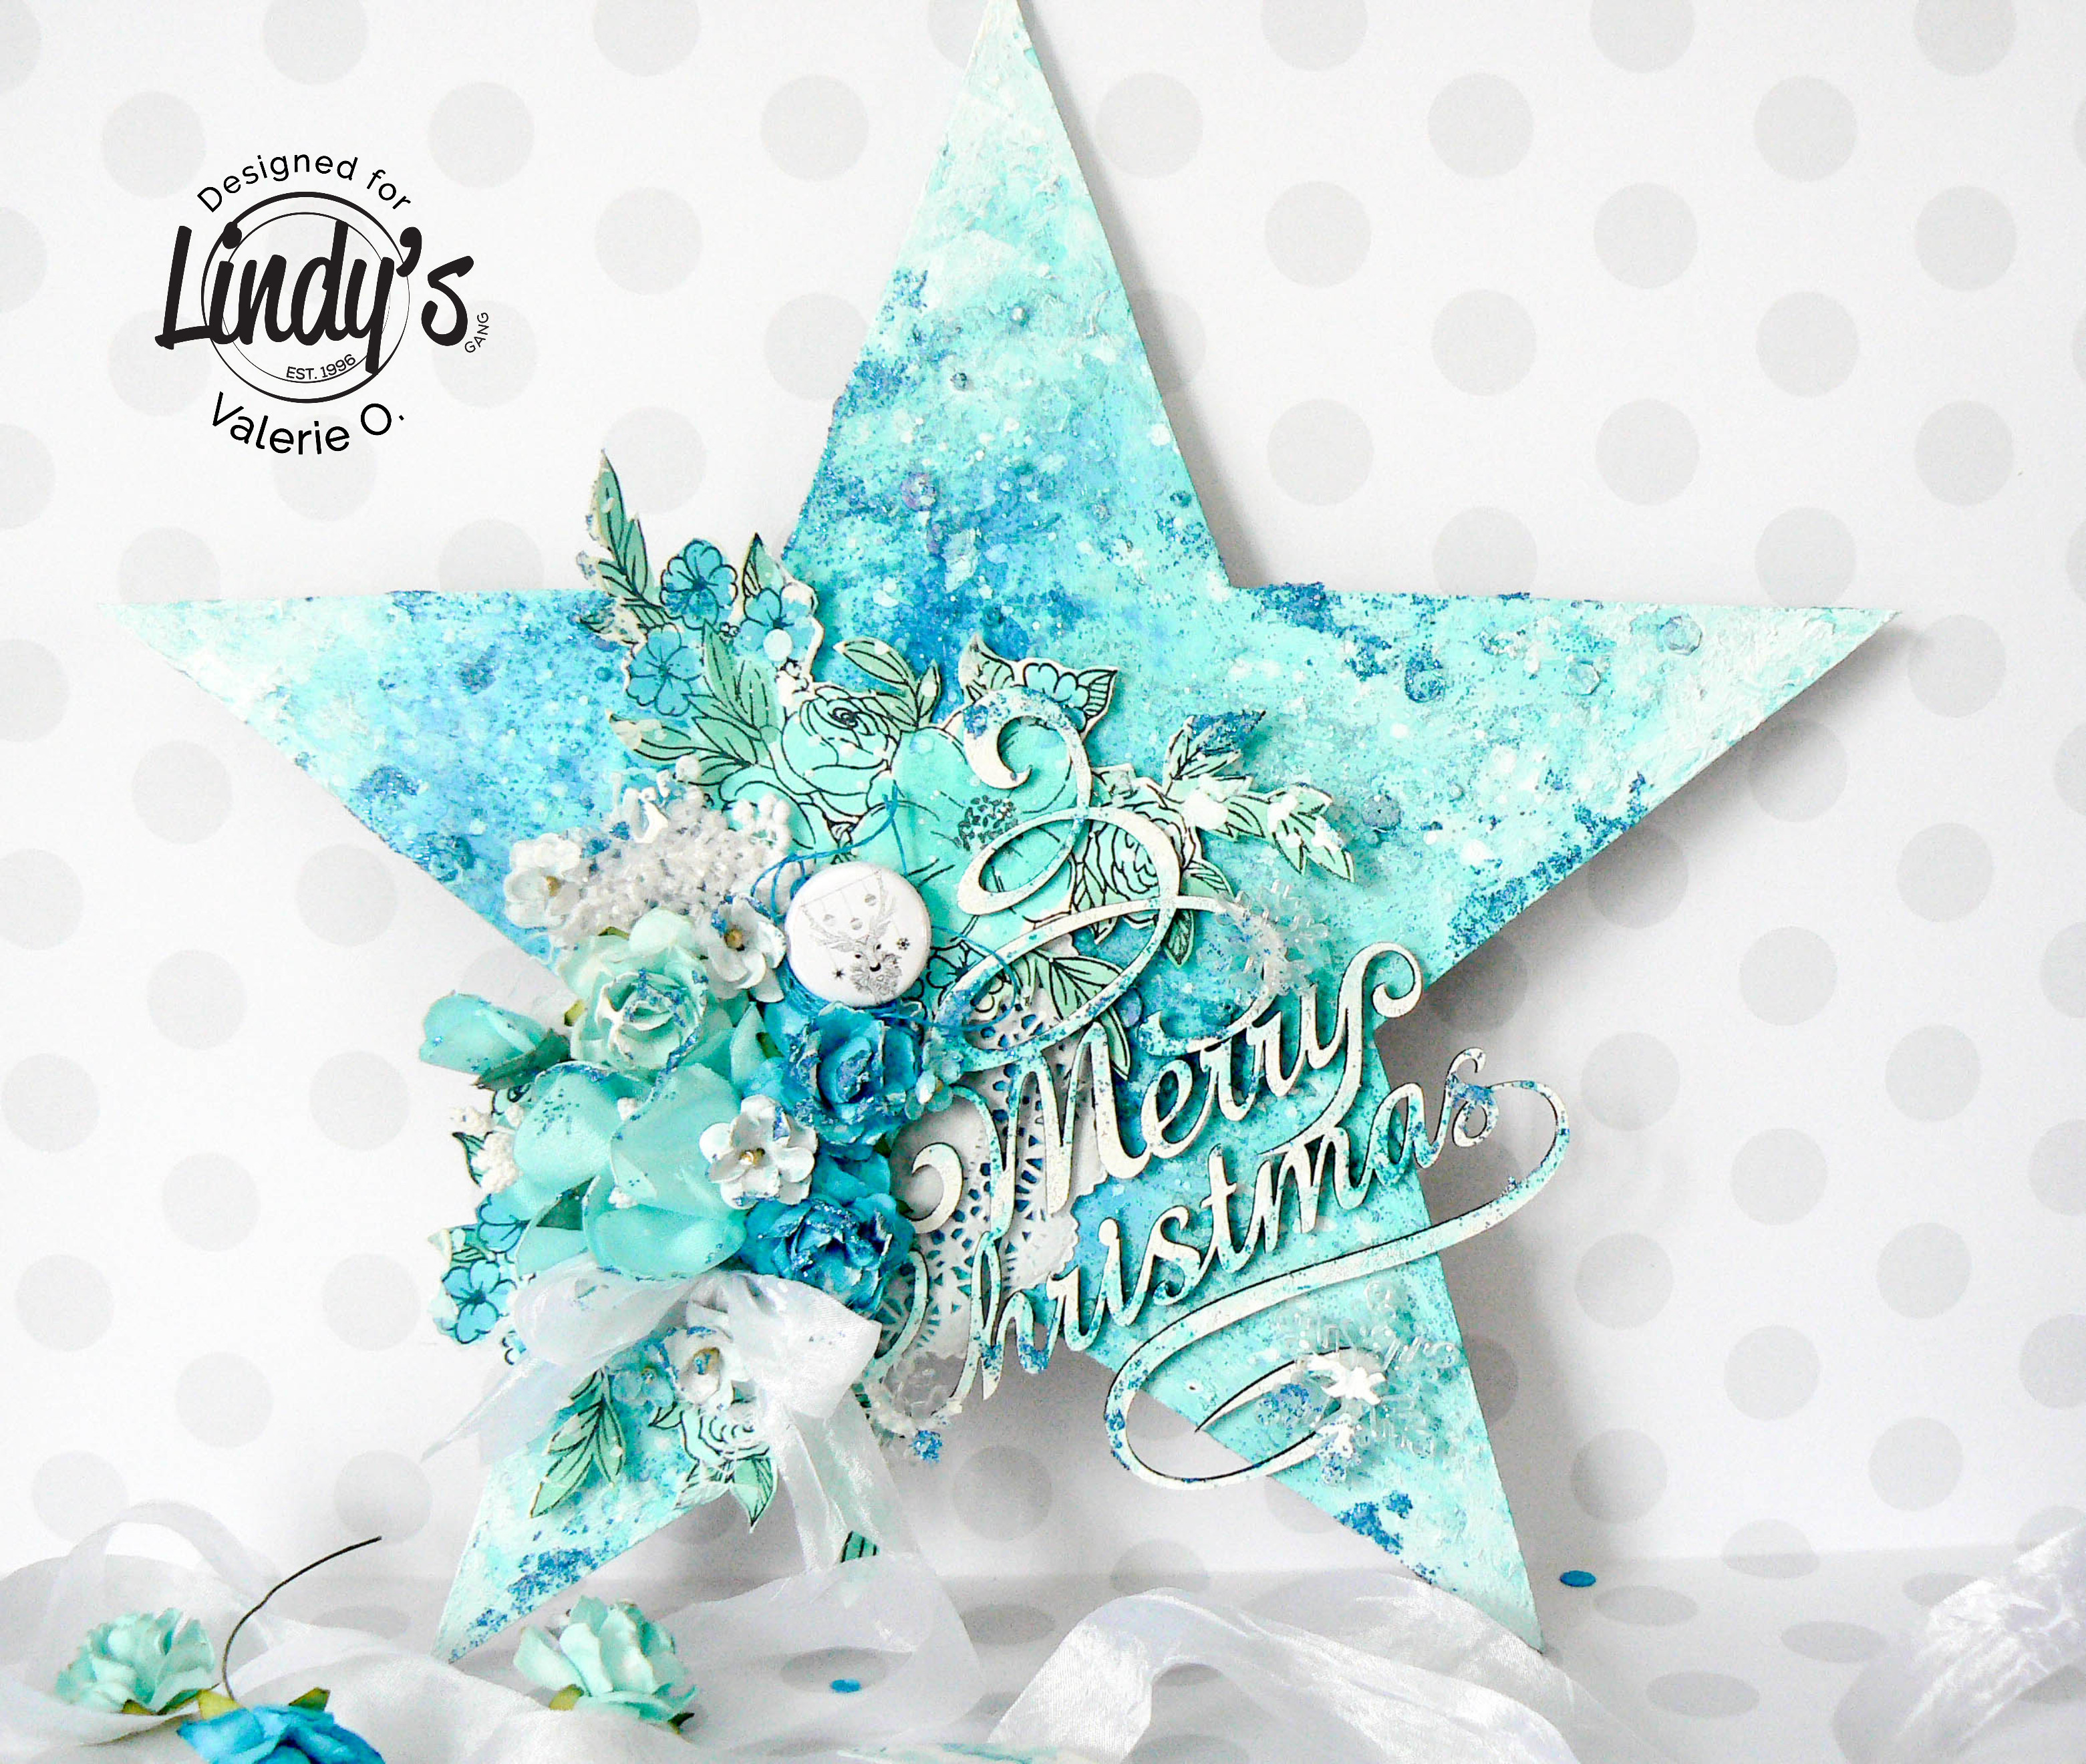
Christmas Mixed Media Star for Lindy's stamp gang

Hi Lindy’s lovers,

It's wintery season and I’m back to share a step-by-step video on how to create a Christmas Mixed Media Star. I used MDF but you can use cardboard or other thick materials.

P1160800

Basic Process

  1. Use MDF or Cardboard star
  2. Cover your star with white gesso and dry it
  3. Use 3D Gel and stencils to create some textures
  4. Mix clear gesso, magical, glitters, sequins and beads. Paint your surface with this mixture
  5. Use ink spray to add more intensity to the color and let dry
  6. Stamp some flowers and use magical and shaker to color them
  7. Add chipboard, flowers, embellishments on the star
  8. Add white gesso here and there to create beautiful snow texture
  9. Finalize your project with a little bit of glitters mixed with 3D Gel
P1160807

I’ve created a step-by-step video if you want to watch the entire process


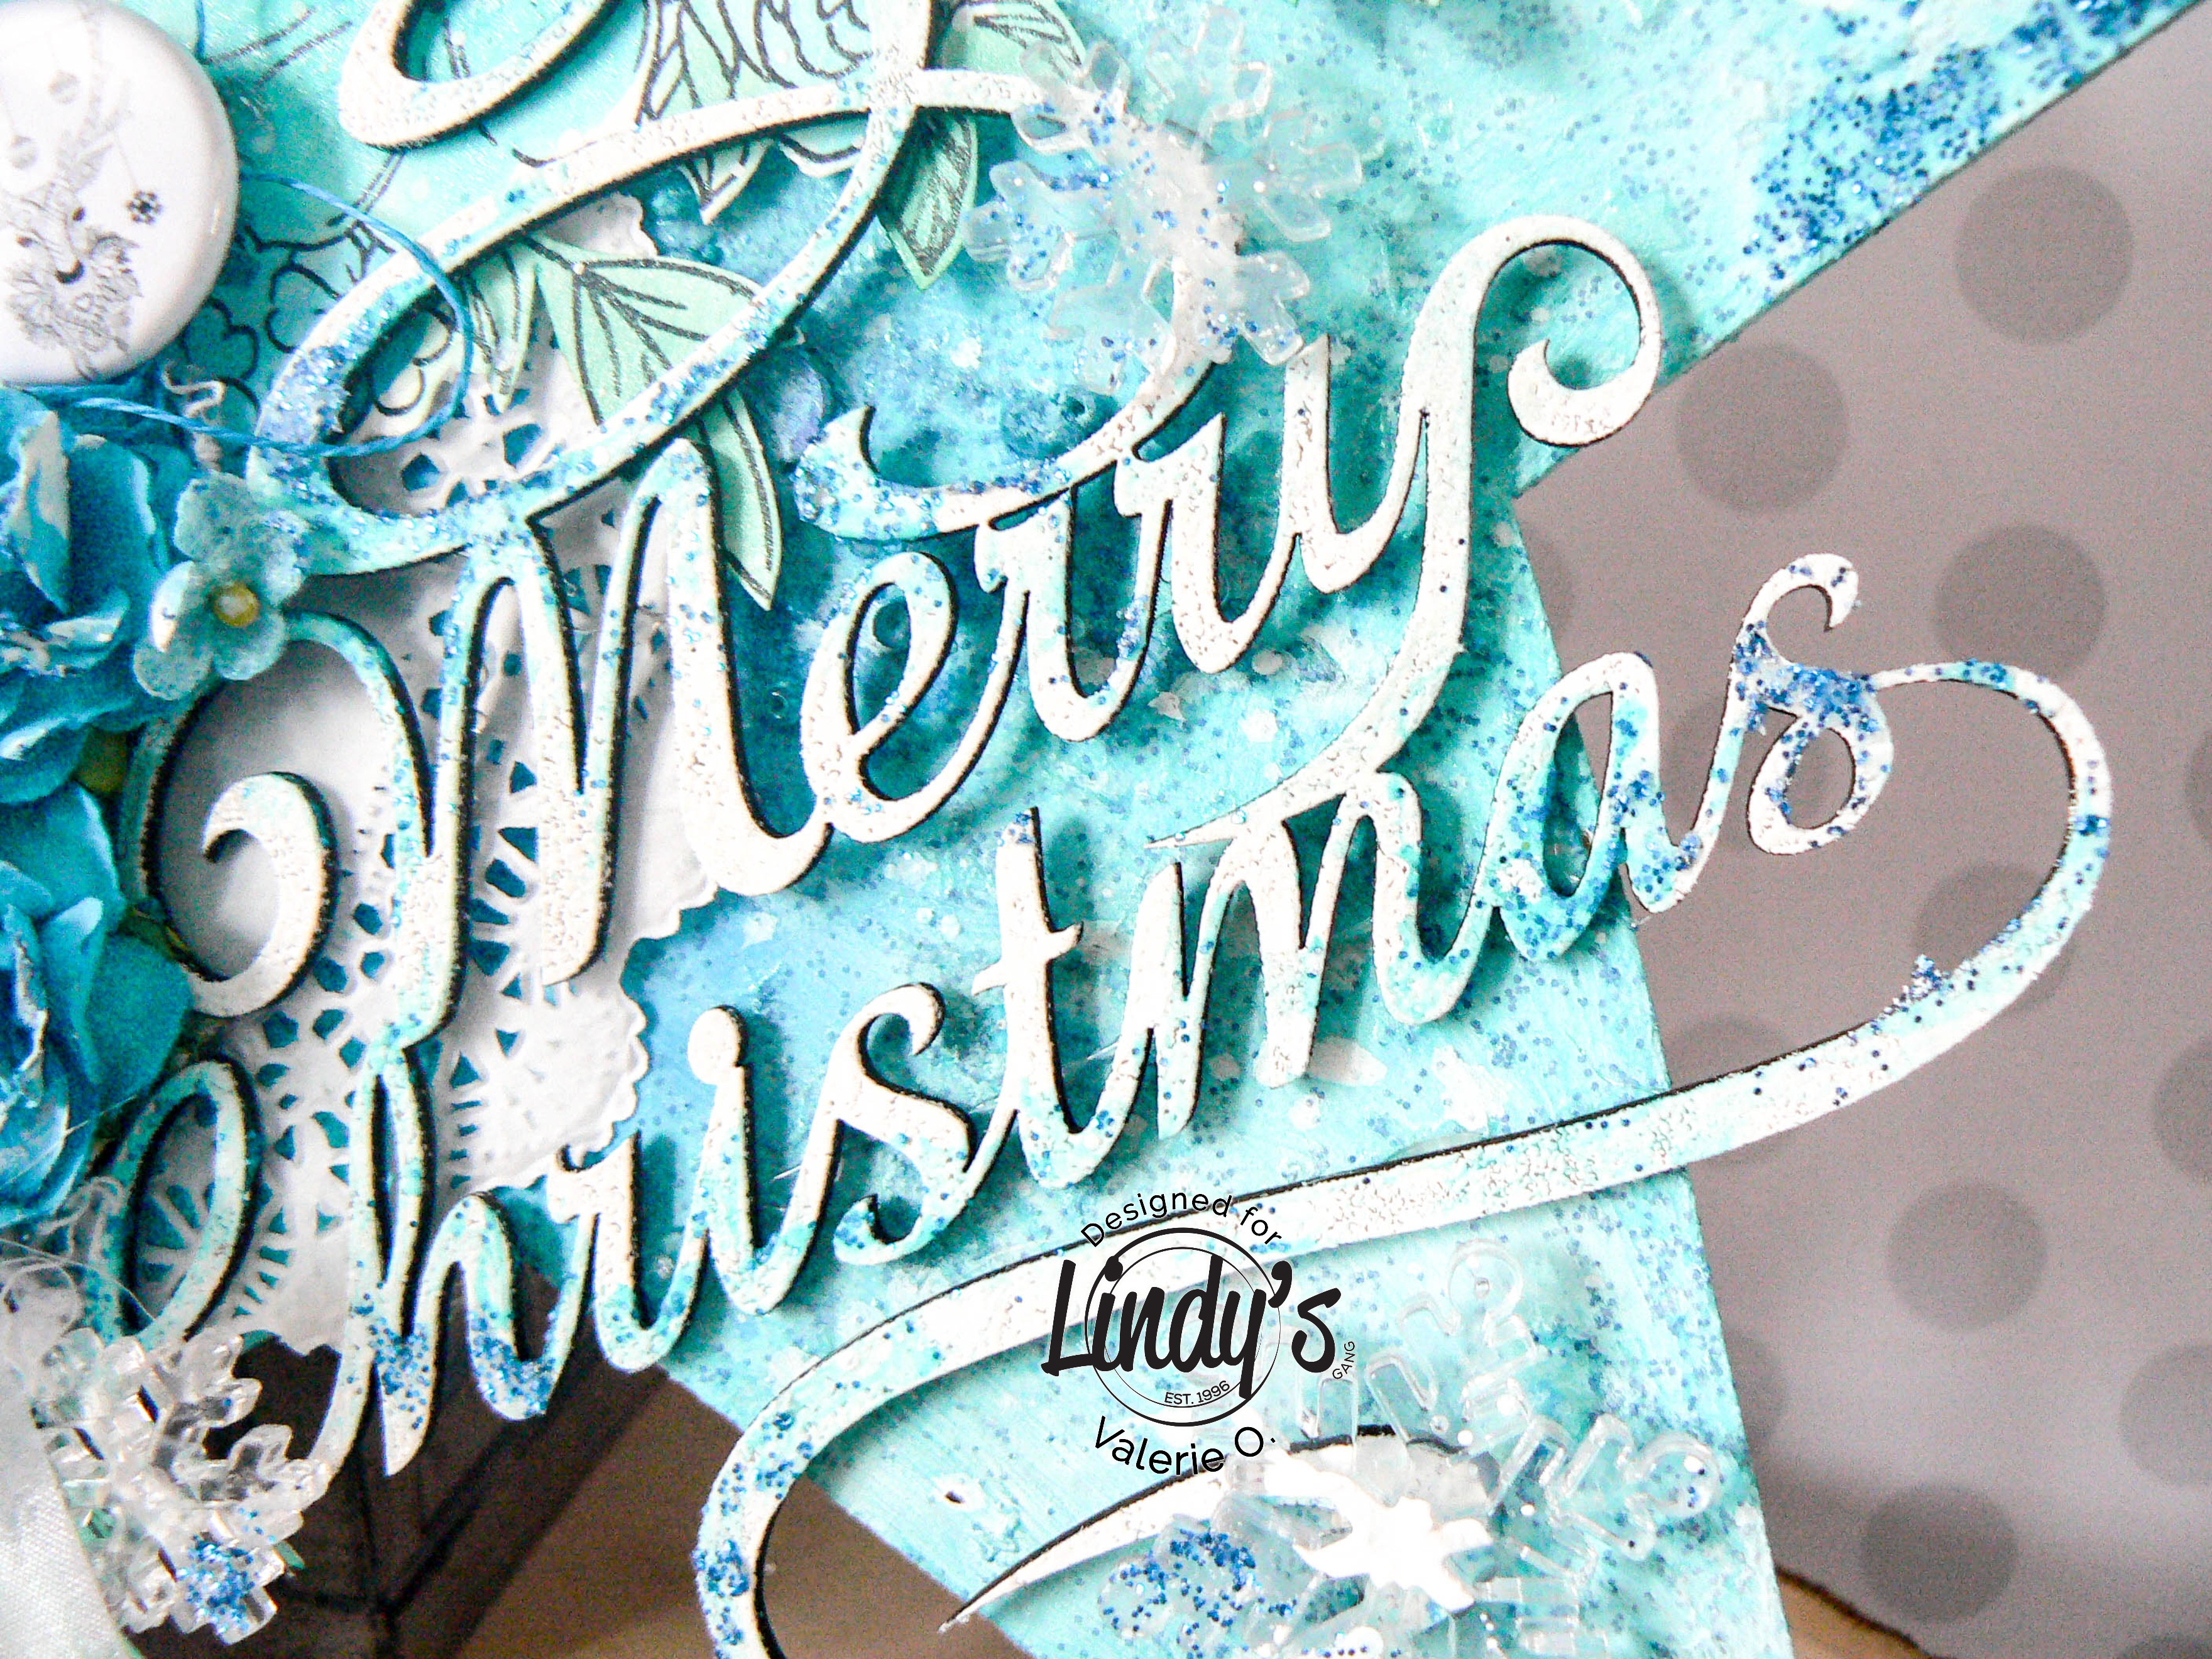
Here are some close-ups of my background and finished project

P1160809 

P1160810 

P1160795

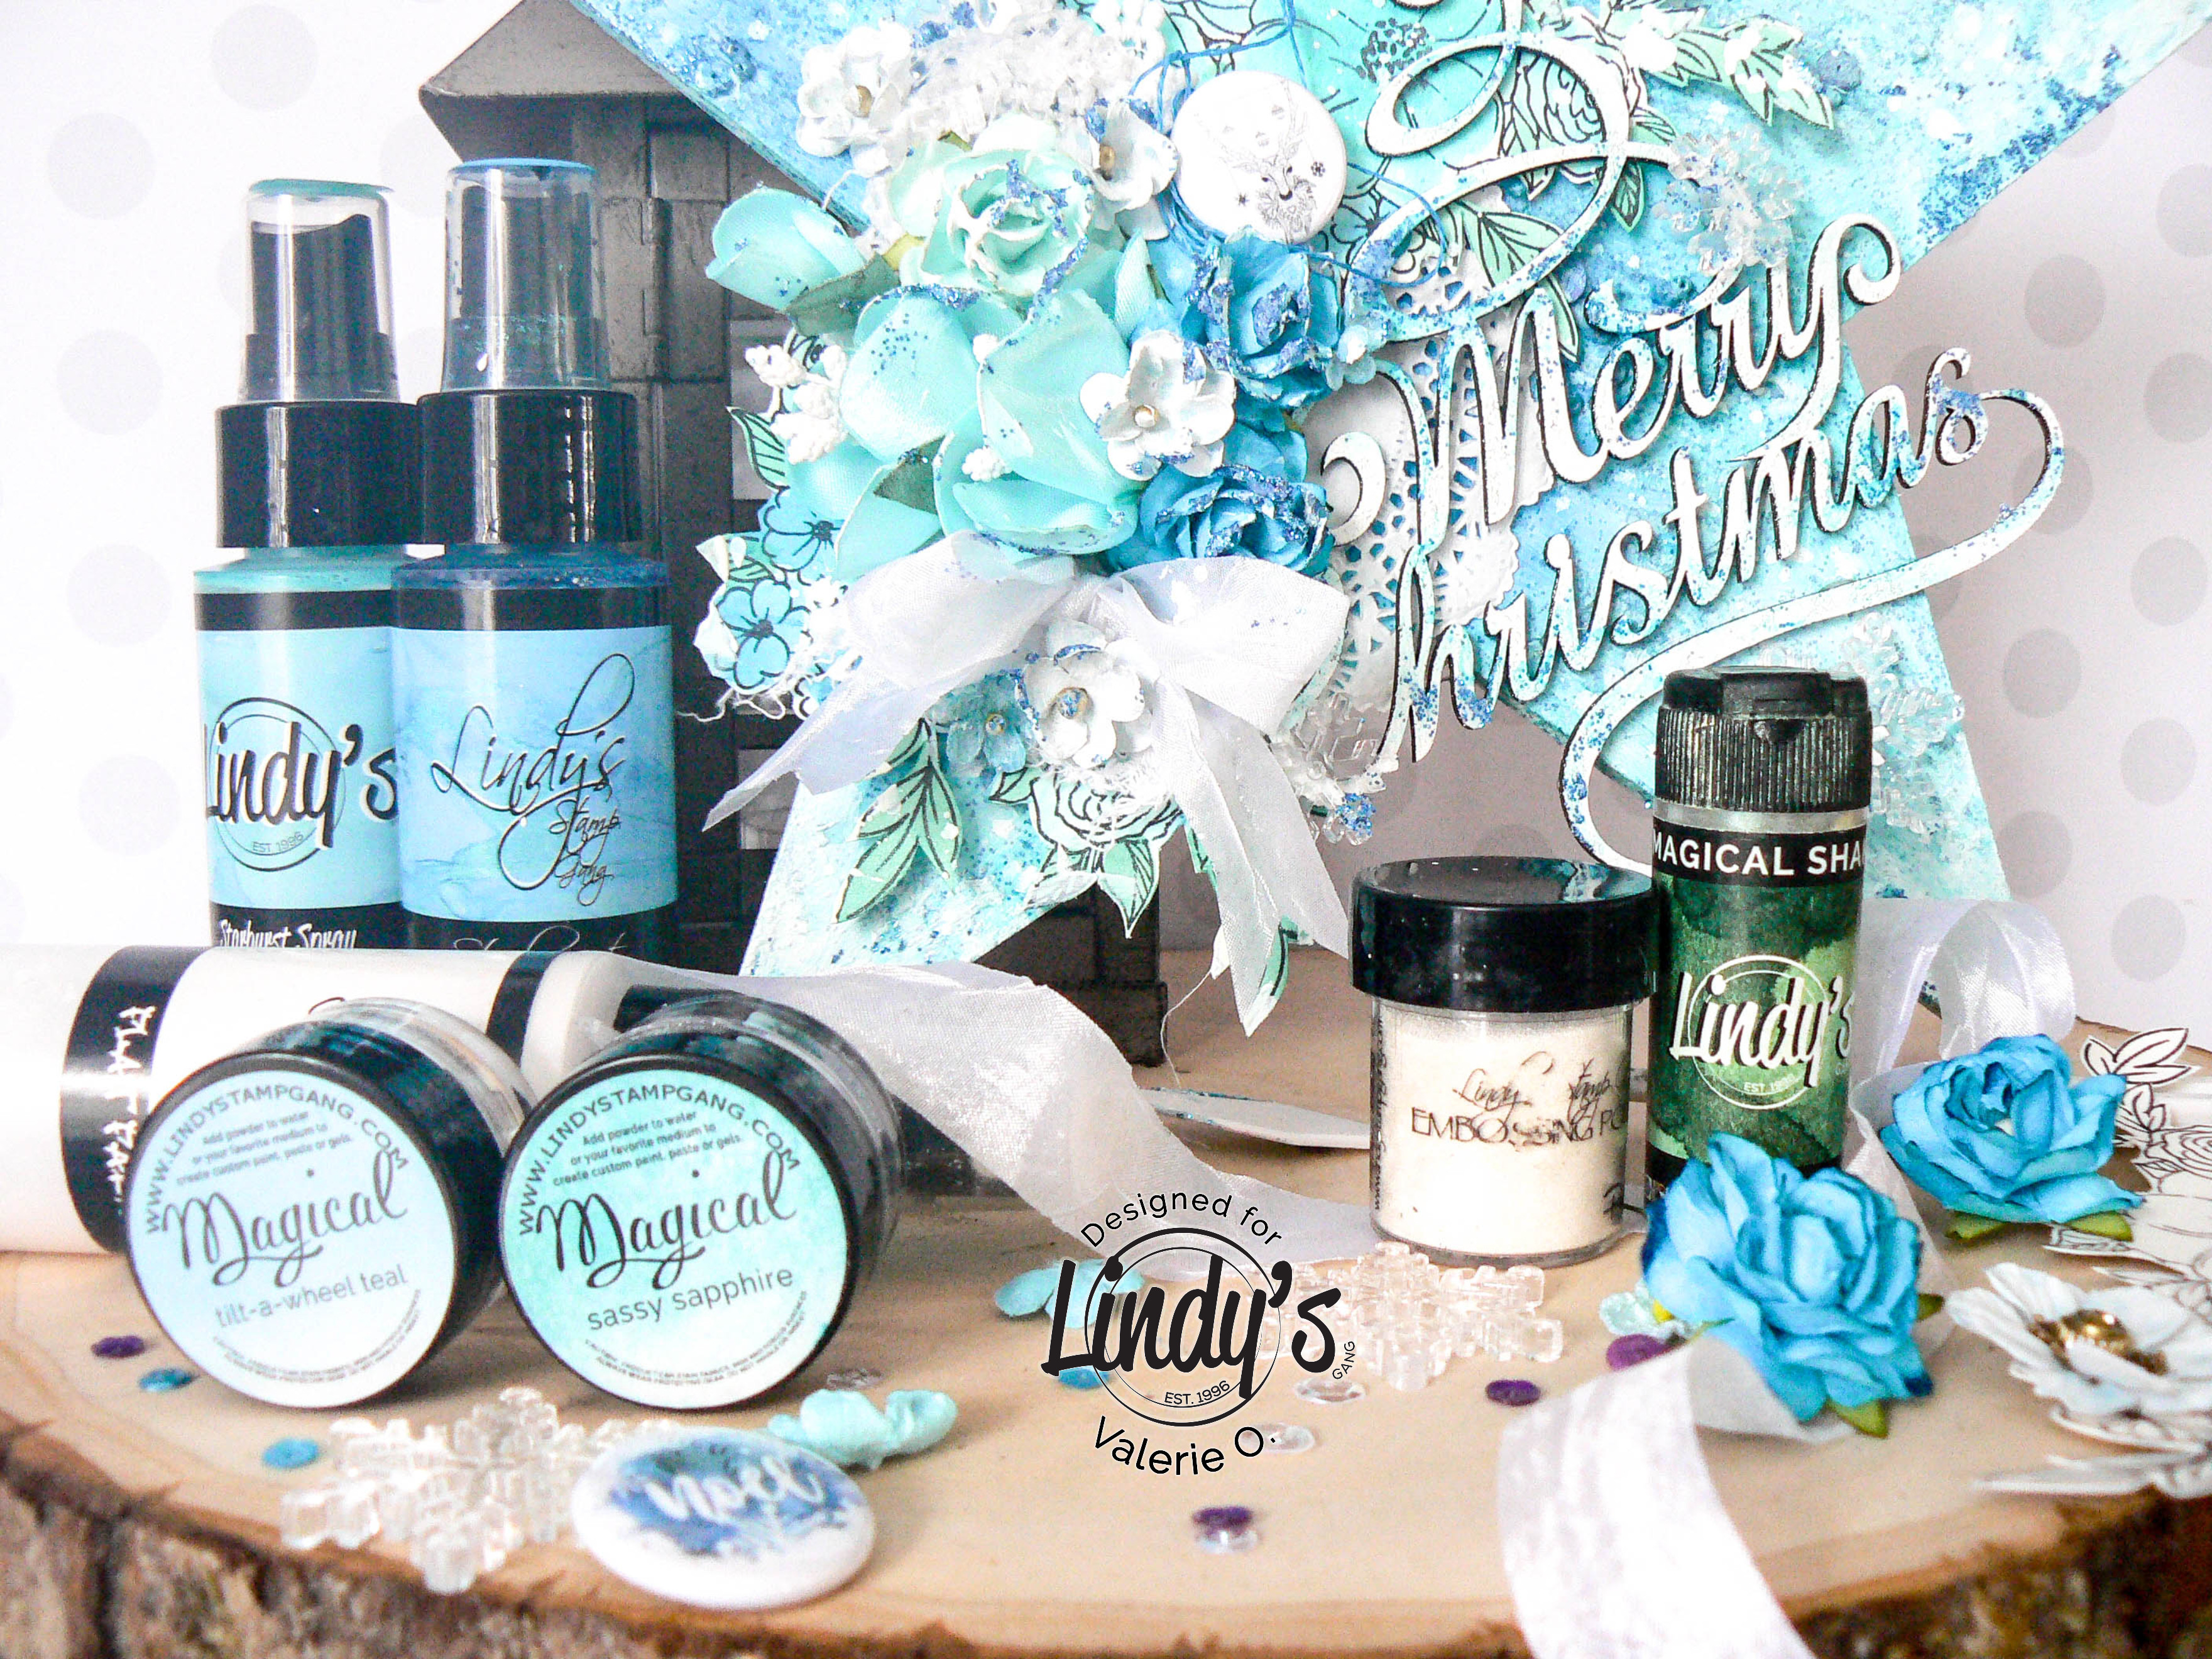
Lindy’s Products

Others
  • Cuts2luv flair, Dusty Attic stencils and chipboard, flowers
See you soon ladies! Have a very nice day,
Valerie - Lindys Blog badge 2018