mercredi 4 décembre 2019

Beginner Christmas Card with Lindy's Stamp Gang


Hi Lindy’s lovers!
Valerie here on the Lindy’s blog today and I’m back with a little tutorial to create a wonderful easy Christmas card with a watercolor background.

P1170432

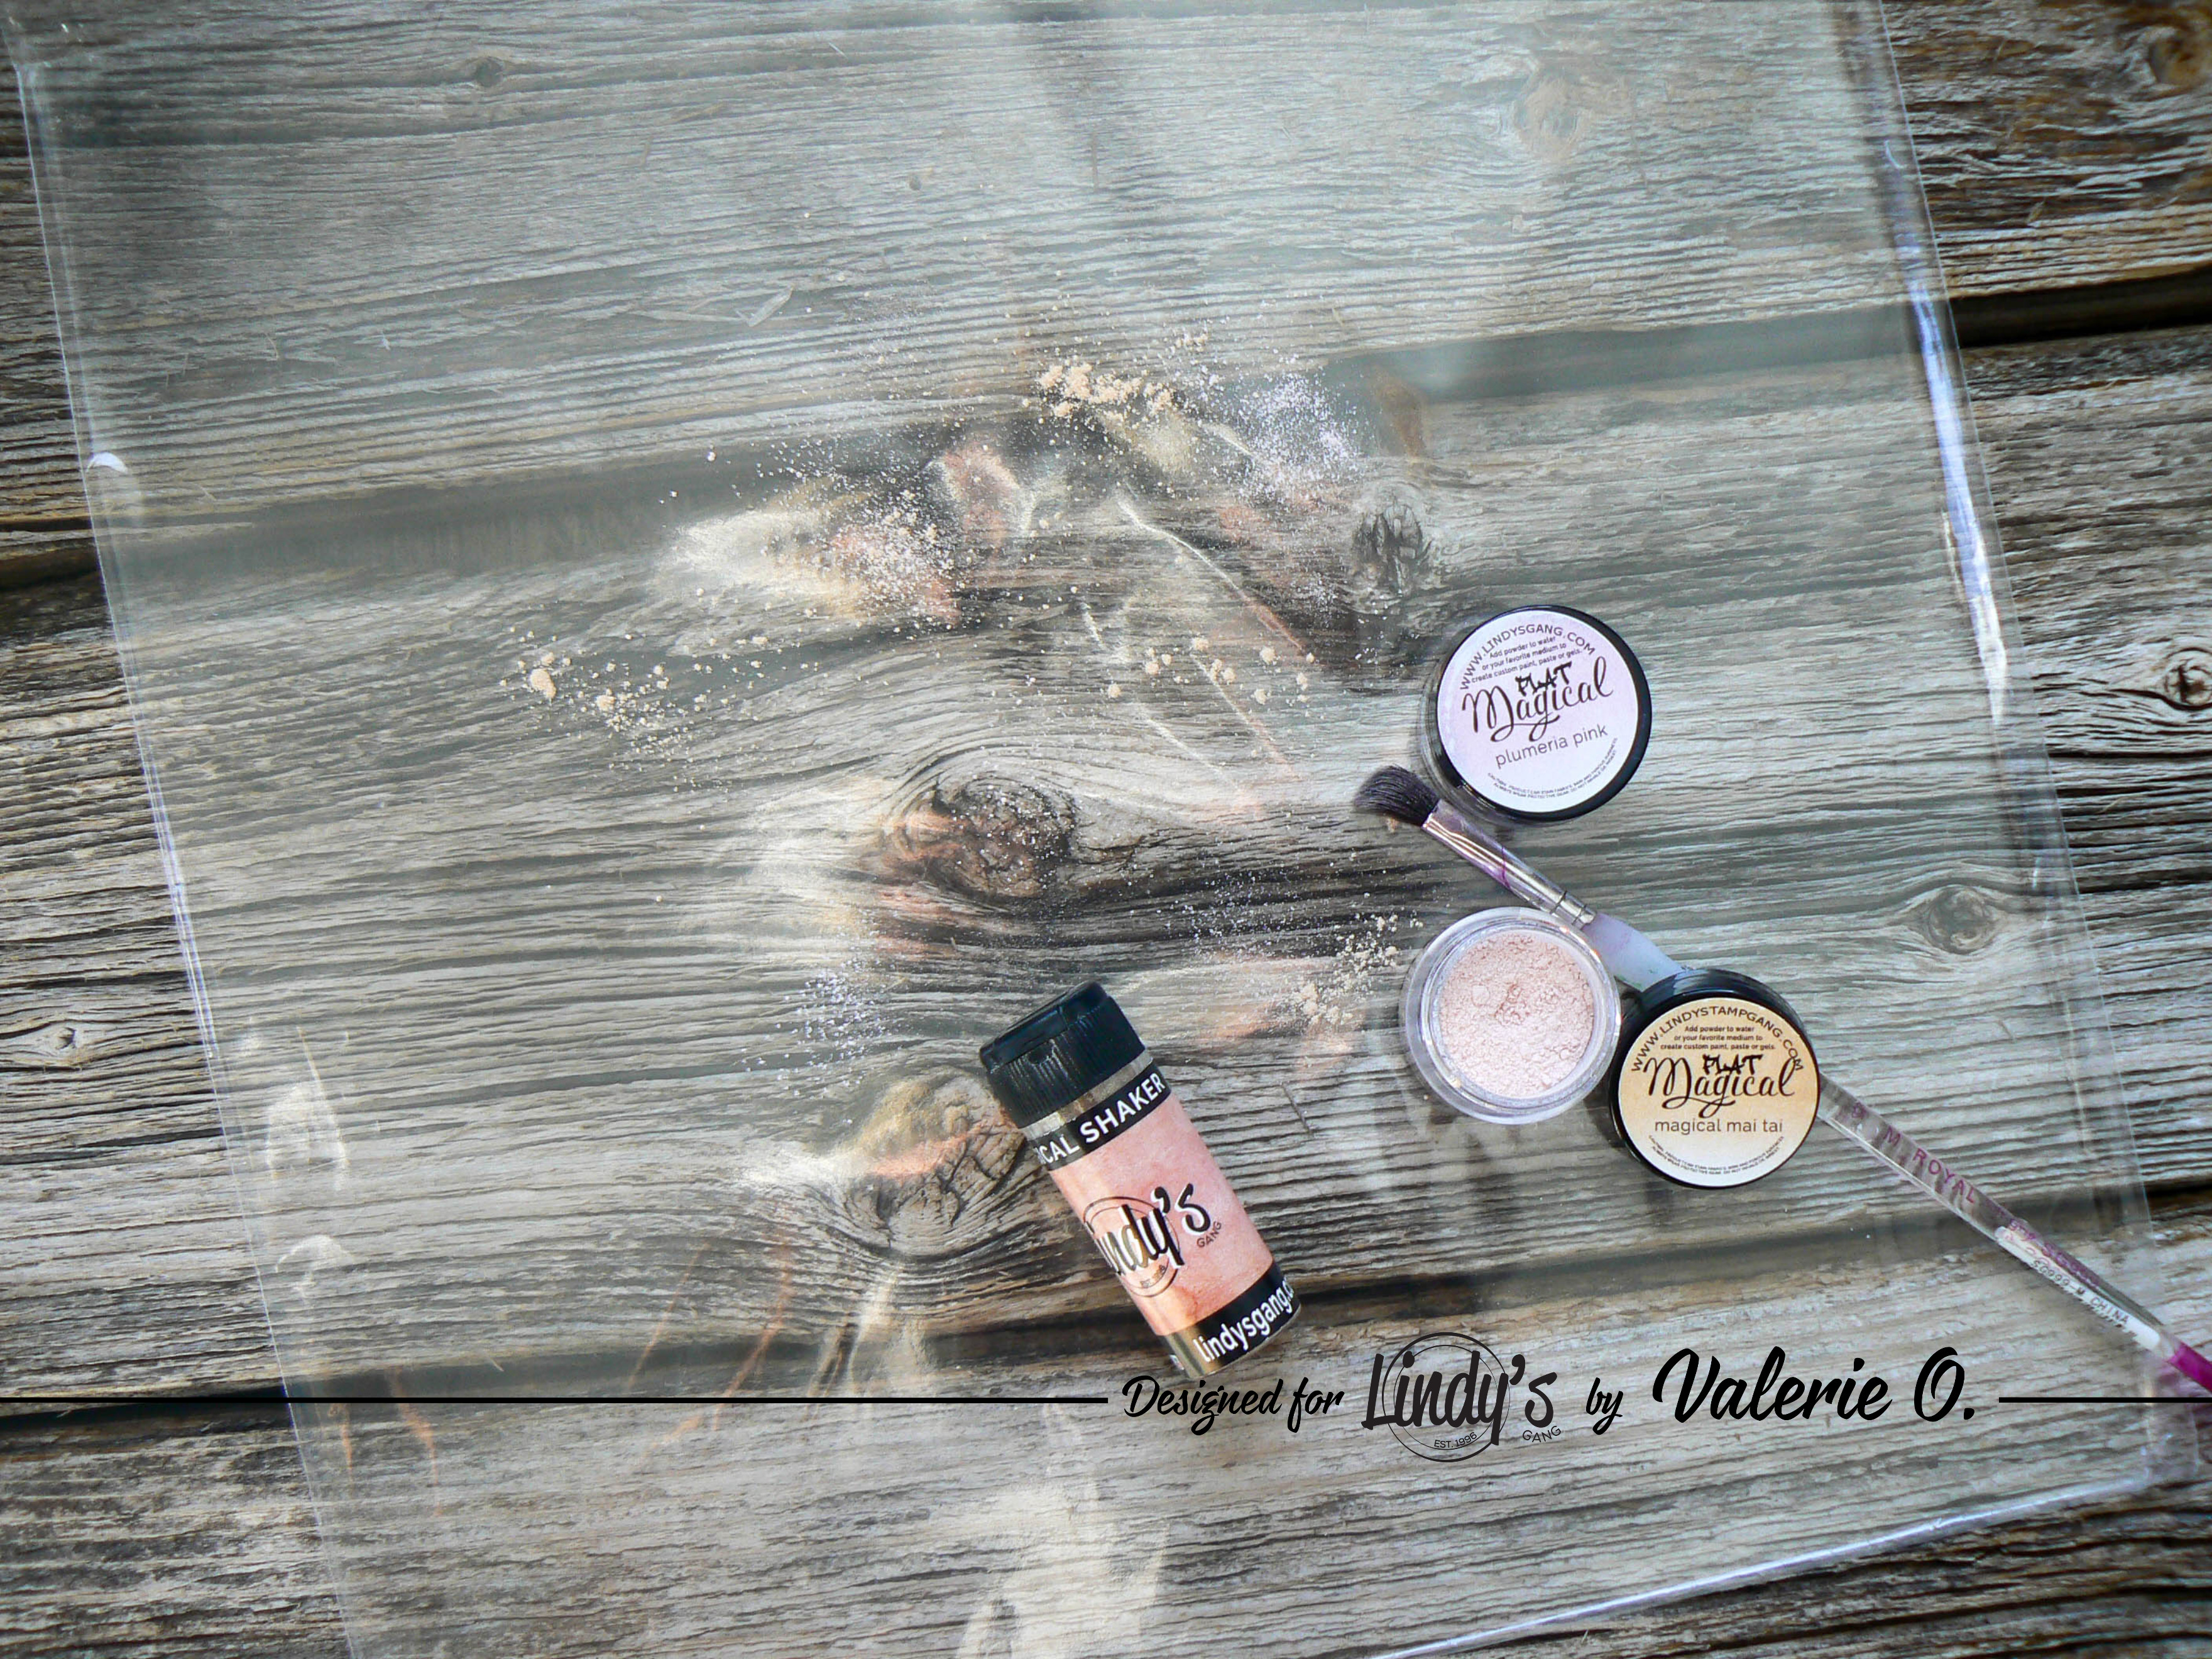
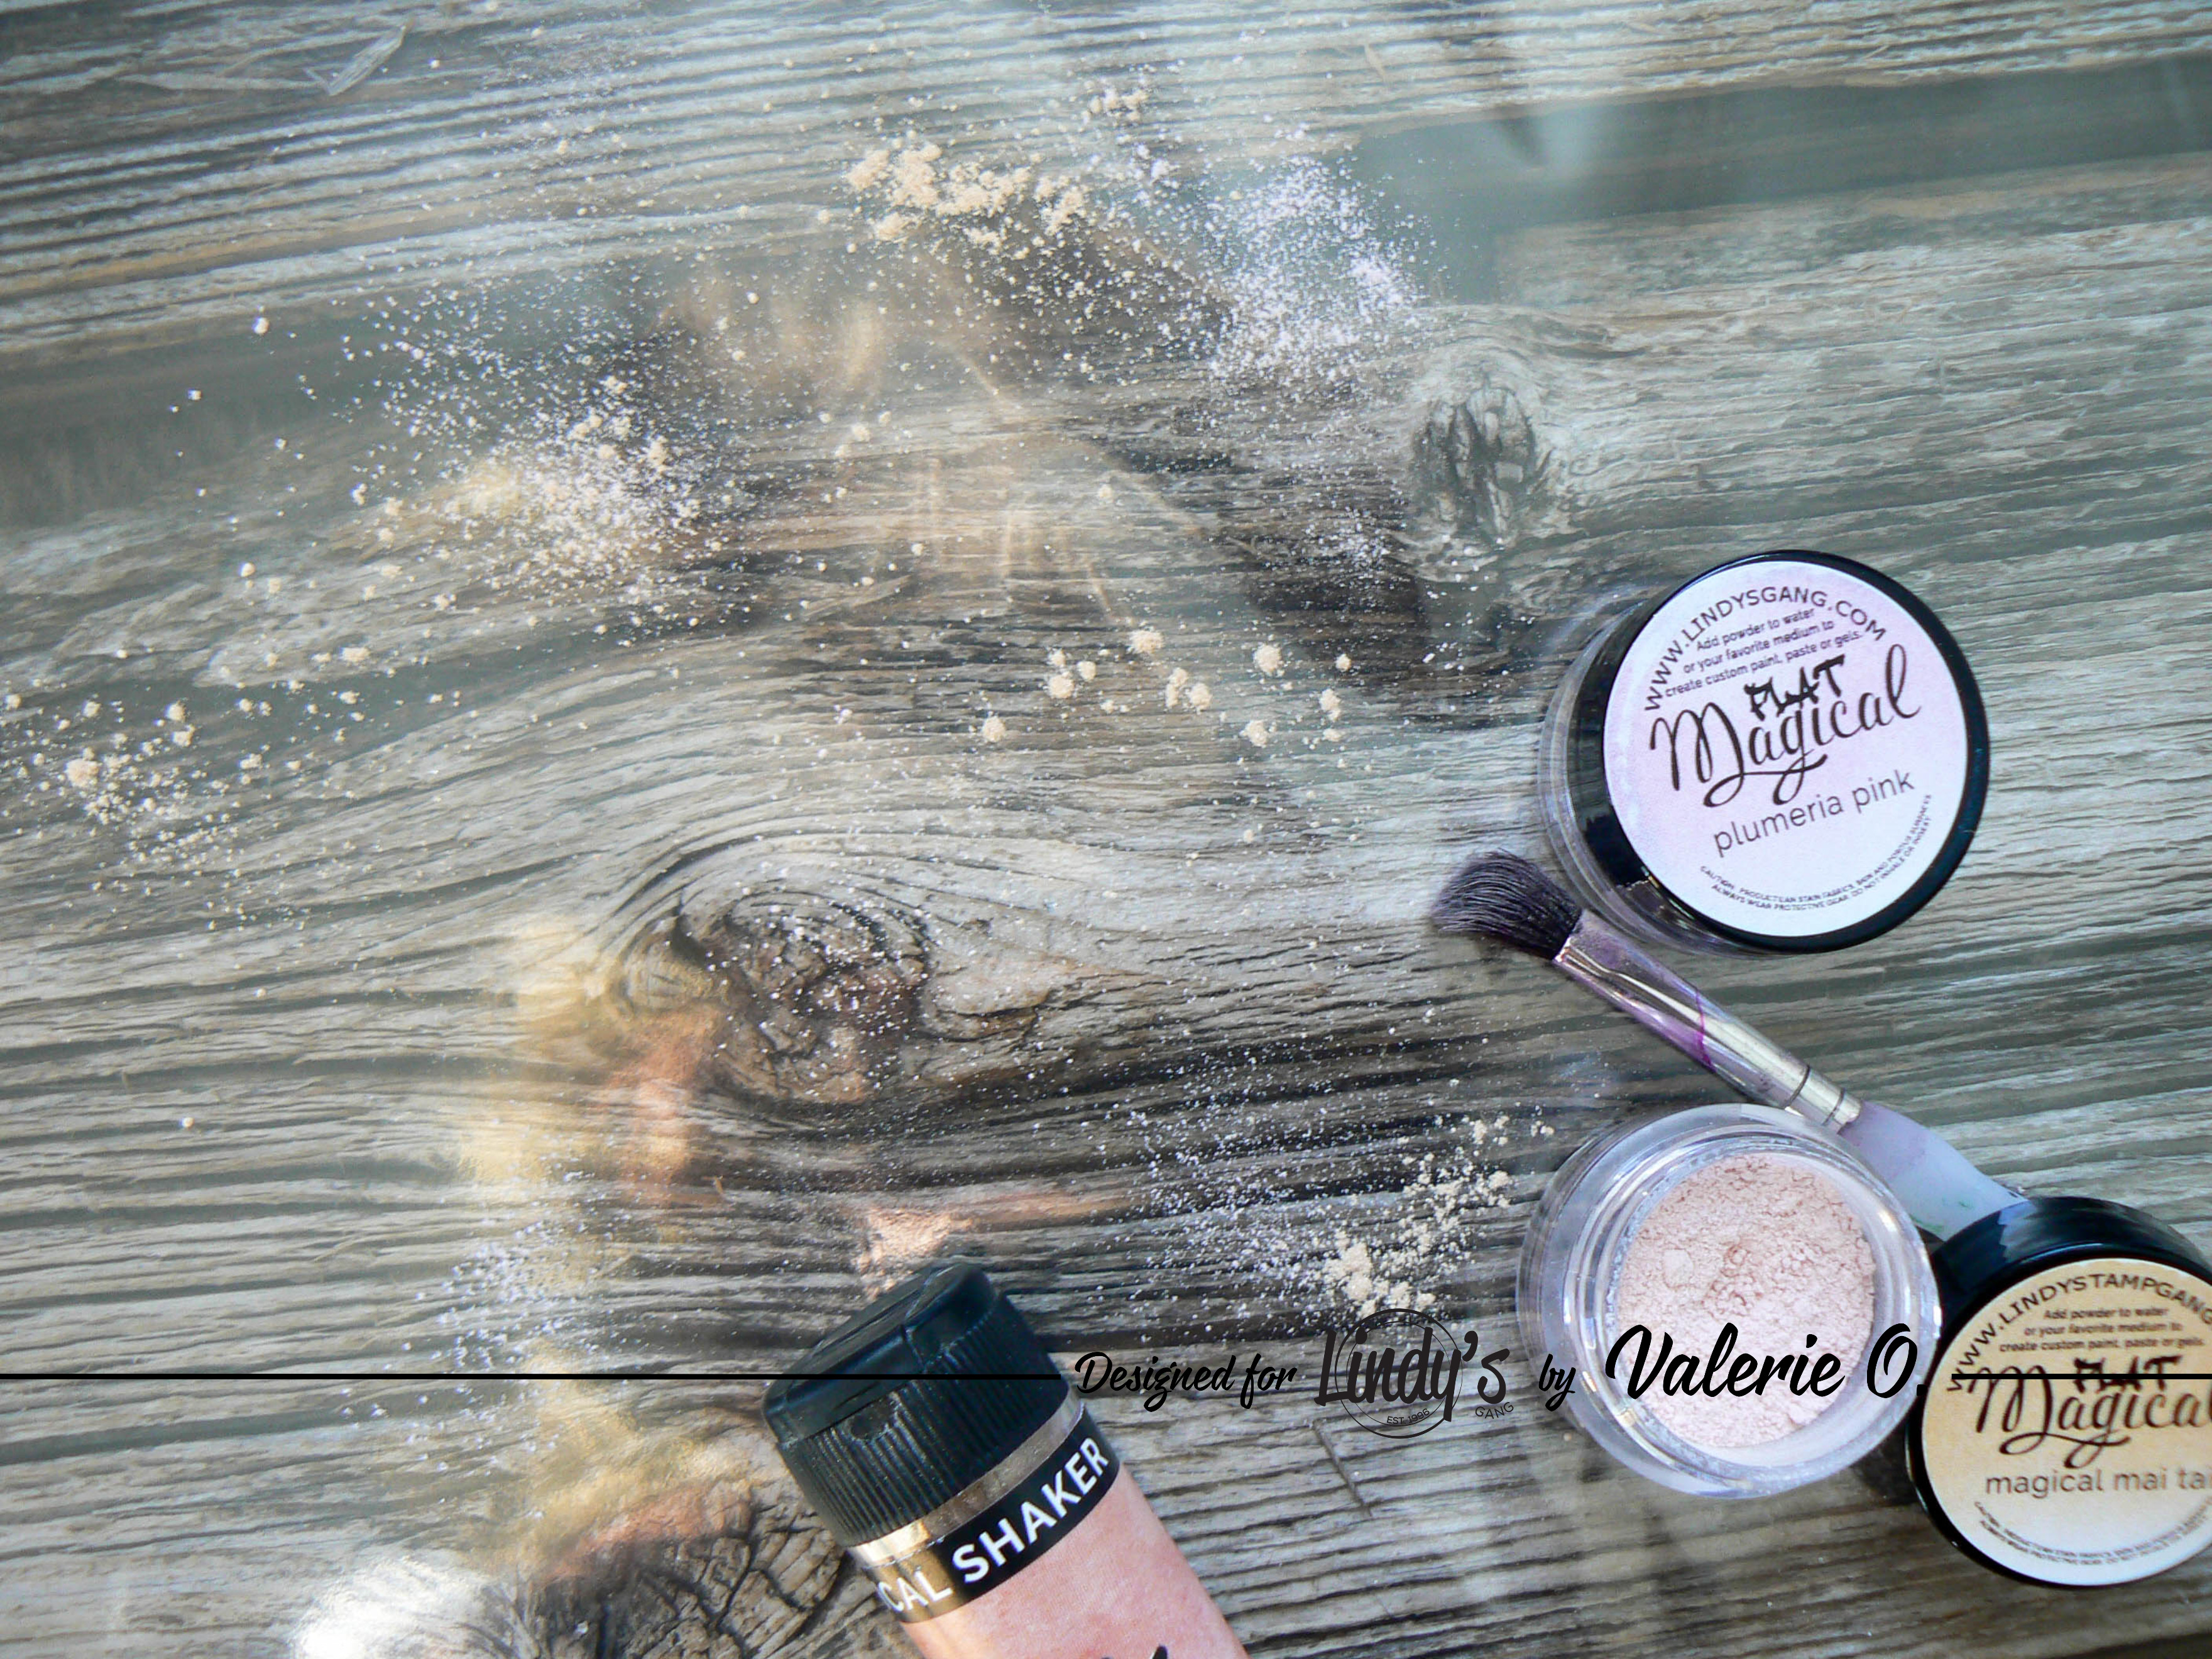
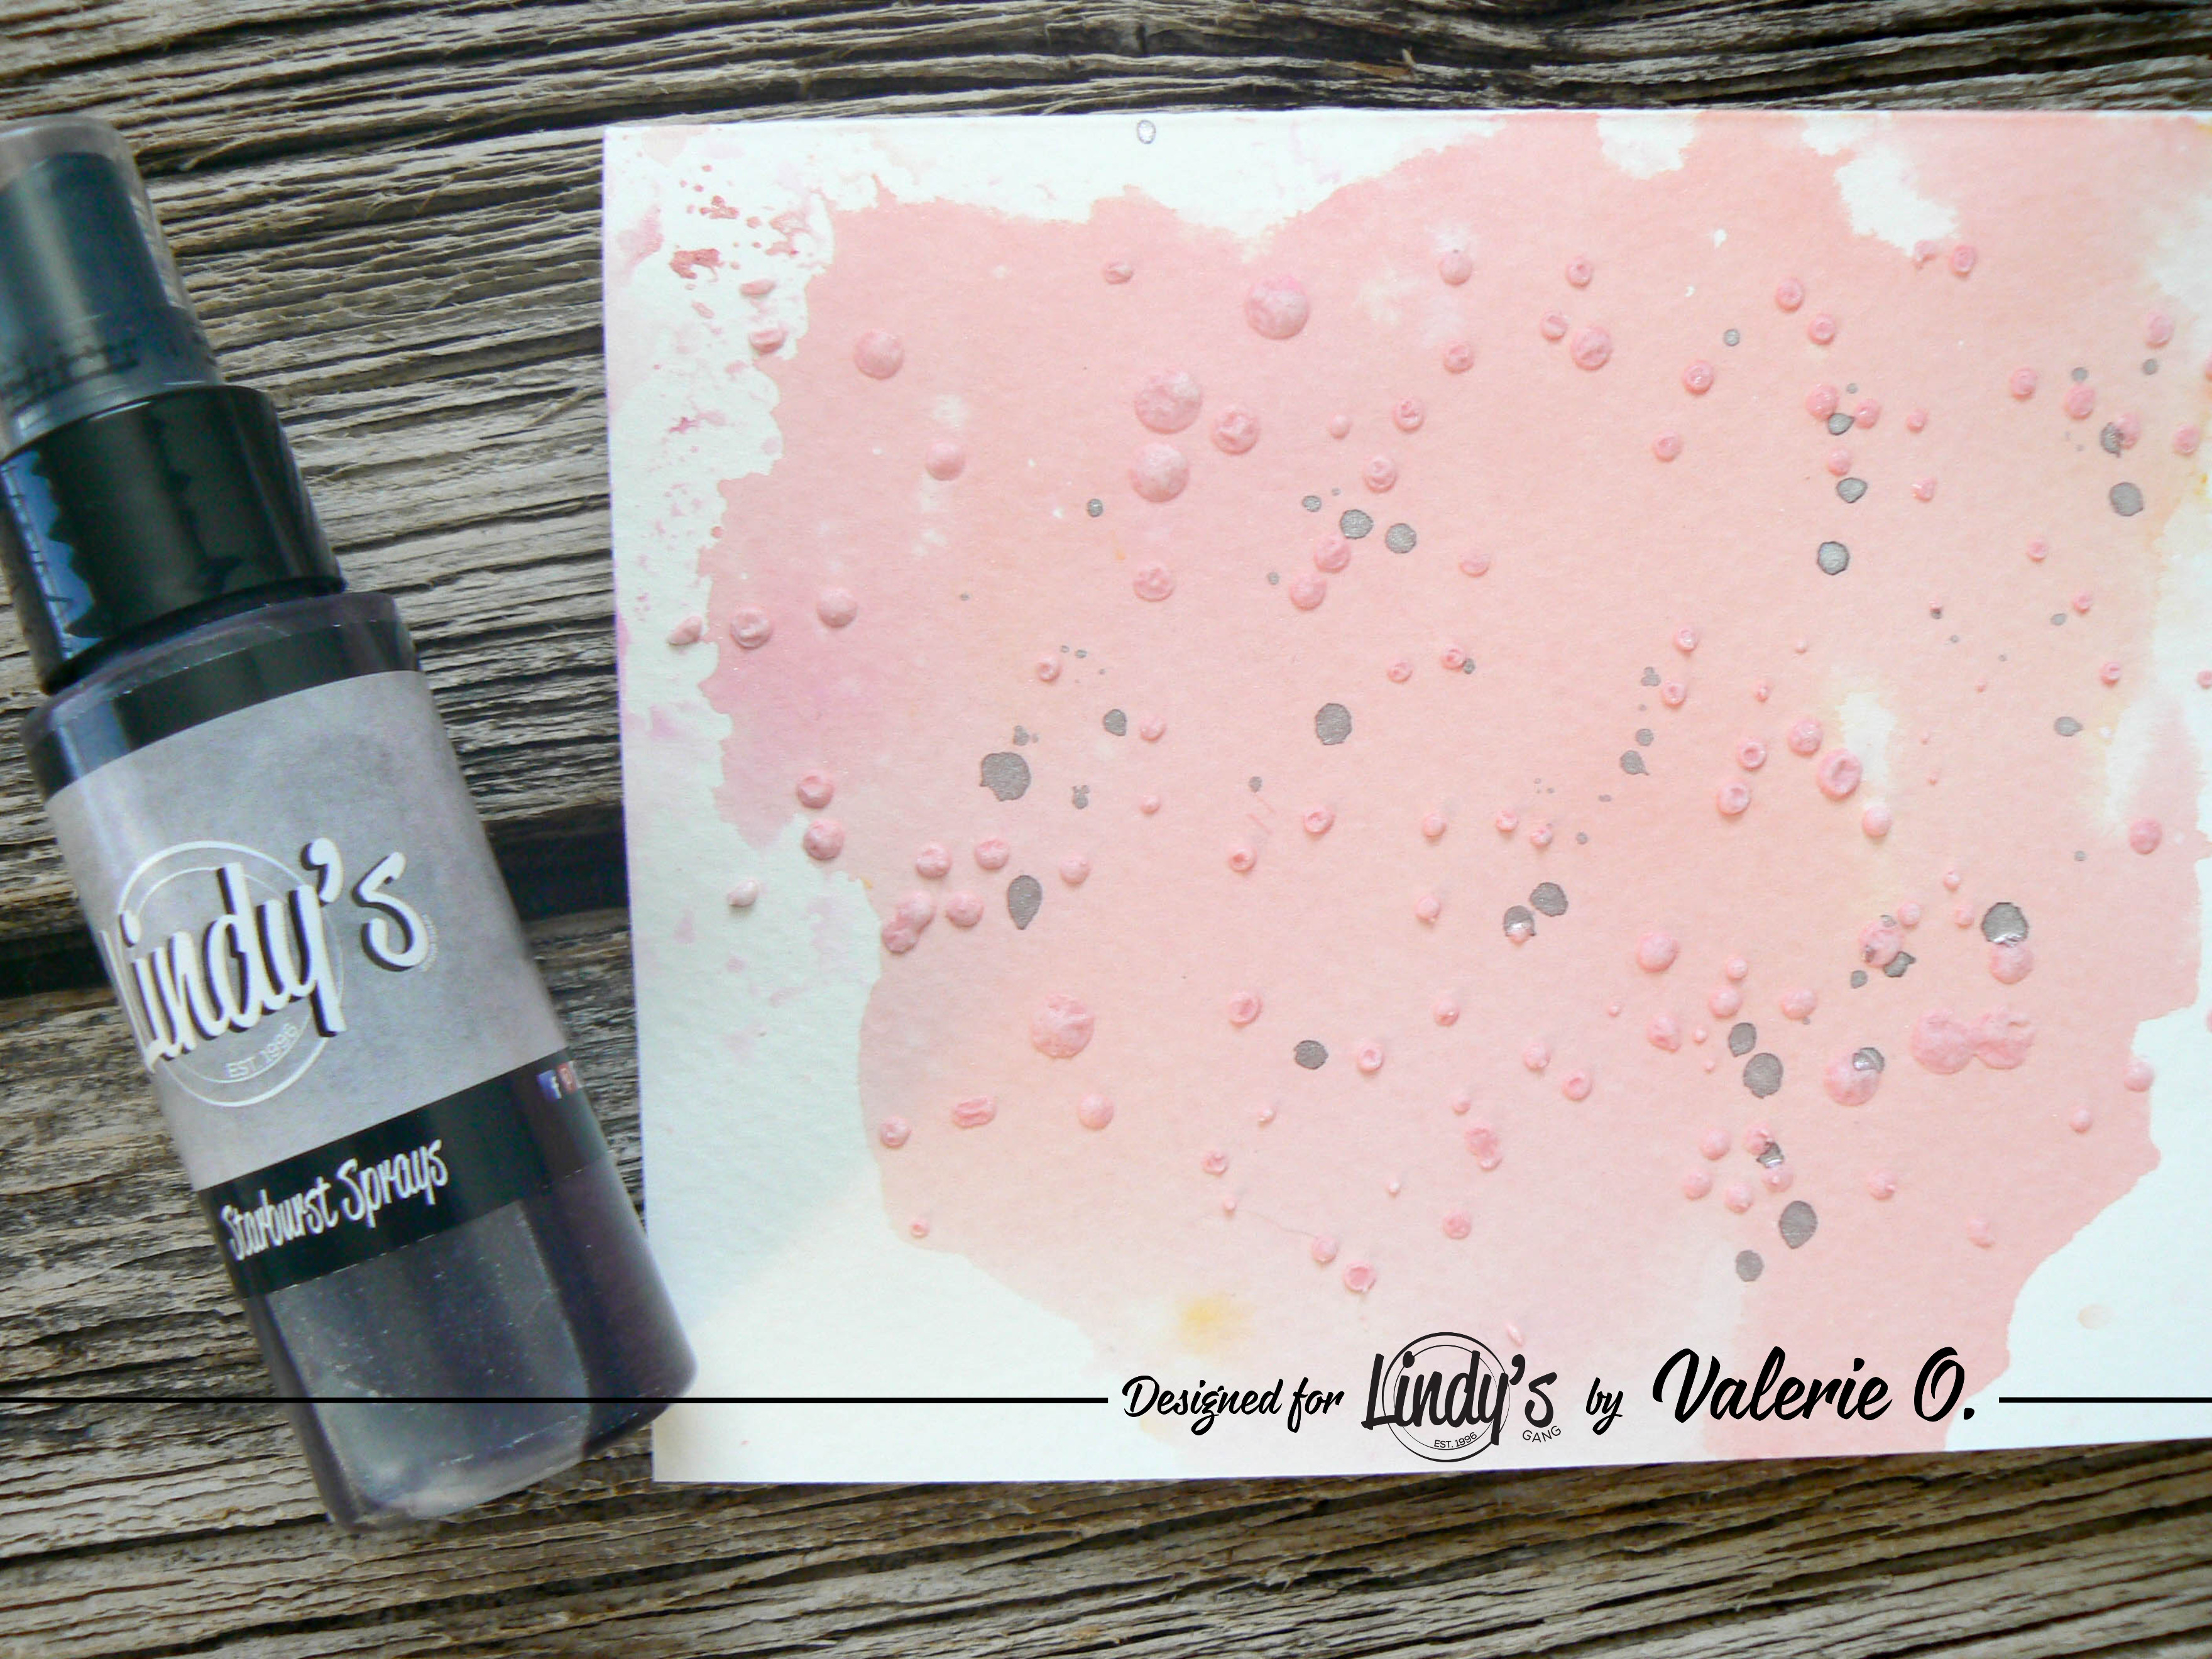
I’ve sprinkled some Magical and Shaker powder on a plastic protector and sprayed water on top of it.

P1170433 

P1170434 

P1170435

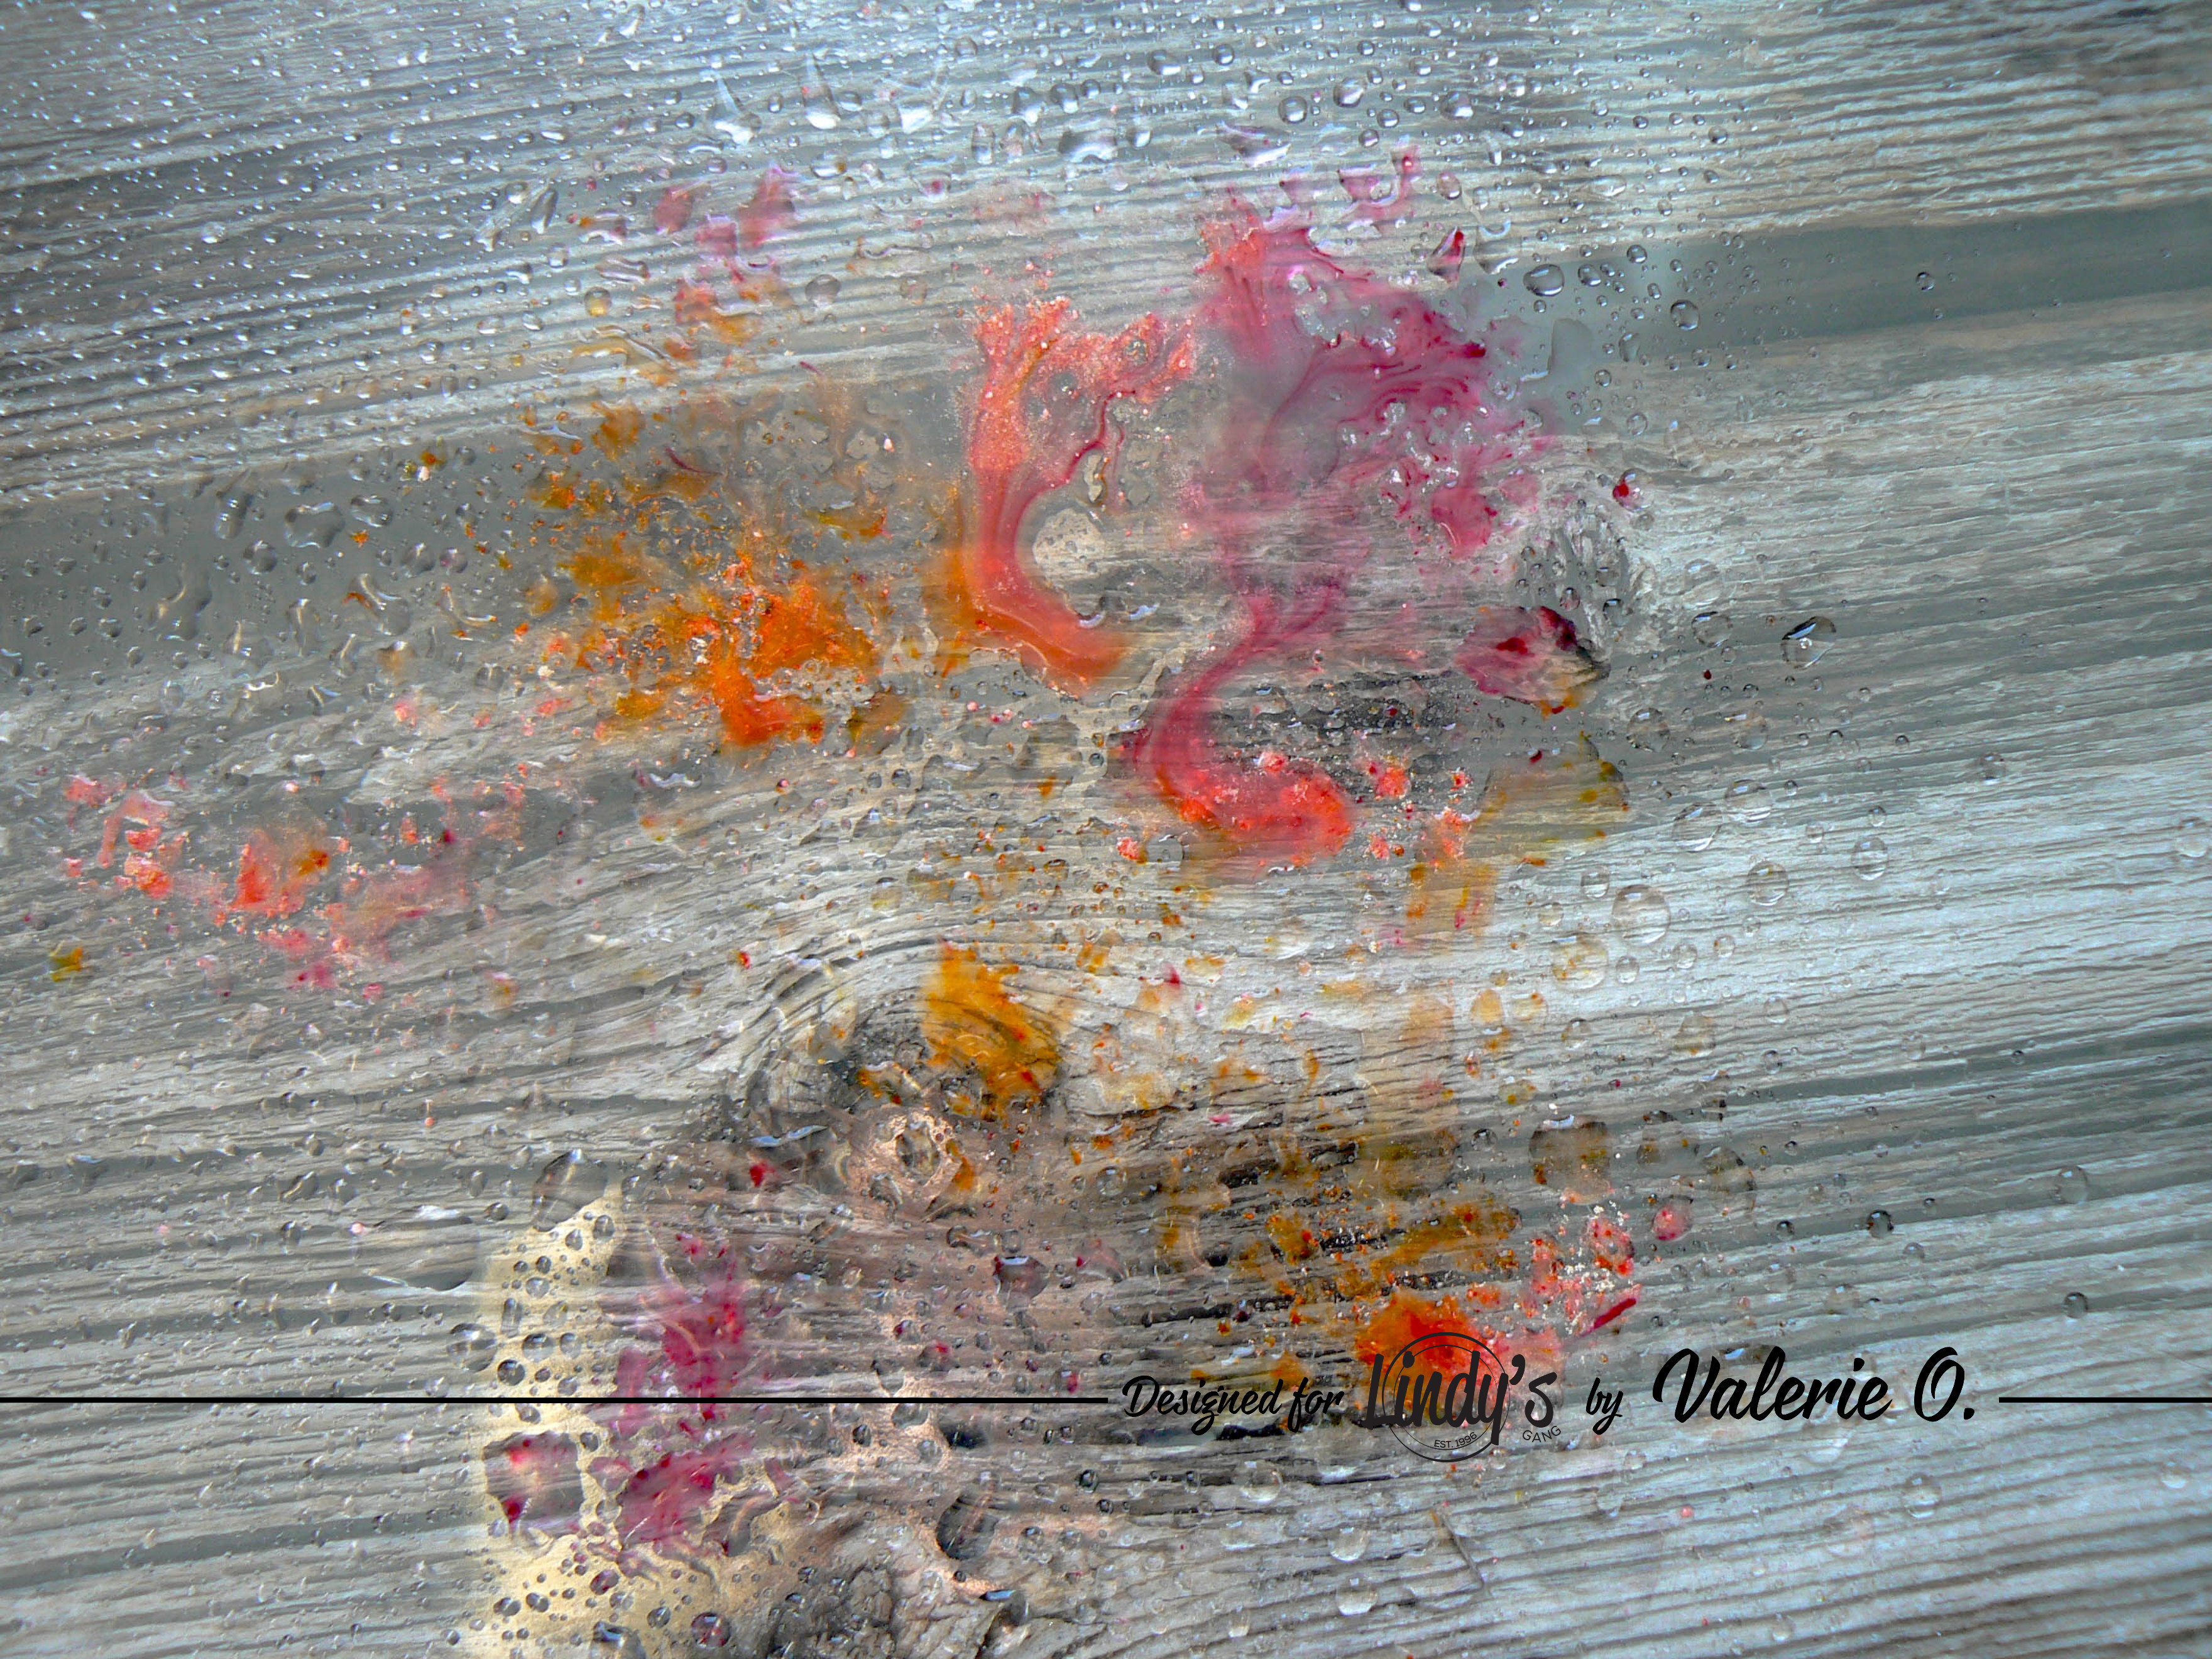
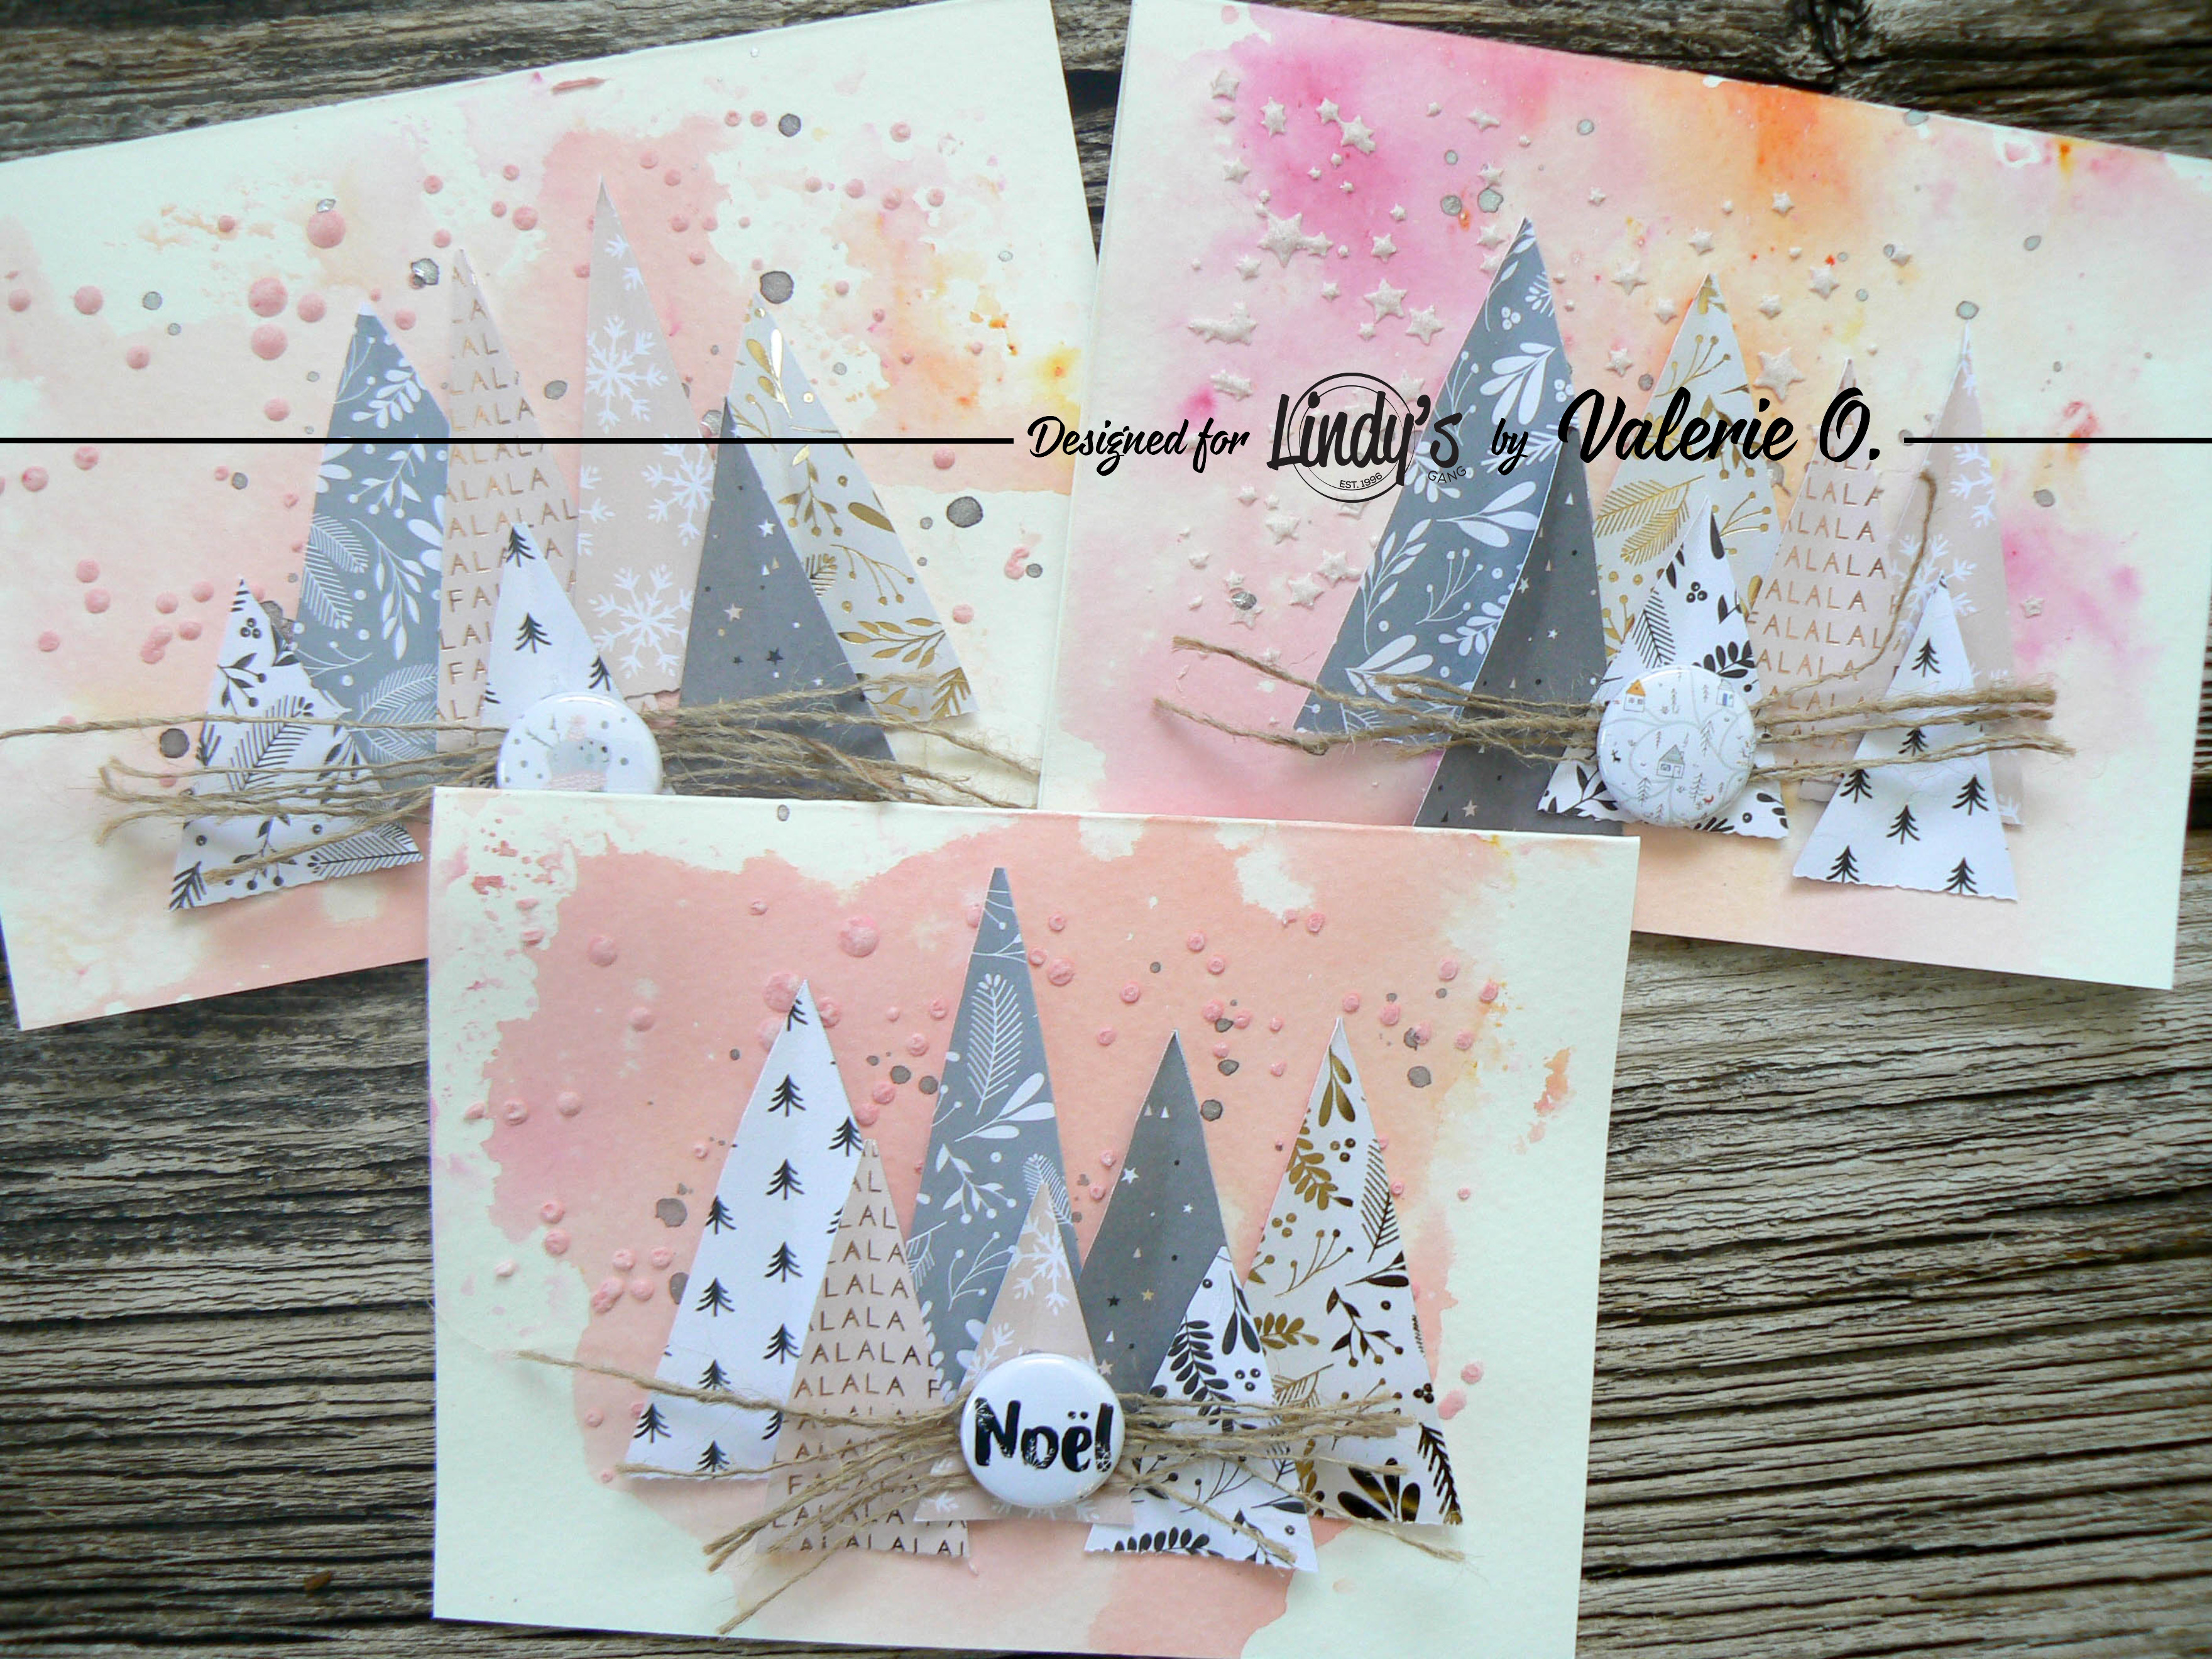
I've placed my card on the ink to create a wonderful watercolor effect. I've crated 3 cards and each cards are different. It's very nice!

P1170436

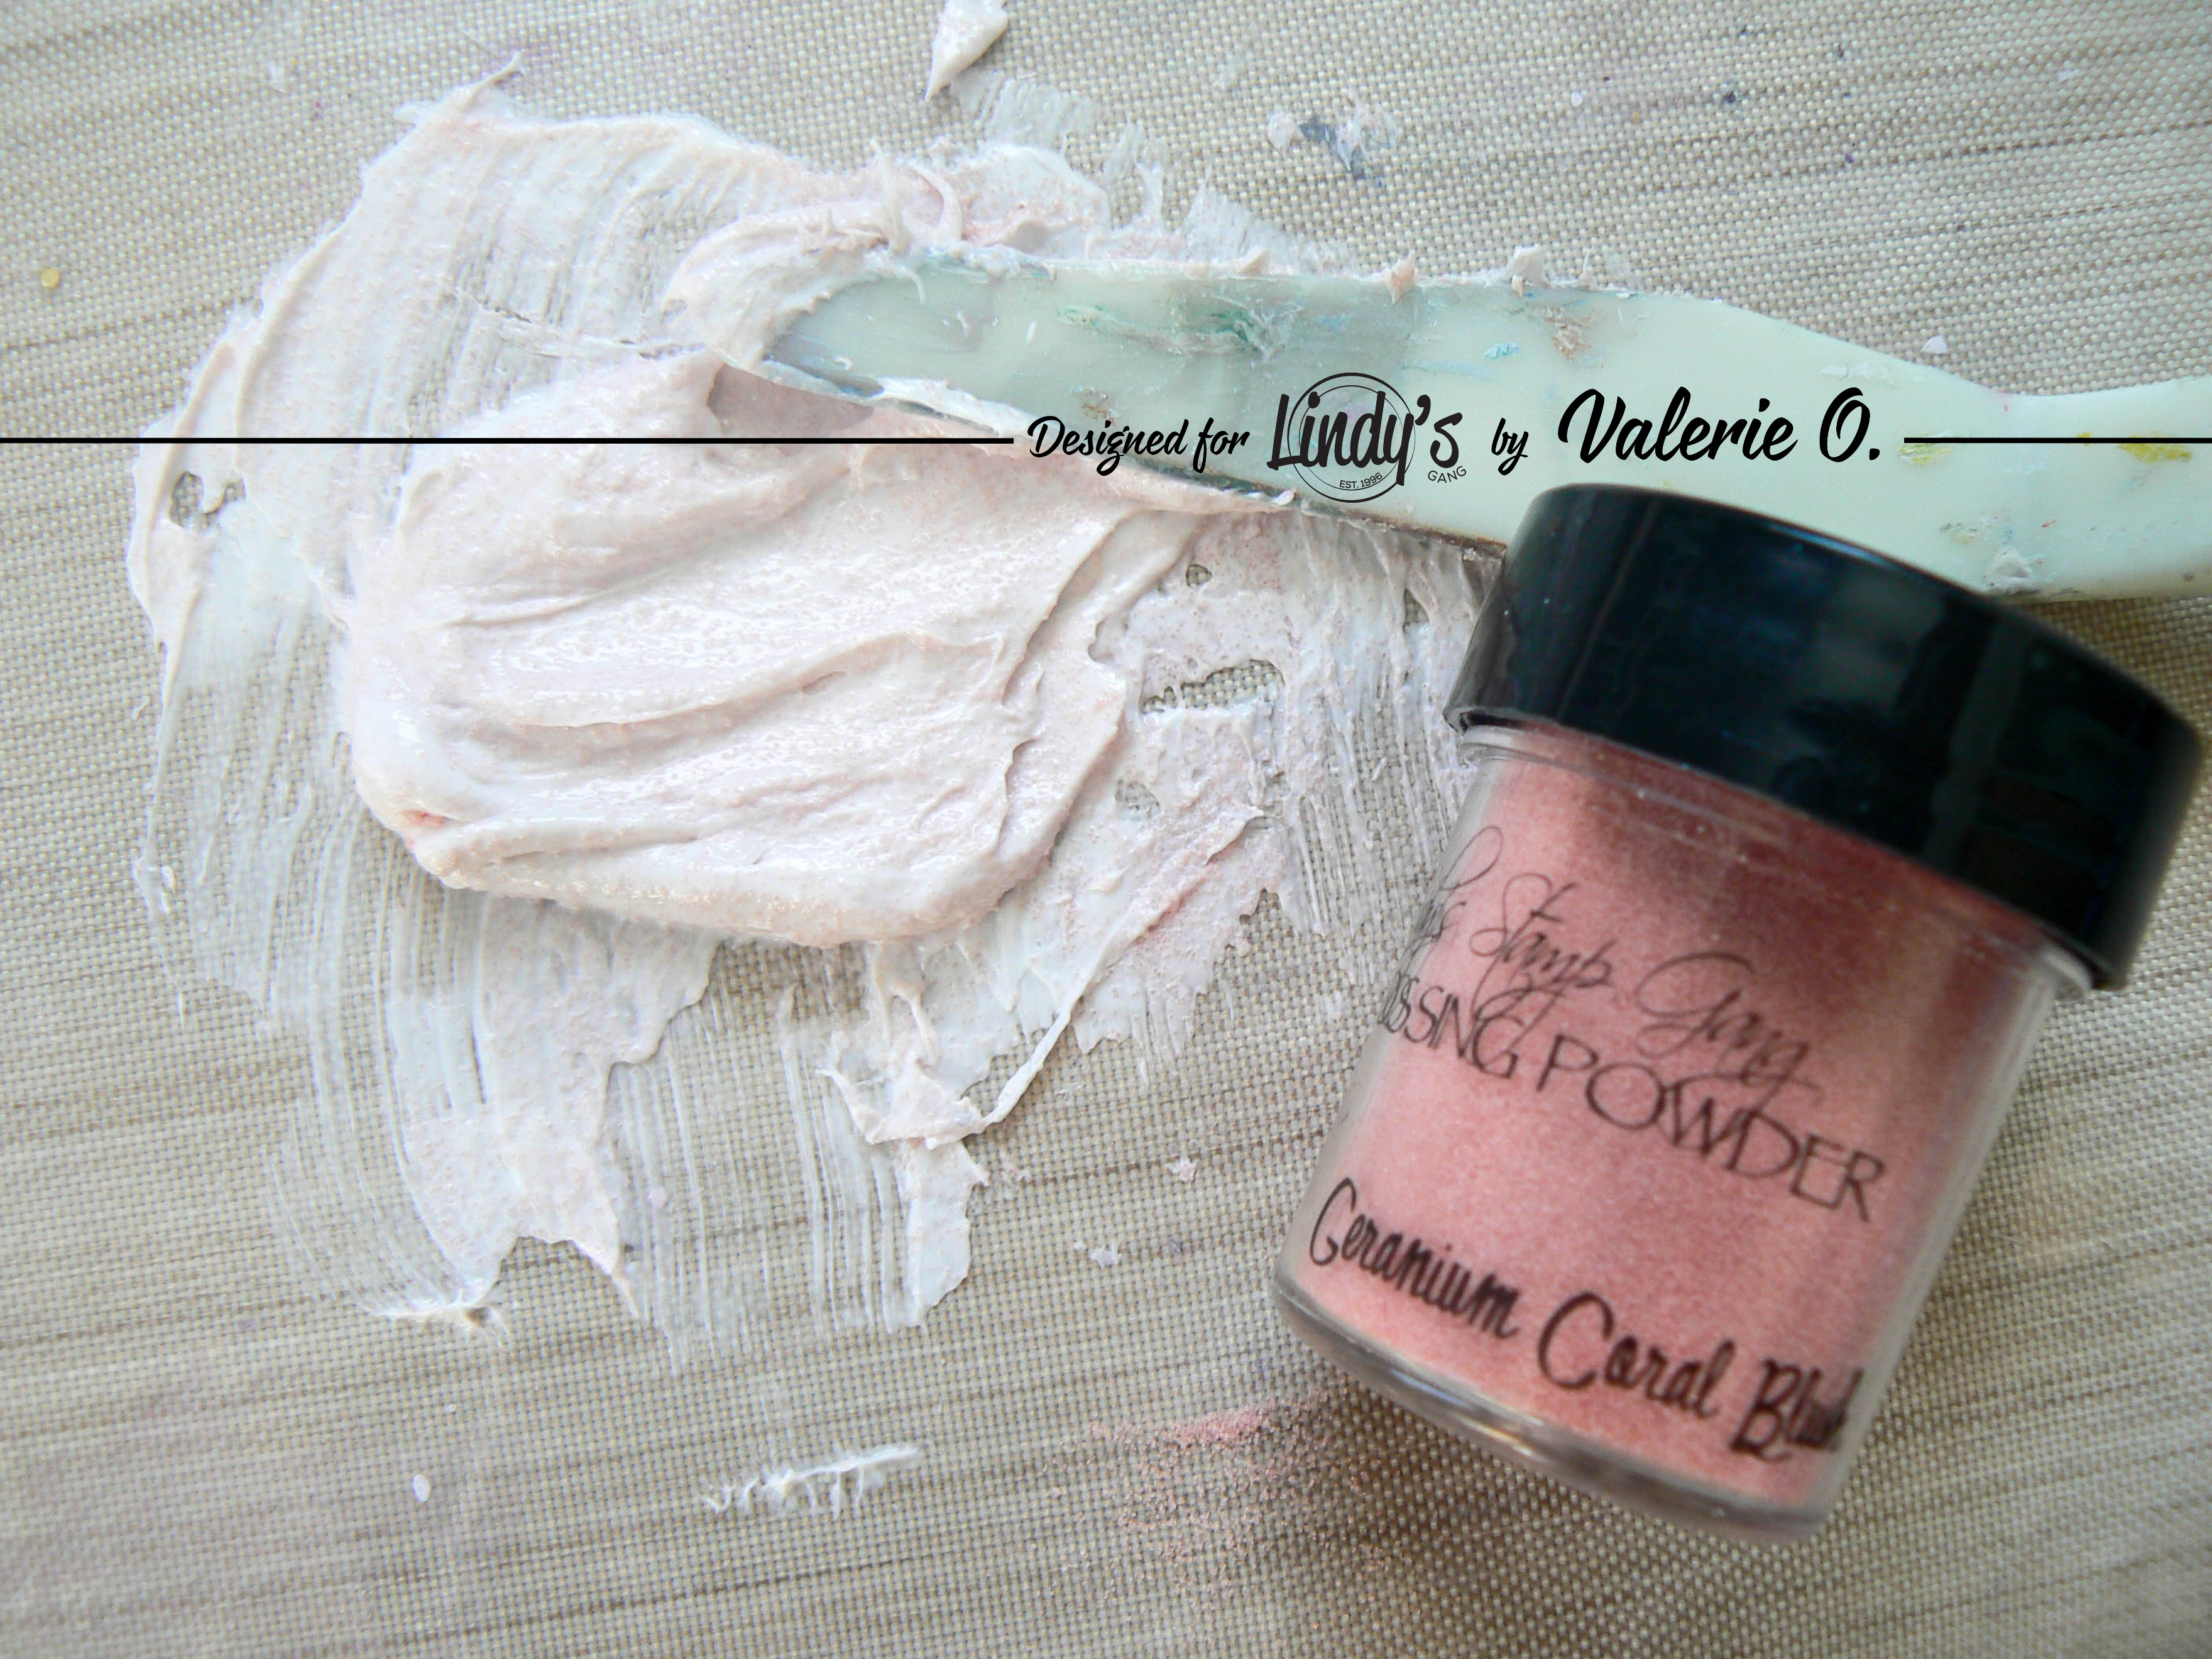
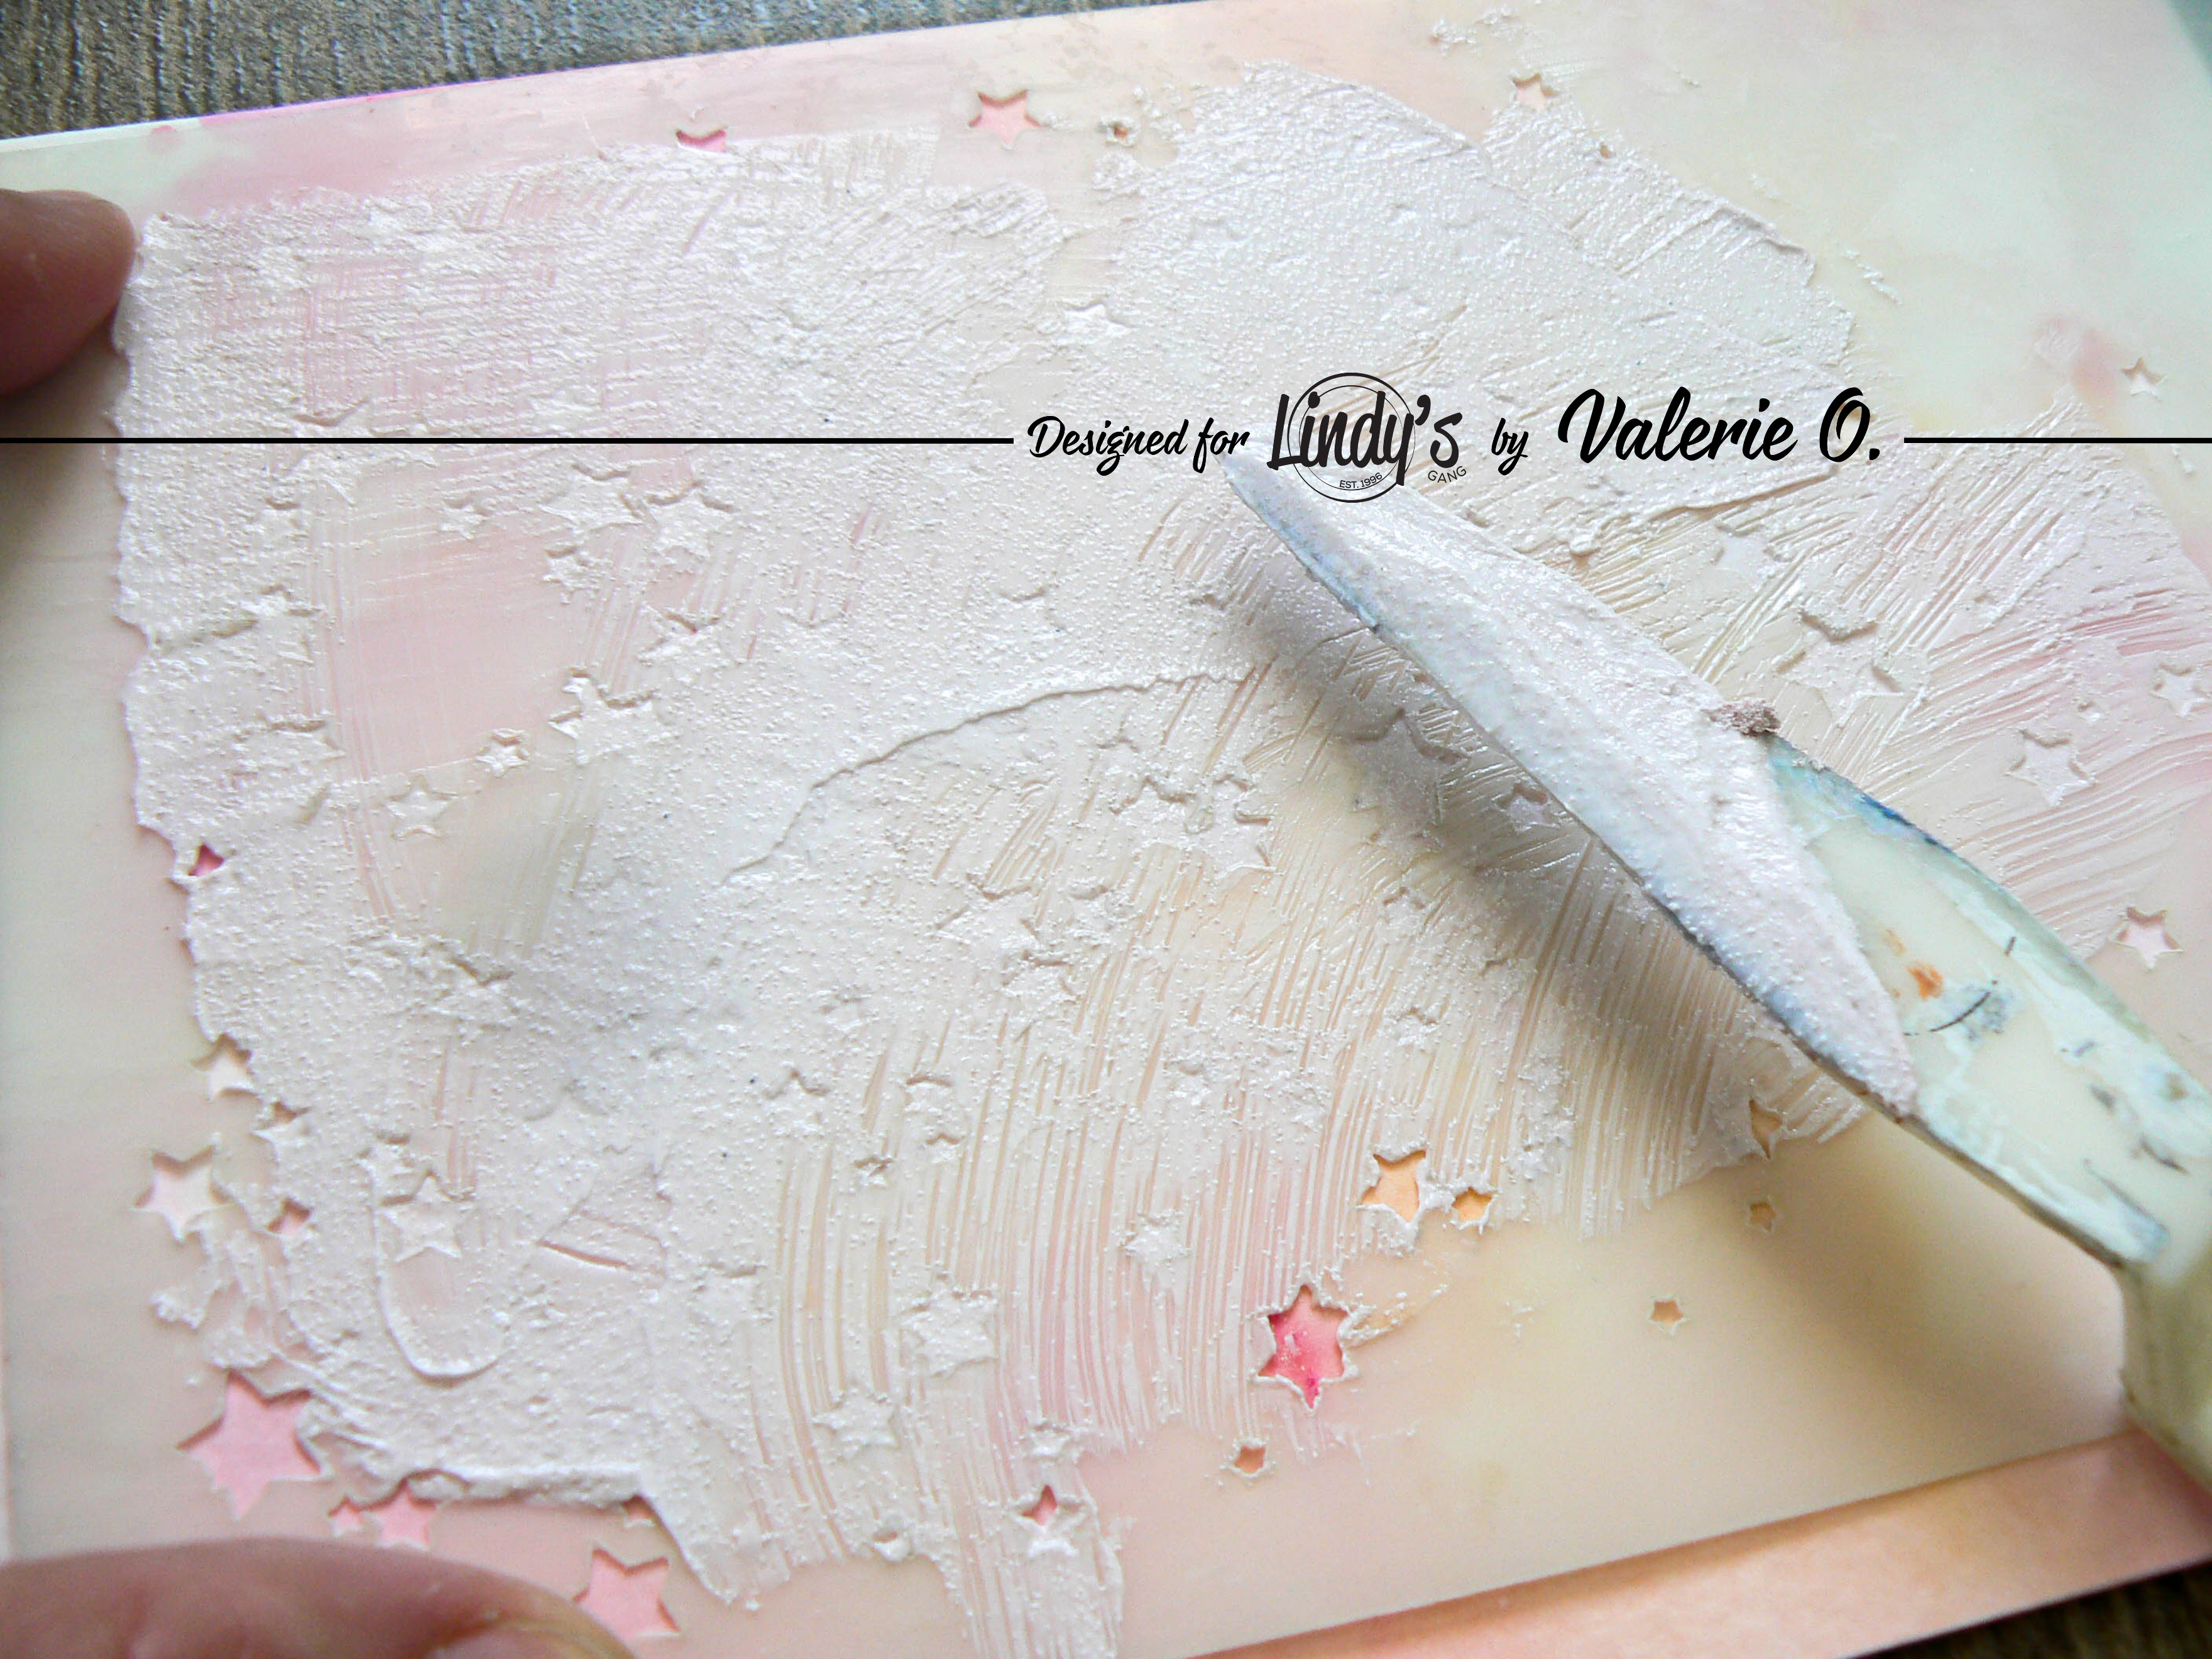
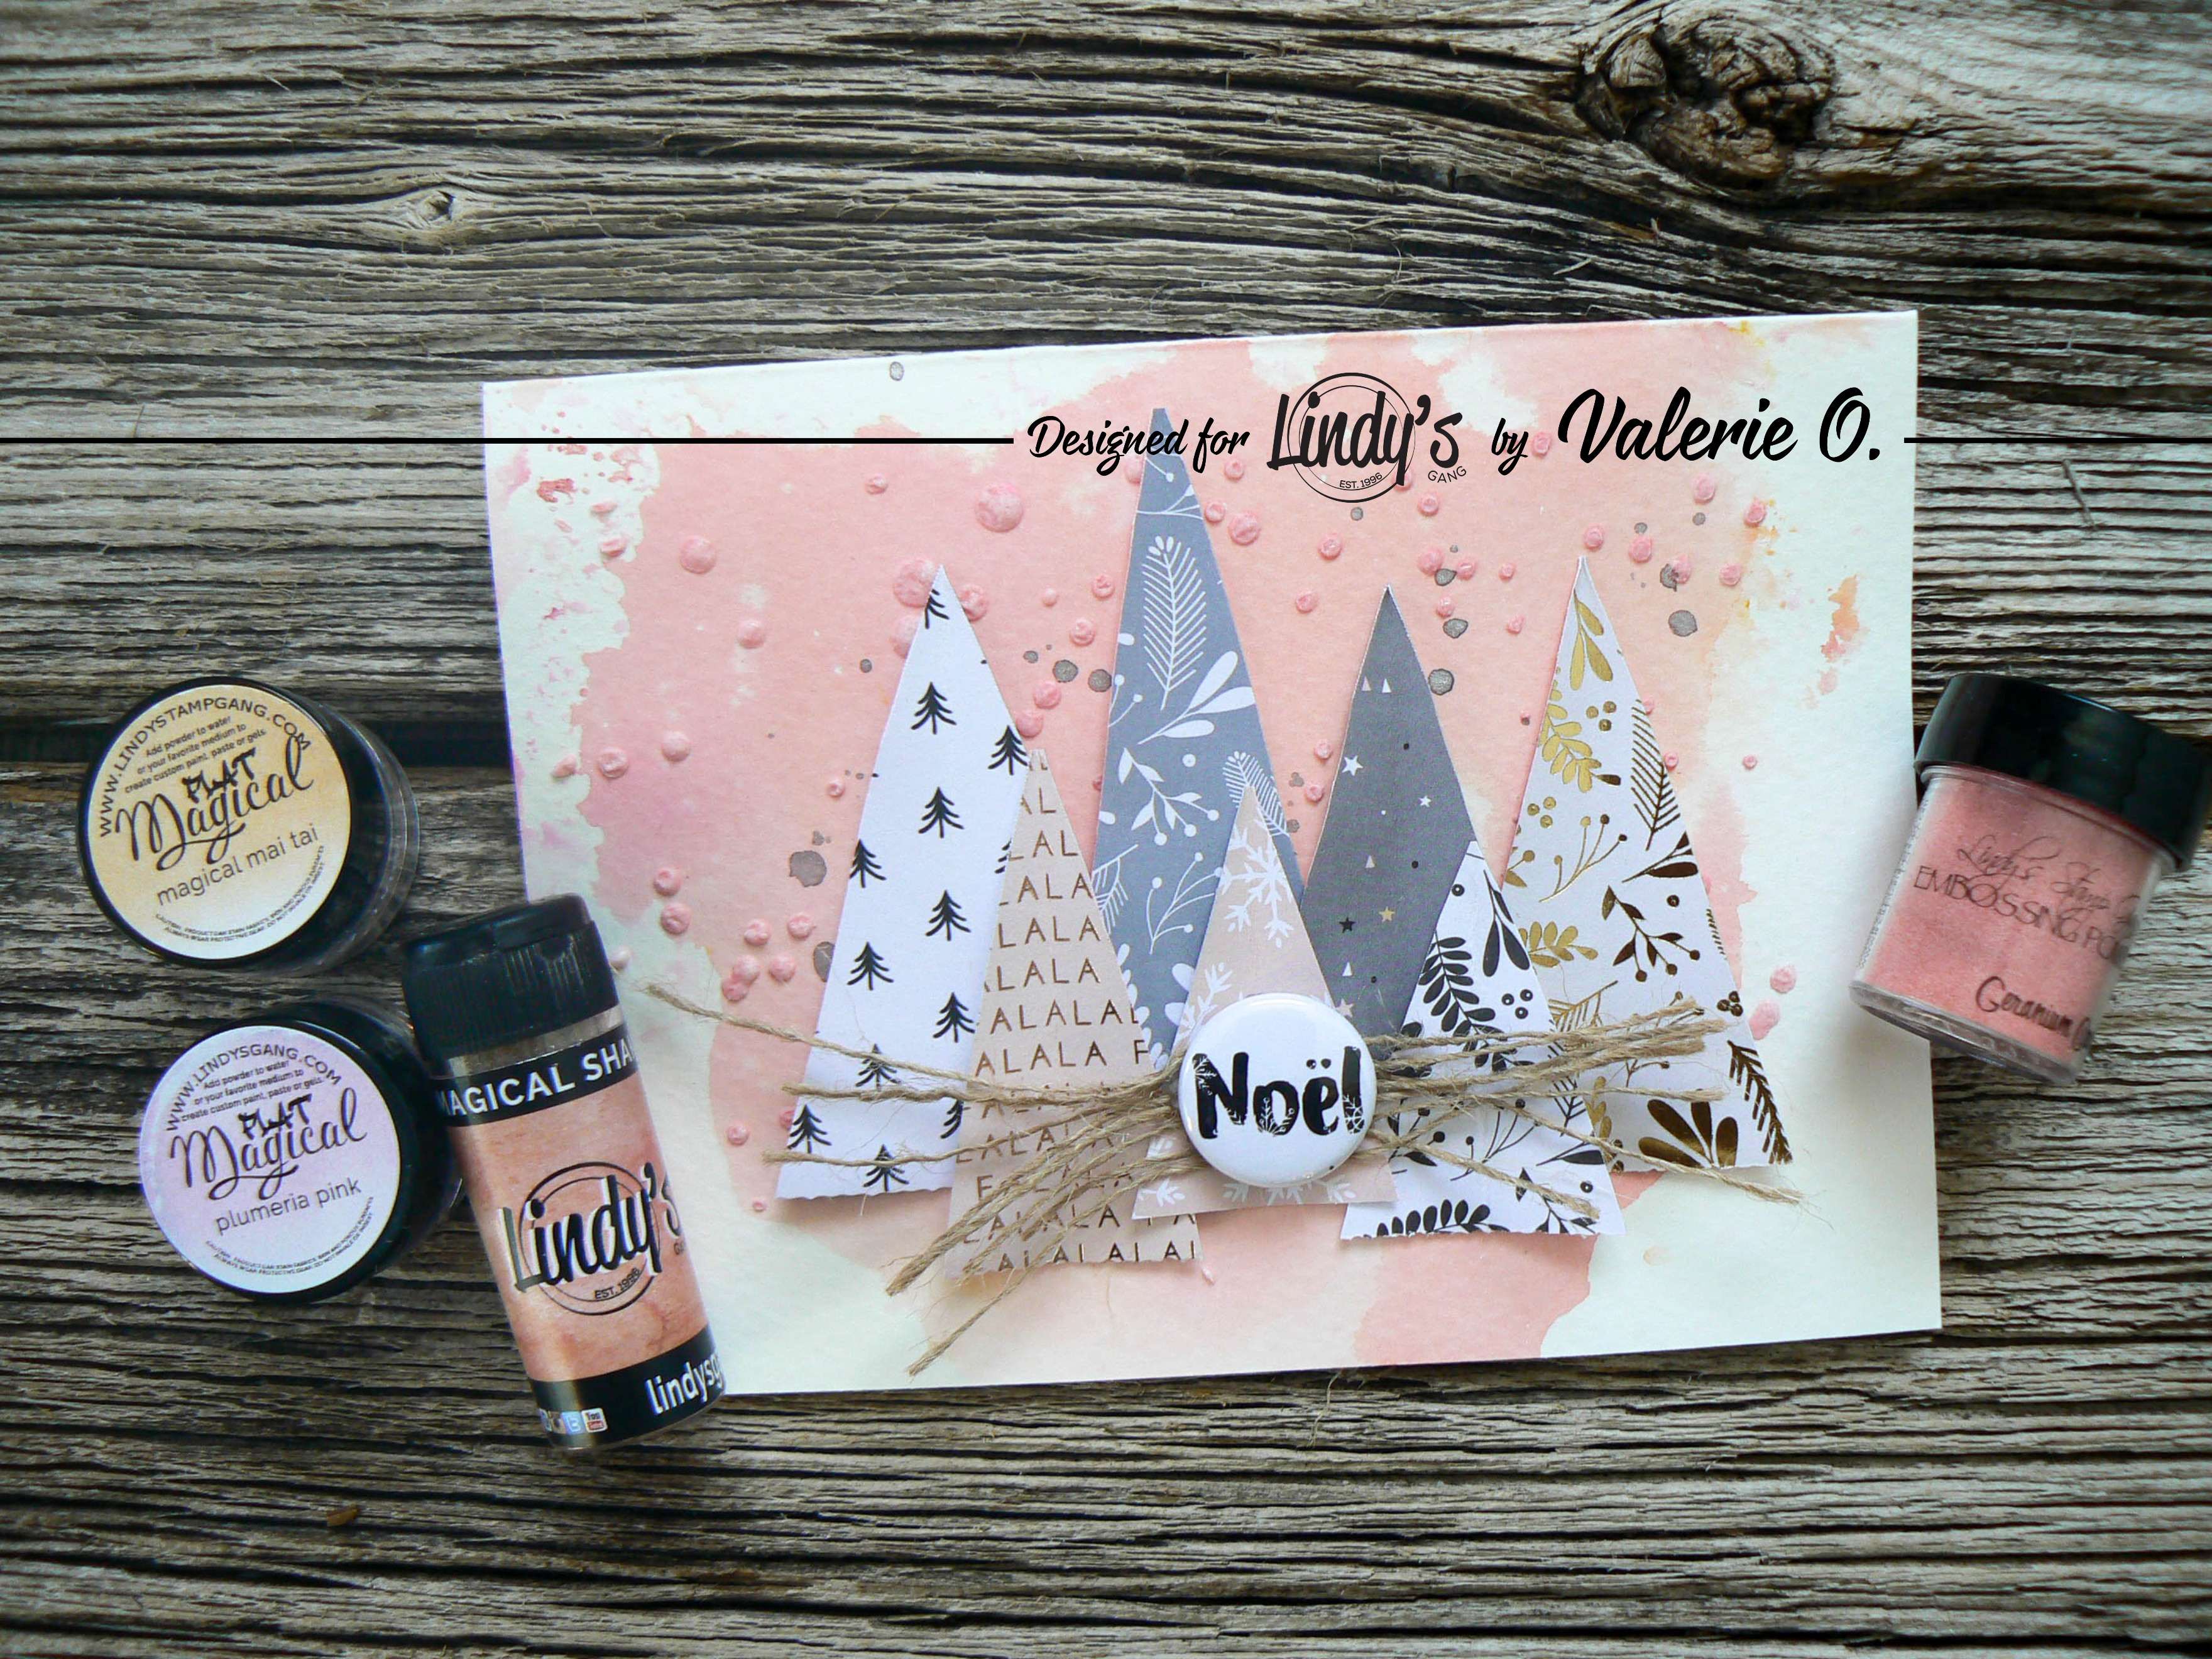
After that, I've decied to use embossing powders into the modeling paste.

P1170439

I've use it with a stencil and I've dried it with my heat gun. The effect are very beautiful. Very smooth colors.

P1170441 

P1170442 

P1170440

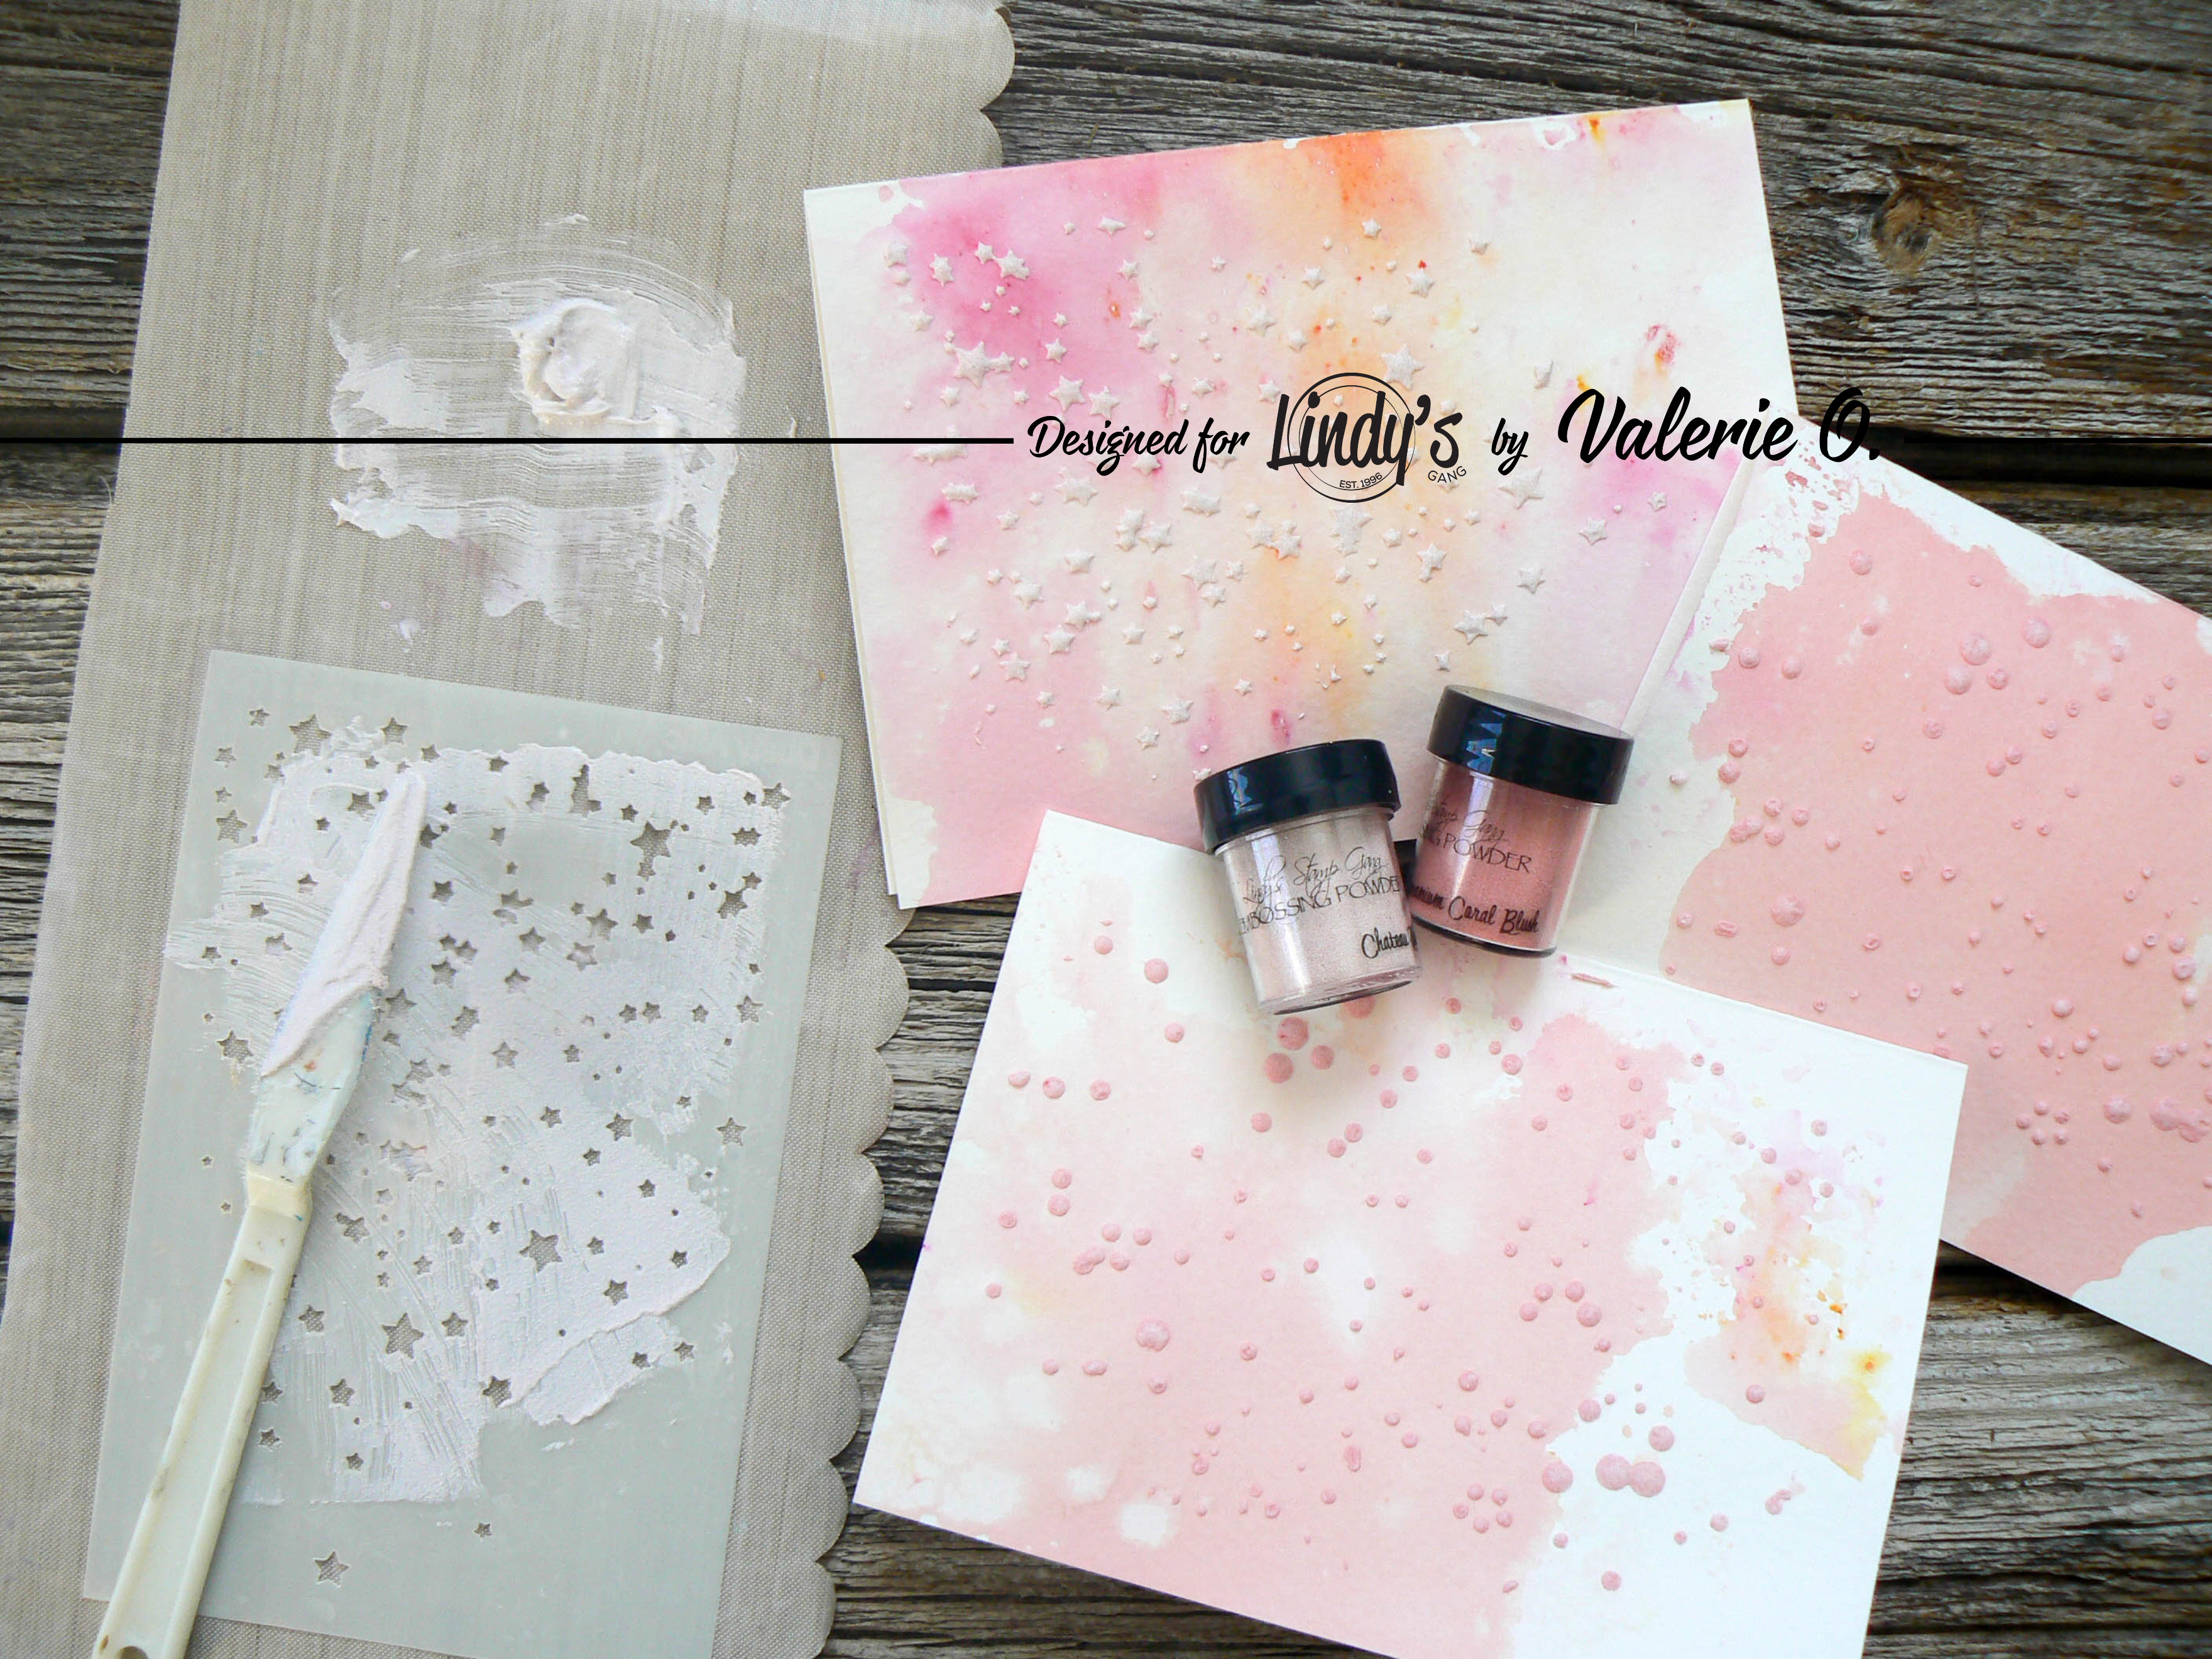
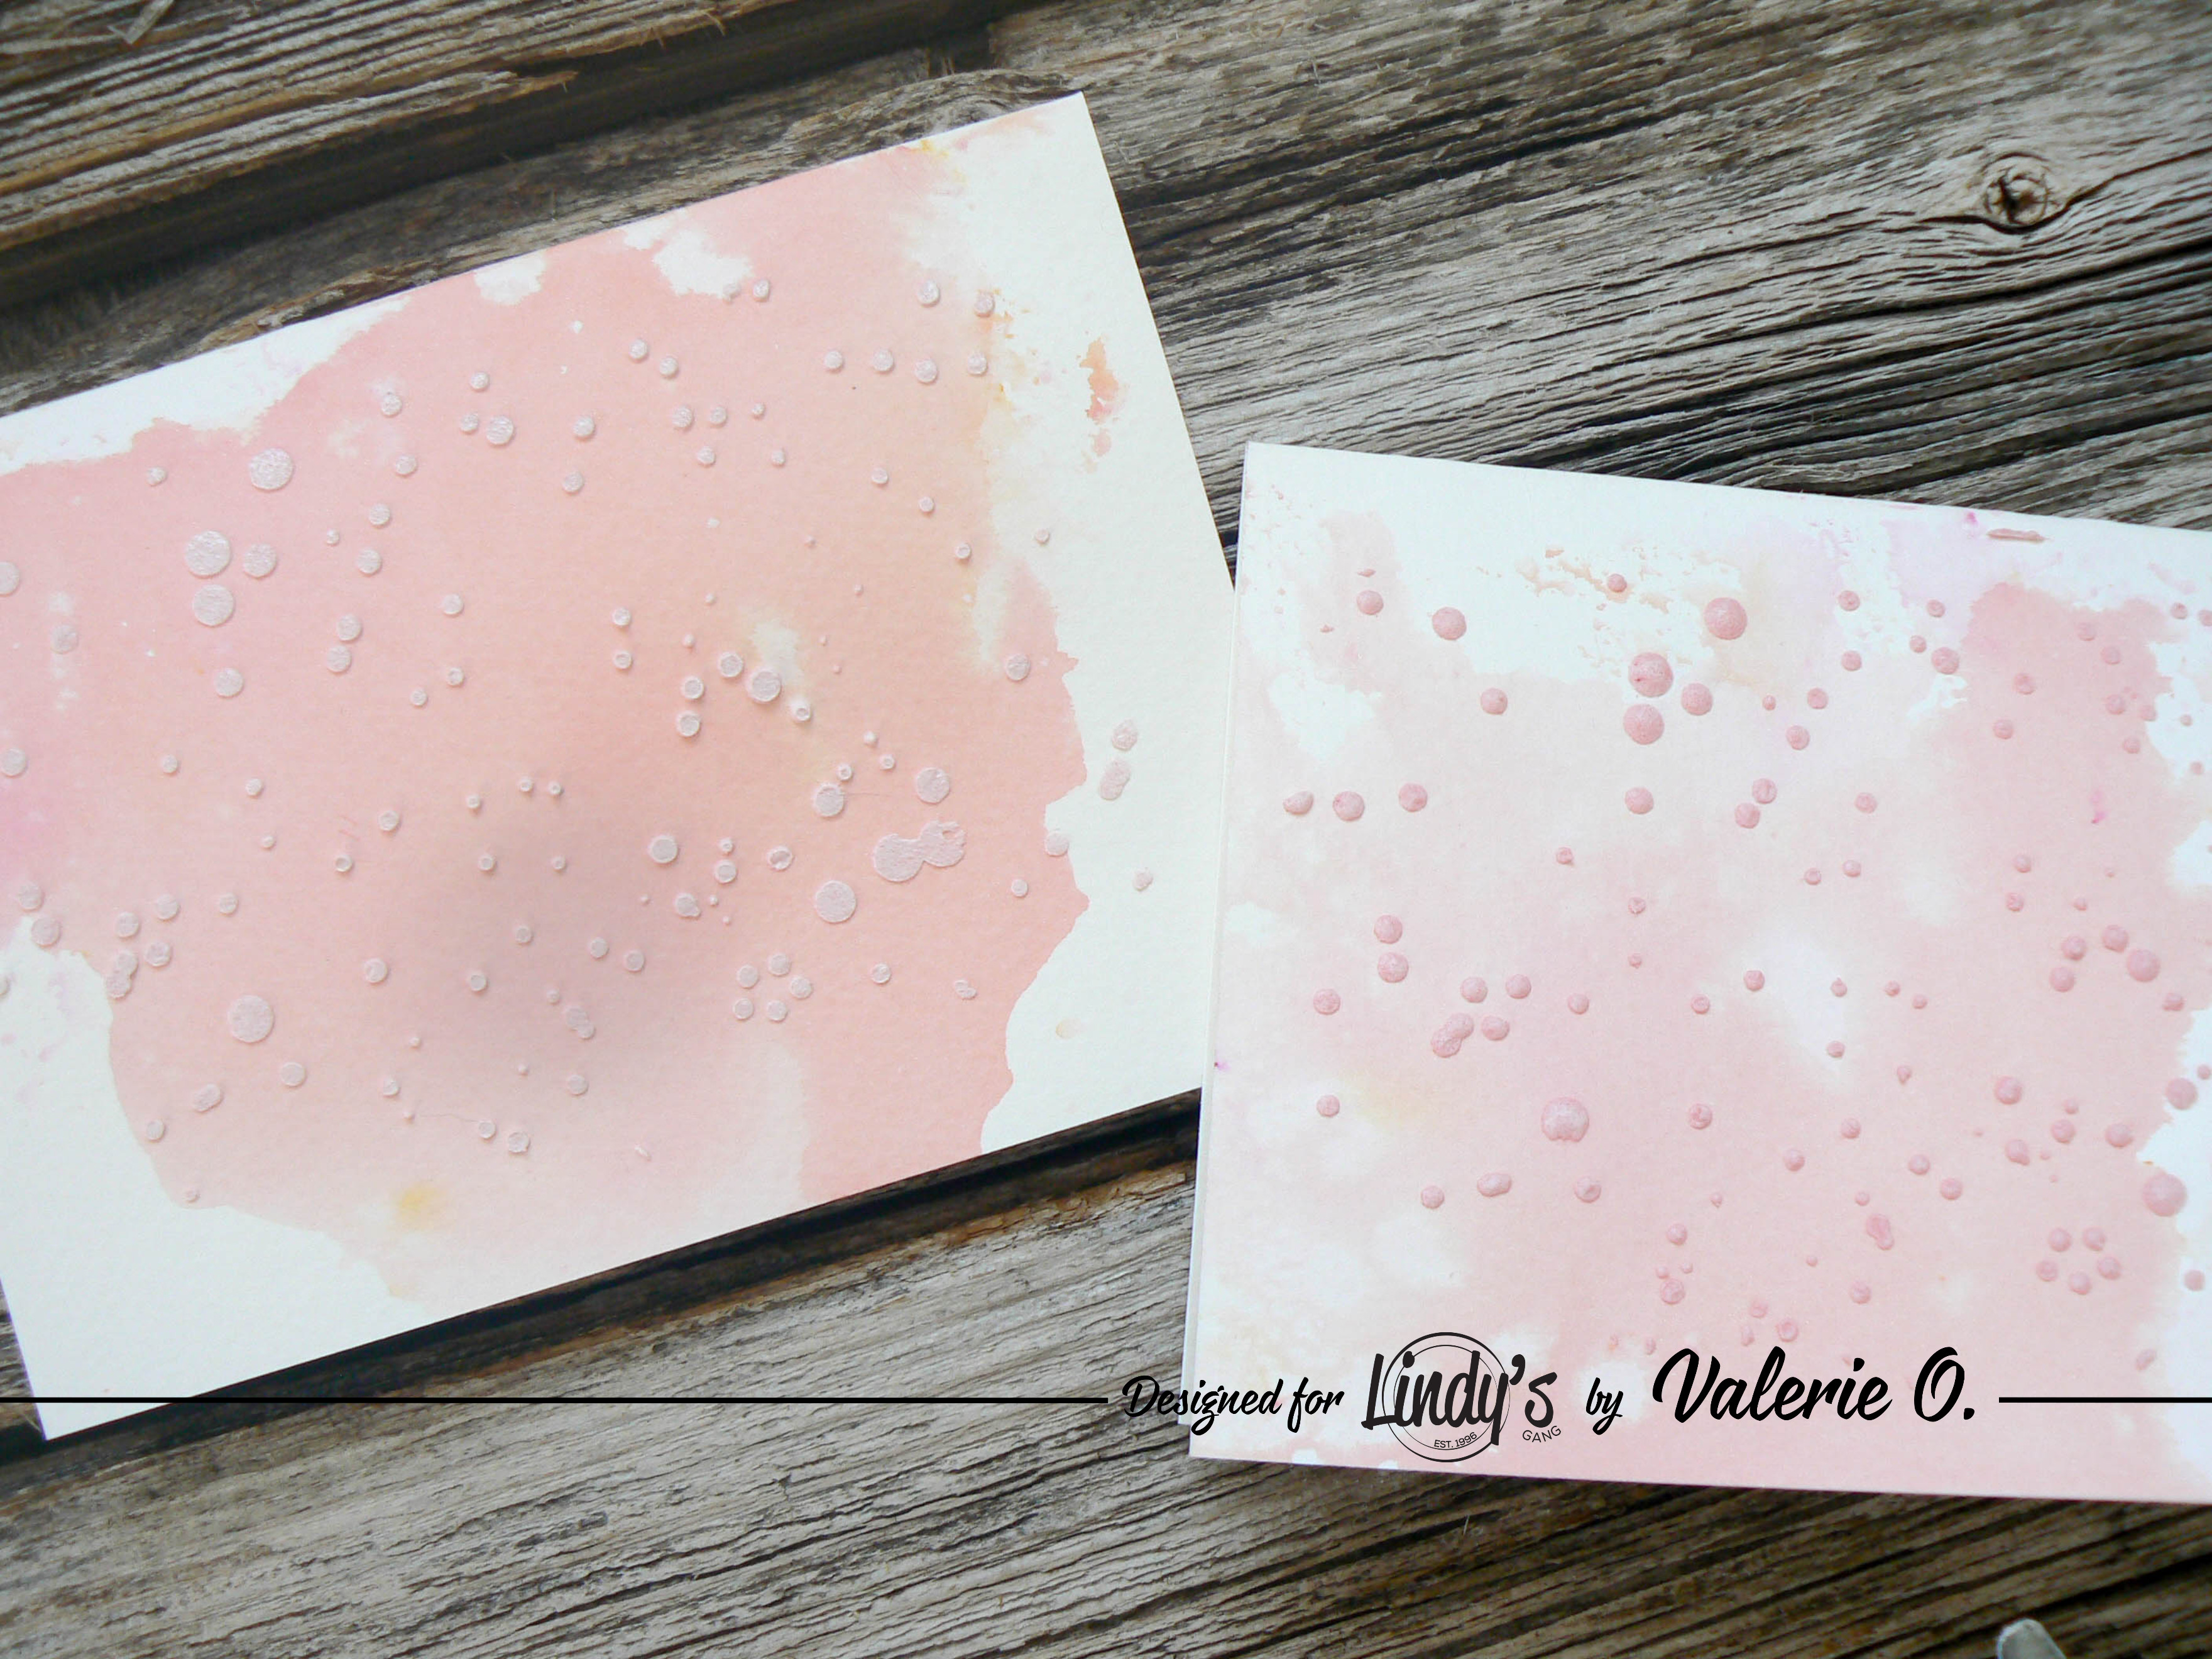
I've added some silver drops on my background to match with the colors of my card.

P1170443

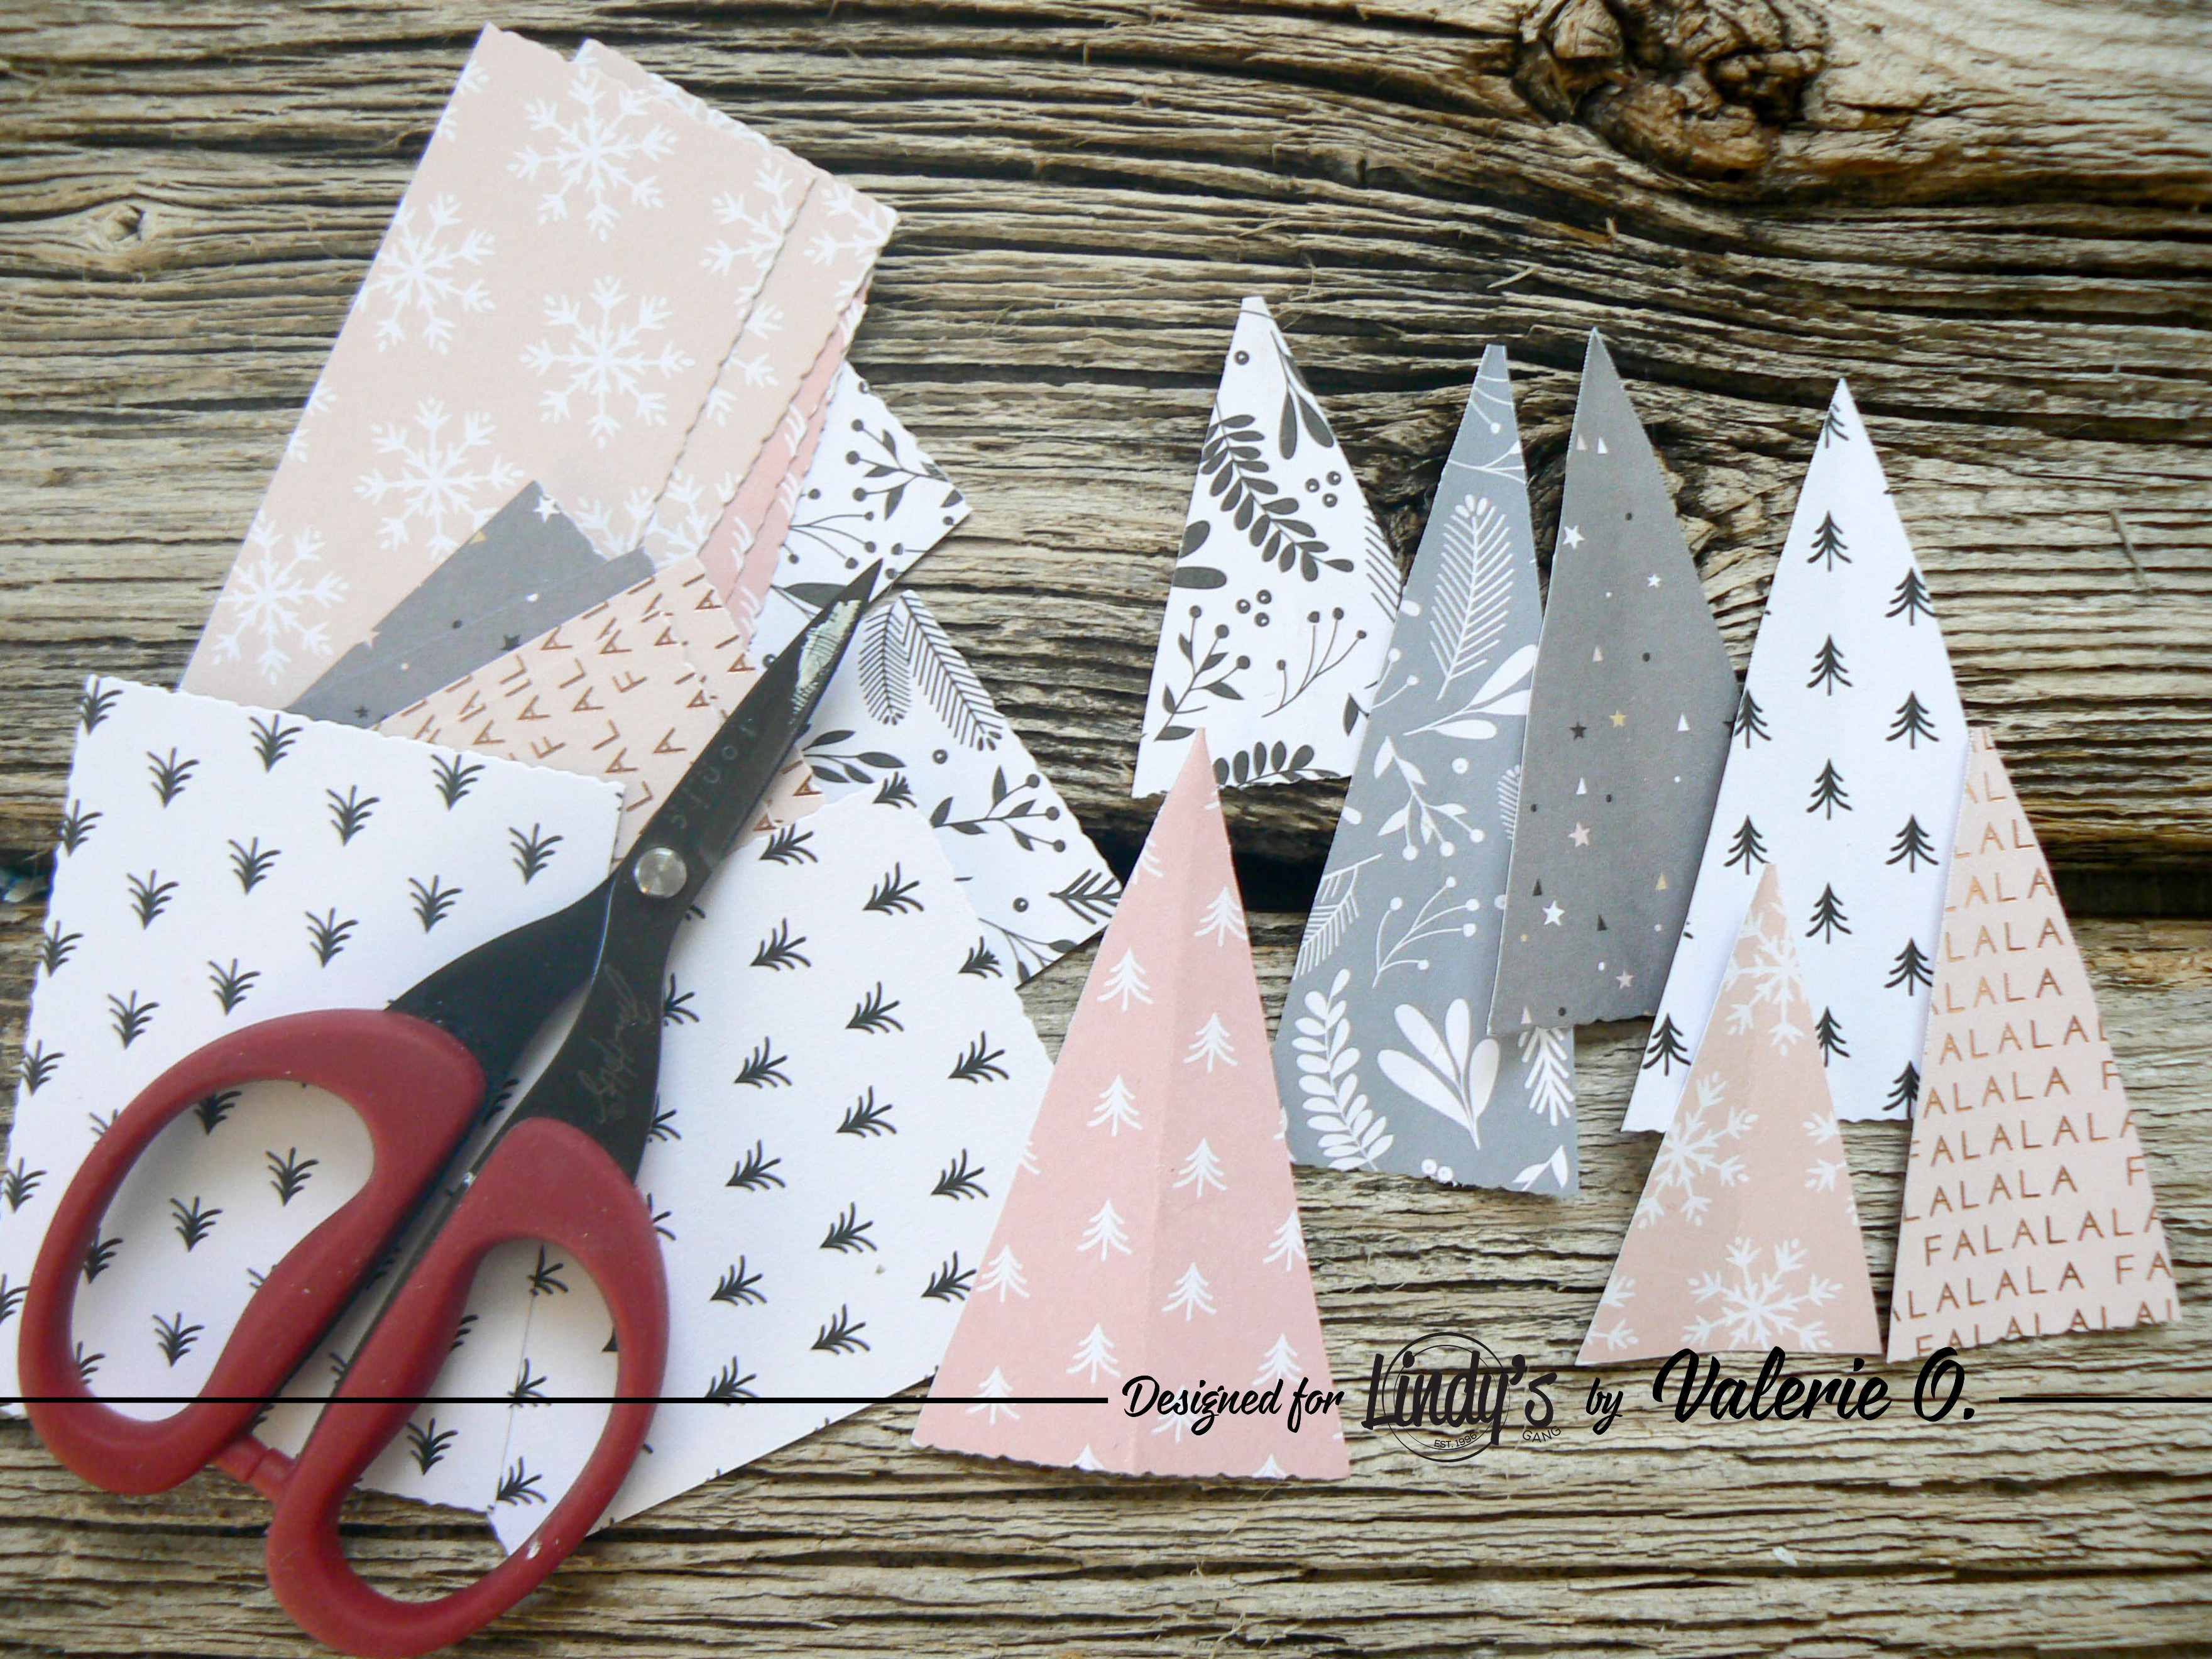
Now, I've placed my little paper silhouette fir to create a forest. And I've glued a flair on the top.
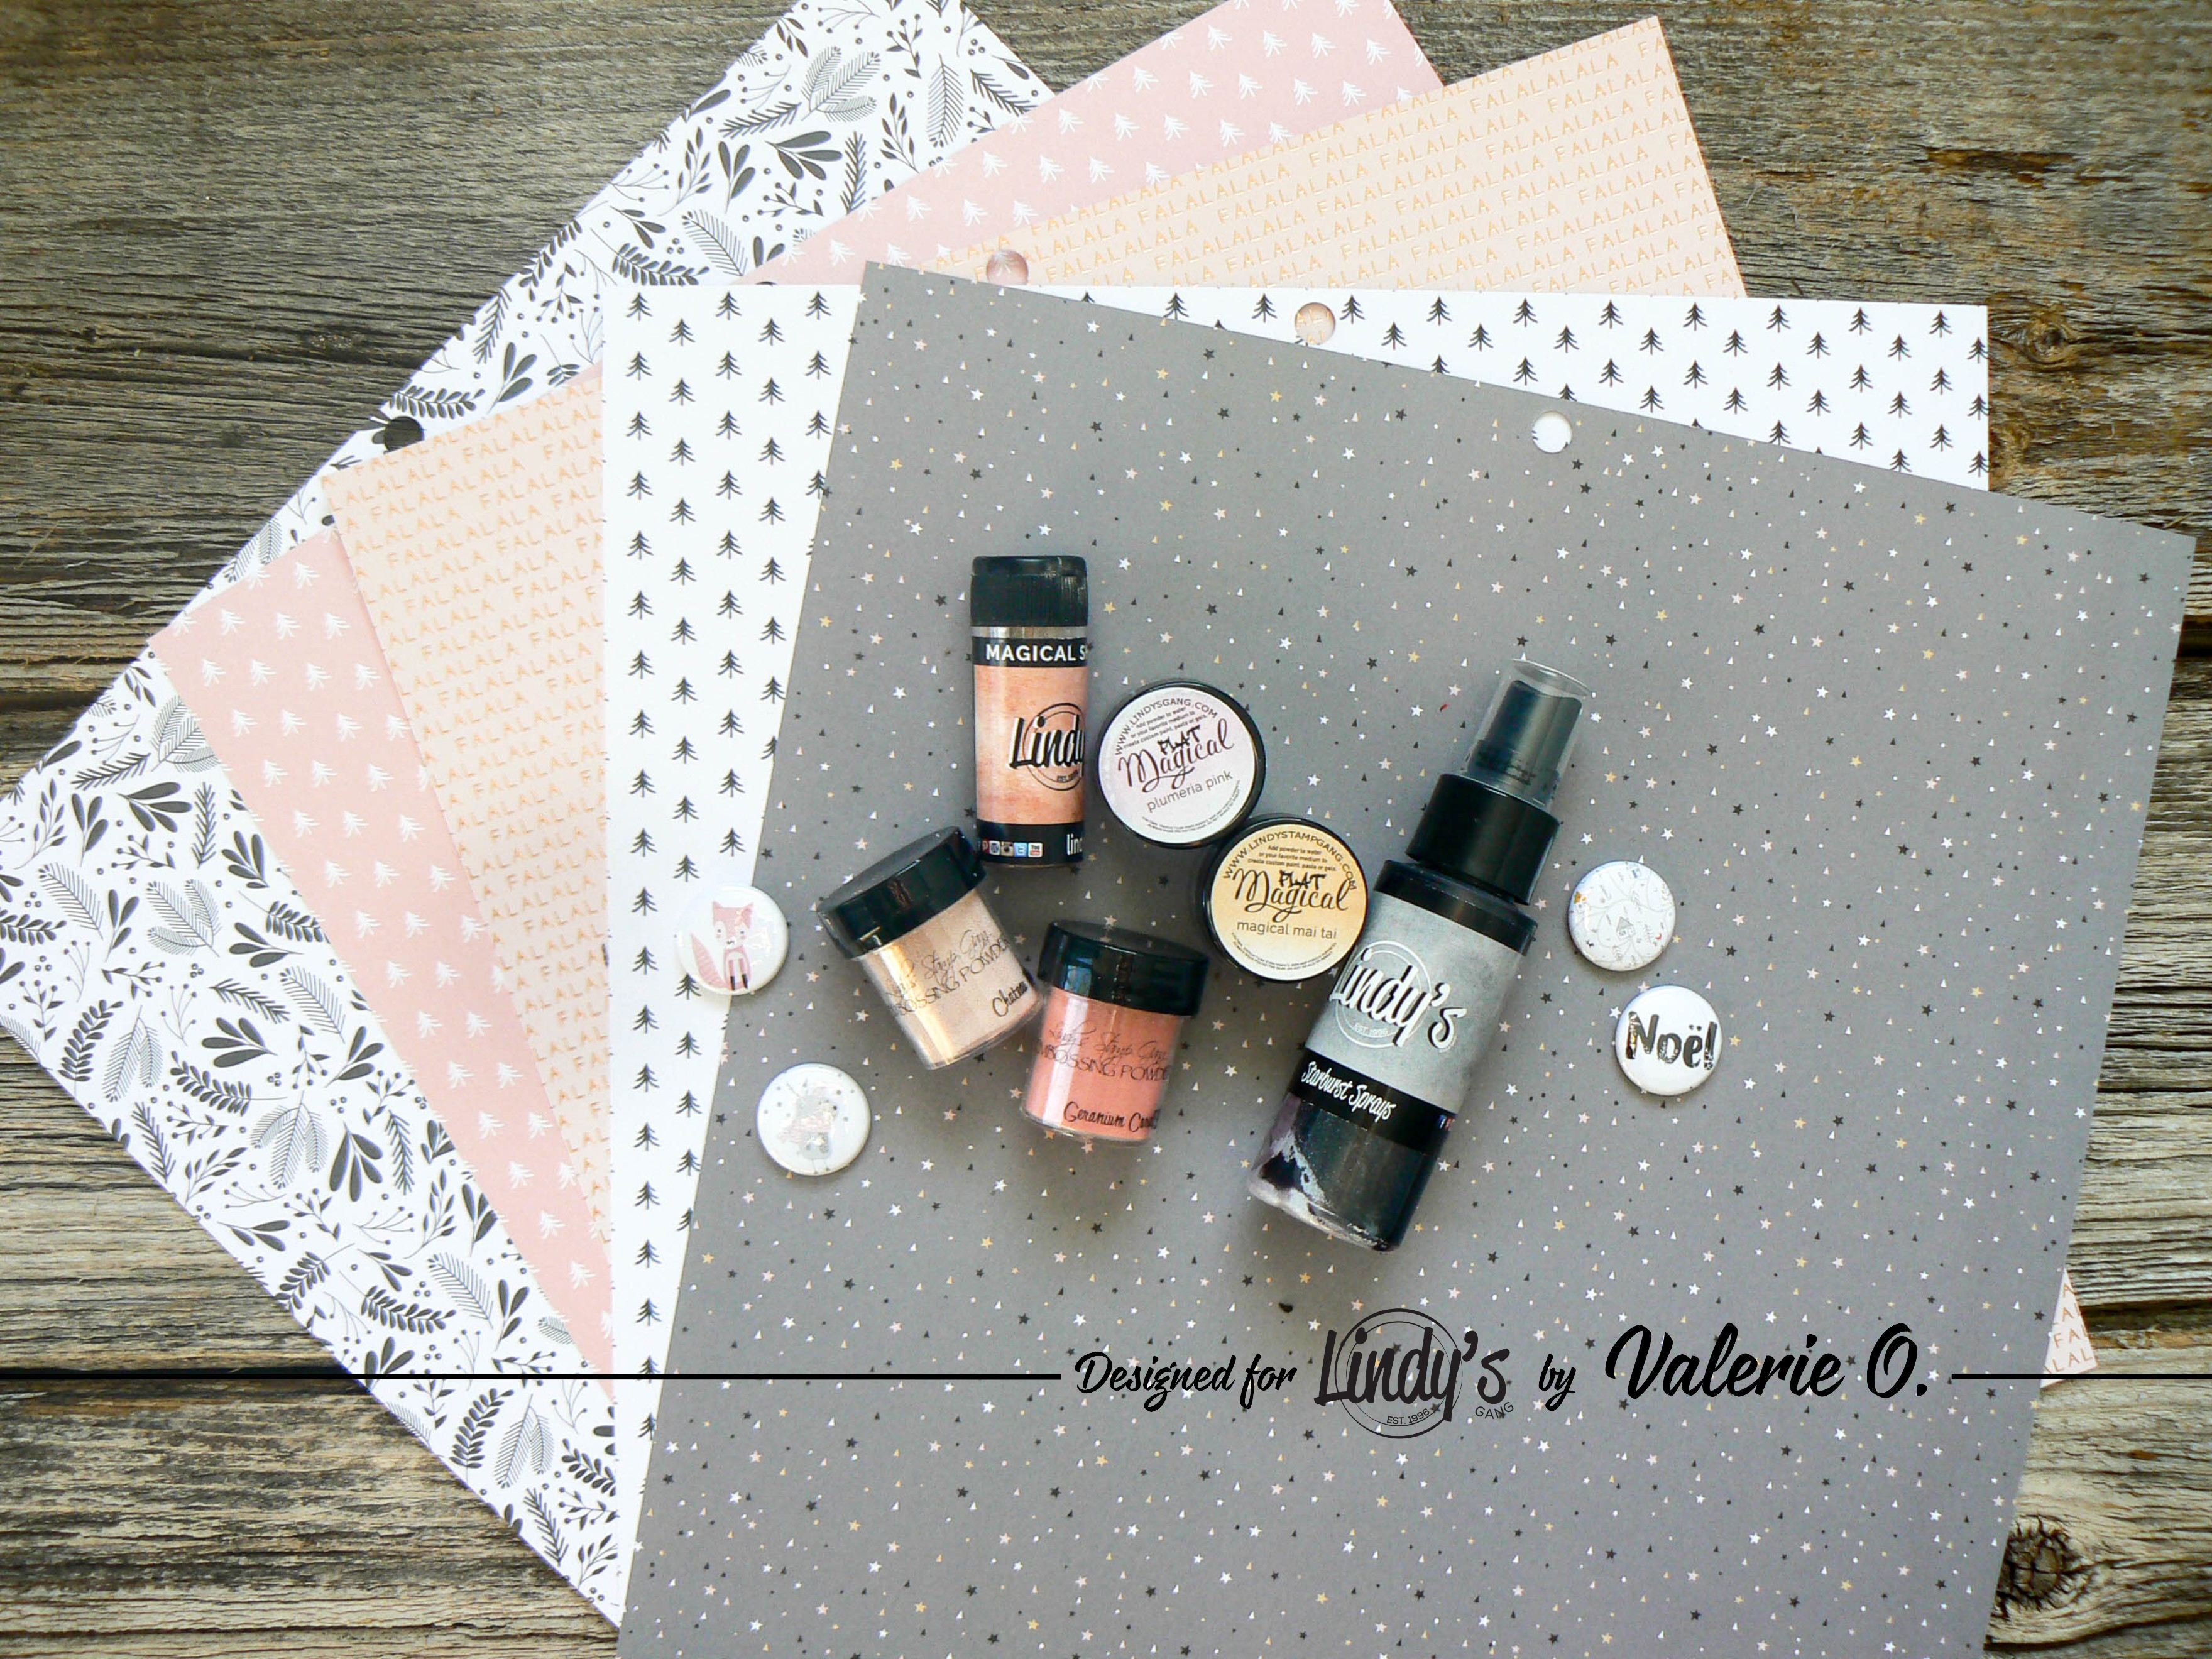
P1170445 

P1170447 

P1170450

Lindy’s Products

Other Products
  • Patterned paper, modeling paste, flair, jute
See you soon ladies!
Have a very nice day,
Lindys Blog Designer badge 2019 Valerie 2


vendredi 29 novembre 2019

November Challenge More Than Words

 Hi everyone!
Here is the November main challenge board from More Than Words.
 
Word Inspiration - SUCCESS
Creative Challenge - KEY
 
I created a layout with a picture of my mother. She has come a long way in her art: Photography. She works hard every day to finally make beautiful photo. The KEY of the SUCCESS is the work. I added some chipboard keys on my layout.
 
 Here's my project based on this month's challenge.


mercredi 6 novembre 2019

3 ways to use white embossing powder for beginners

Hi Lindy’s lovers!

Valerie here on the Lindy’s blog today and I’m back with a layered layout. I have used white embossing powder in 3 different ways and I have created a spectacular design. Very simple for beginners.

P1170403 

Step 1: As usual, I started with a thin coat of clear gesso over my patterned paper.
Step 2: I stamped with versamark here and there on my background. I used white embossing powder to create a pure white leaves on my paper. 

P1170390 

P1170391 

Step 3: I used 3 colors of spray to create a watercolor background to make the white foliage pop. (Technique 1)
TiffanyLou Blue, Tea Pot Purple and Banff Blue (squirt)

P1170392 

Step 4: Also, I stamped some flowers and leaves with versamark on watercolor paper. I embossed them in purely white. After that, I used the same colors of my background to color my flowers. 

P1170389 

You have a fabulous fuzzy cut. (Technique 2)

P1170394 

Step 5: I tried to use embossing powder on a paper flower. Don't heat too long in one place and it will work. (Technique 3)

P1170396 

Step 6: You just have to place all your elements and put cardboard under a few of the flowers to create a superposition effect.

P1170400 

P1170401 

P1170402

Lindy’s Products

Other Products
  • Patterned paper, clear gesso, stamps, versamark, flowers, die-cut
See you soon ladies!
Have a very nice day,
Lindys Blog Designer badge 2019 Valerie 2


mercredi 9 octobre 2019

Défi fond aquarelle galaxie sur Scrapauxpuces


Bon matin, voici mon défi pour le crop en ligne sur le forum de Scrapauxpuces.

J'ai utilisé les Lindy's Squirts pour créer mon fond :)


Materiels utilisés:

-Carton aquarelle Strathmore
-Lindy's squirt Hockey puck black, Polite people purple, banff blue
-Fleurs wild orchid craft
-Badge Cuts2luv

xx

mardi 1 octobre 2019

Beautiful Background in 5 steps with only 5 Products

Hi Lindy’s lovers!

Valerie here on the Lindy’s blog today and I’m back with a layout created quickly in 5 steps with 5 products (clear Gesso, spray inks, 3D gel medium, stencil, background stamp) it’s really very simple.

P1170328

Step 1: As usual, I started with a thin coat of clear gesso over my patterned paper.

P1170314

Step 2: I used 3D Gel medium over a stencil on the side of my paper. I used the heat gun to dry my surface before using Lindy’s spray inks.

P1170318


P1170320

Step 3: I used a brush to apply ink and I added a little bit of water for blending and a smooth effect.

P1170322

Step 4: I used a background stamp and a brush to create a special stamped effect on my background.

P1170323 

P1170332

Step 5: I glued my photo and embellishments on my layout.

P1170327

This is my finished layout.

P1170328 

P1170329 

P1170330

Lindy’s Products

Other Products
  • Patterned paper, clear gesso, 3D gel, stencil, die-cuts and stickers, flair, flowers
See you soon ladies!
Have a very nice day,
Lindys Blog Designer badge 2019 Valerie 2


dimanche 29 septembre 2019

September challenge on More Than Words

Hi everyone!

Long time no see!
Here is my latest layout inspired by the September More Than Words Challenge.


Word Inspiration - ORIGINS
Creative Challenge - YOUR COUNTRY COLOURS
 
My ORIGIN is Canada. My boy proudly wears his hat with the maple leaf, that is the canadian flag symbol, during our trip to New-Brunswich this summer.
I decided to interpret this challenge using the COLOURS of my country's flag (White and red) 
Also, I used the Lindy's squirt whose color is "Oh Canada Crimson"


Materials used:


See you soon ladies xx
Val


mardi 3 septembre 2019

Summer Tone Watercolor Layout for Beginners

Hi Lindy’s lovers!

Valerie here and I’m back today with a really easy summer tone scrapbook layout perfect for beginners. I created a step-by-step for you to demonstrate how to use different colors on a watercolor background.

P1170258

I used 3 colors (South Shore Sand, C’est la vie Cerise, Kissin’ Kenickie Coral)

P1170243

As usual, I started with a thin coat of clear gesso over my patterned paper. Now, I can use my sprays – spray on one color at time.
It’s very important to let each color dry or use the heat gun to dry the surface after each color.

P1170245

I use a paper towel to sponge the excess liquid in between each color.

P1170246 

P1170248

I created some splashes with a brush to create a water drop effect.

P1170249 

P1170250

When your background is done, you can continue your layout with the addition of some textures. I used a piece of cheesecloth to add a beautifully fluffy texture.

P1170252

After that, I mixed art stones and 3D matte gel and I applied the mixture on my layout.

P1170253

The 3D gel will be clear once dry.

P1170256

This is my finished layout.

P1170258

Here are some close-ups of my finished page.

P1170260 

P1170261 

P1170266

Lindy’s Products

Other Products
  • Patterned paper, clear gesso, 3D gel, art stones, Cuts to love, flowers
See you soon ladies!
Have a very nice day,
Lindys Blog Designer badge 2019 Valerie 2


Background collage technique for Lindy's stamp gang

Hi Lindy’s lovers!

Valerie here and I’m back today with a special background collage technique, it’s very simple to create and adds lots of wonderful colors and textures on your background. You can use magazine pages or books, rice papers or any thin papers.

P1170299 (2)

First of all, choose your collage papers and 3-4 sprays which fit well with your color palette.

P1170282 (2)

As usual, I started with a thin coat of Clear Gesso over my paper.
After that, I used a stencil and Modeling Paste to create texture on my background.

P1170285 (2)

Then, I ripped pieces from my collage papers and I glued here and there on my background with 3d Gel Medium.

P1170286 (2) 

P1170287 (2)

When it’s dry, I covered the pieces with another coat of Clear Gesso.  I love the effect of the Moonshadow spray to create a dark effect. I used 5 colors on this watercolor background: Pegleg Pete Purple, Moonlit Mulberry, Phantom Fuchsia, Blazing Black, Witch’s Potion Purple.

P1170304 (2)

I added my sprays using brush and I added one color at a time, then I added water to create paler colors.

P1170288 (2) 

P1170289 (2)

Don’t forget to let your background dry after each color. You can use a heat gun too to hurry things up.

P1170292 (2) 

P1170293 (2)

Add photos and embellishments and my layout is finished.

P1170299 (2) 

P1170302 (2)

Lindy’s Products

Other Products
  • Maremi’s Small Art paper, stencil, die-cuts and phrase stickers, clear gesso, 3D gel
See you soon ladies!
Have a very nice day,
Lindys Blog Designer badge 2019 Valerie 2


dimanche 21 juillet 2019

Easy Layout for Beginners using Lindy’s Magical Shakers

Hi Lindy’s lovers!

Valerie here and I’m back today with a fabulous layout created with just 2 shakers! It’s a very very easy background. Perfect for the beginners. I used a watercolor paper for the best result because I used a lot of water with this technique.

P1170234 

I’m using Vicki Boutin watercolor card is very white compared to some of the other brands, so the colors really POP. First, I used modeling paste over a stencil.

P1170211 

Once dried, I sprinkled some Guten Tag Teal and Cathedral Pines Green over the page, but just over my modeling paste.

P1170212

Then, I added a lot of water with a sprayer to activate the powder.

P1170214 

P1170215 

Sponge the excess with a towel to have a clean surface at the center of the layout.

P1170216 

P1170217 

When it’s dry, use the shaker to create inks in a palette by mixing a little powder with water and use it to add some drops and splatters to the page with a brush.

P1170221

You can add 1-2 drips too.

P1170224

I used a white doily and some pieces of cheese cloth to put behind my photo.

P1170225

Then, I added some flowers, flair, and sequins to create a fabulous layout.

P1170236

Here are some close-ups of my finished layout.

P1170237 

P1170238 

P1170230

Lindy’s Products

See you soon ladies!
Have a very nice day,
Lindys Blog Designer badge 2019 Valerie 2