mardi 29 janvier 2019

More than words January Challenge

Hi everyone!
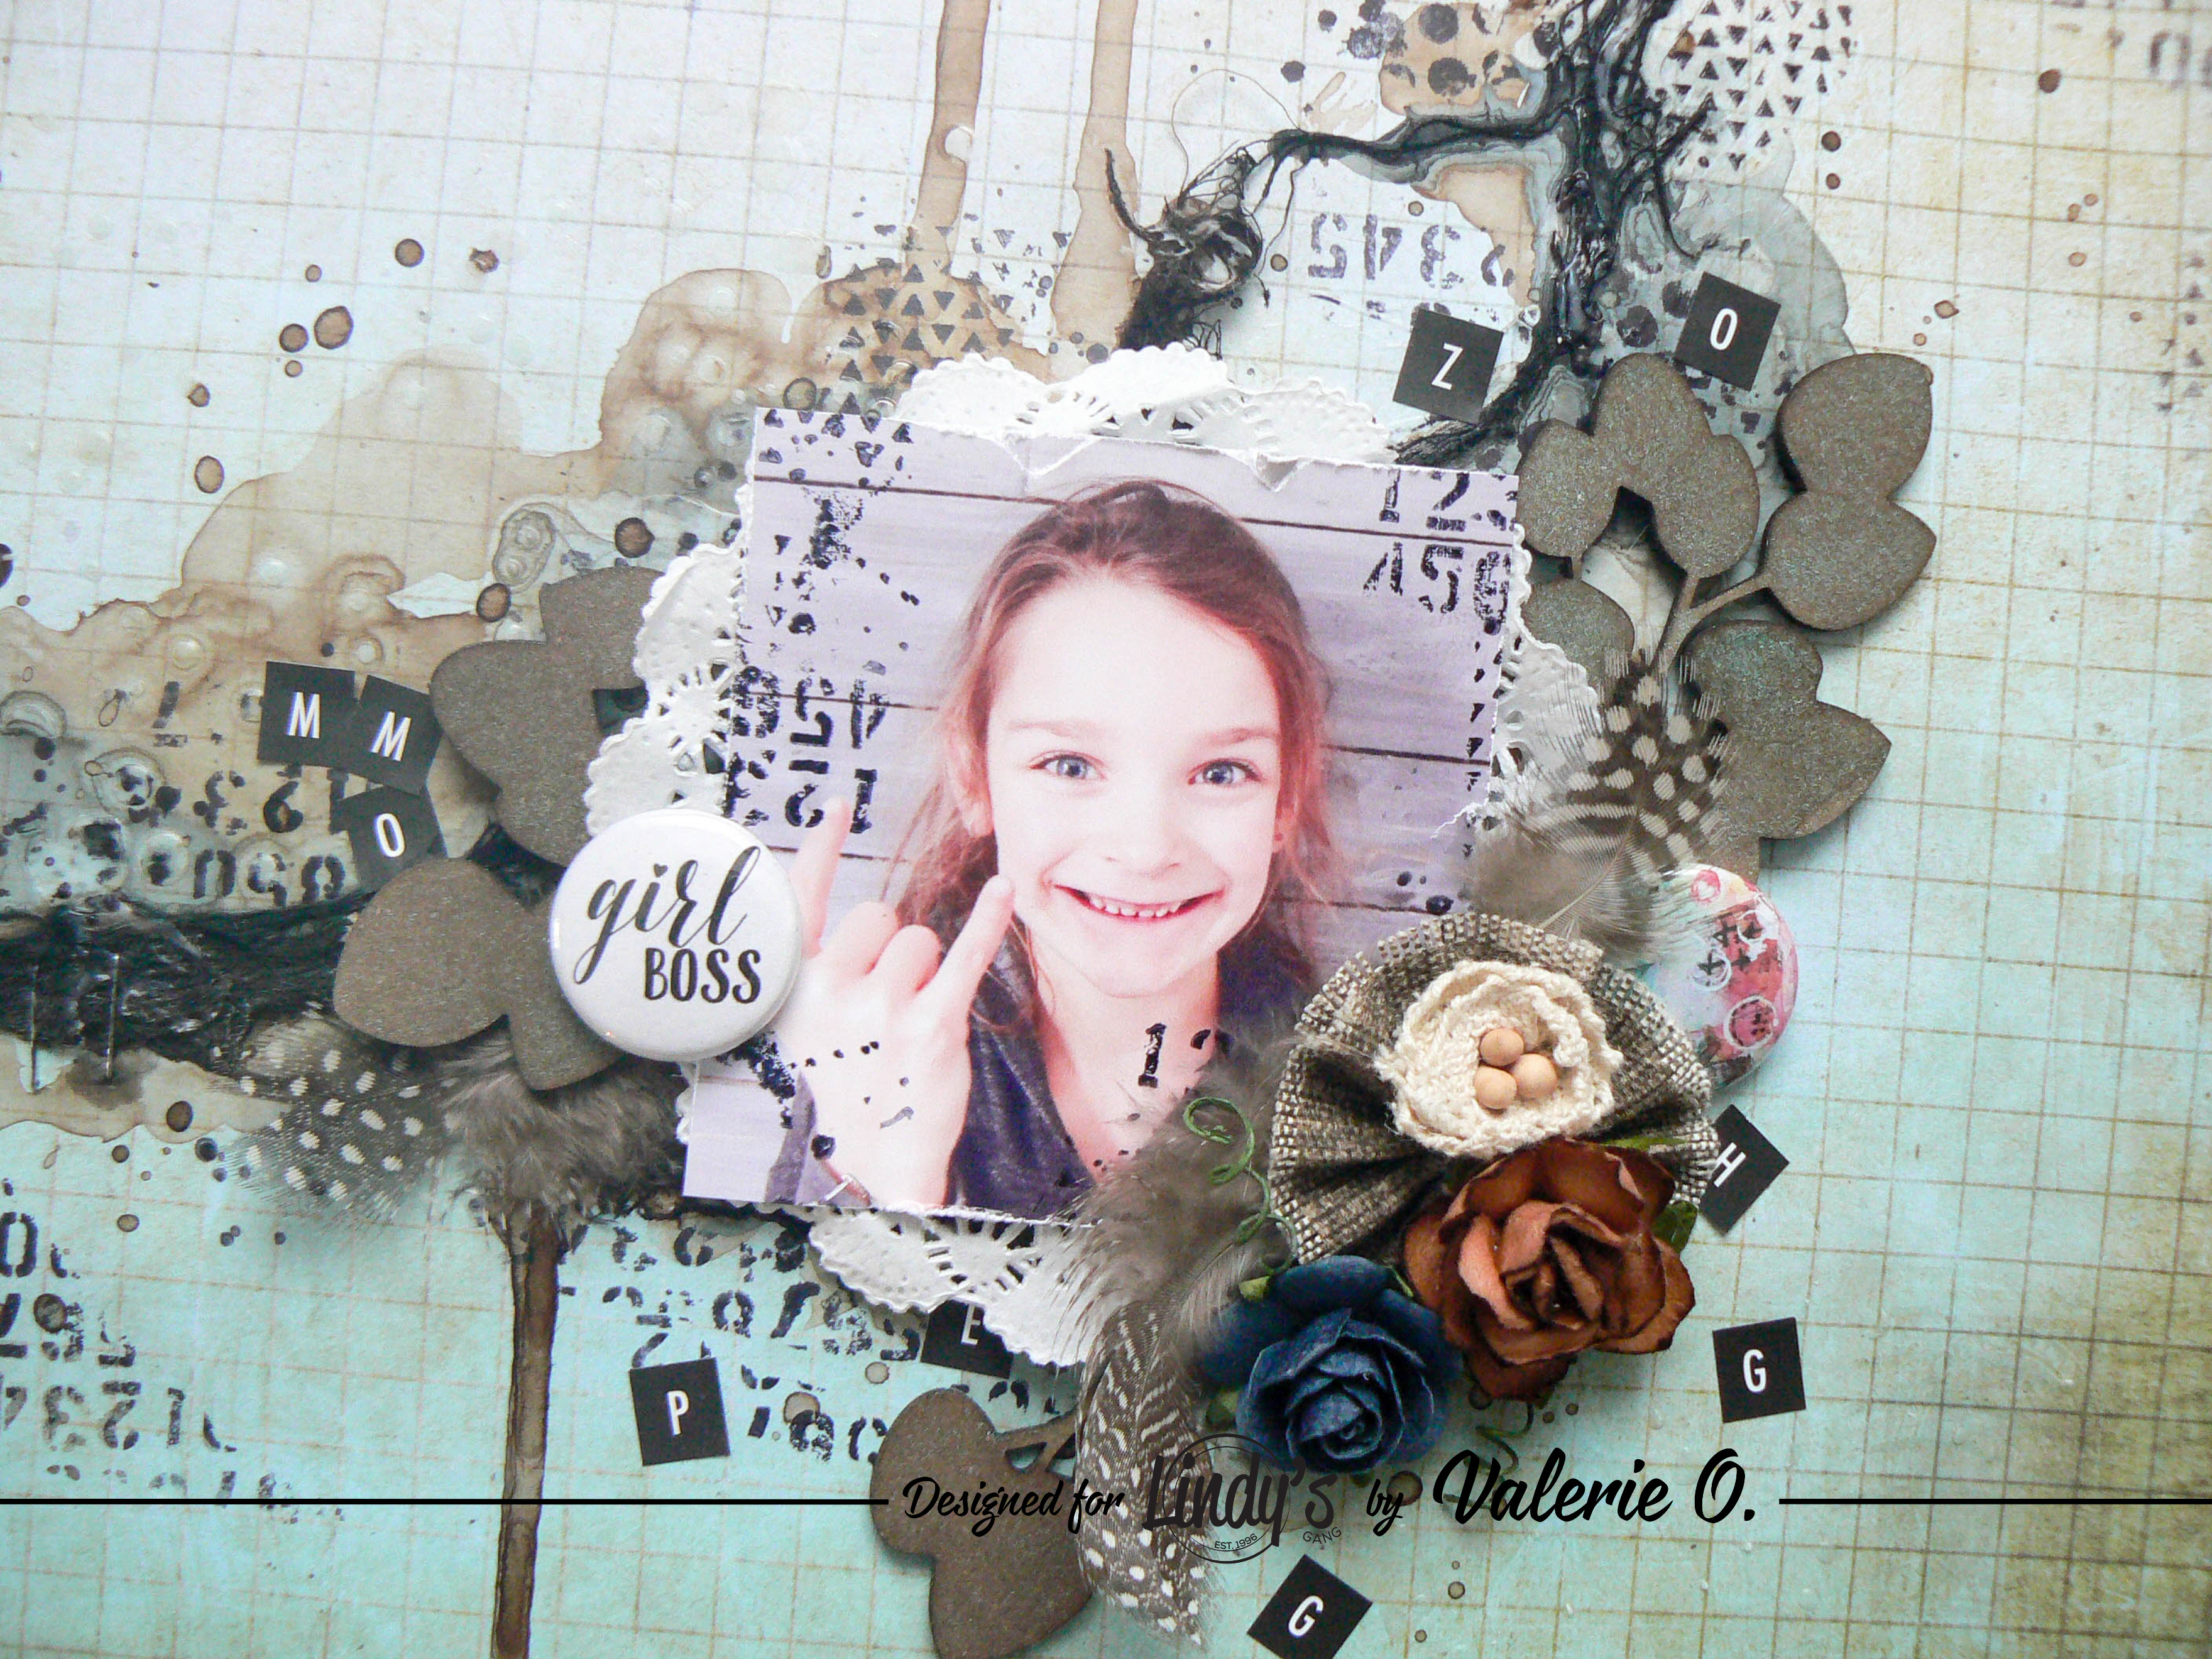
This year I have very important life goals. I had a very difficult year in 2018 and I would like not to relive that. I decided to create an art journal for the January challenge on More Than Words.

Join the challenge here: http://morethanwordschallenge.blogspot.ca

Word Inspiration - GOALS
Creative Challenge - JOURNALING

I write a quotes "I don't focus on what I'm up against. I focus on my GOALS and I try to ignore the rest" in my center mandala drawing. I used this quote as JOURNALING and I add a sticker phrase too.


Materials used:

-Lindy's stamp stamp gang Squirt oh canada crimson
-Lindy's stamp stamp gang Squirt emerald eh?!
-Lindy's stamp stamp gang Squirt banff blue
-Lindy's stamp gang spray marigold yellow orange
-Edith cloutier découpes et autocollants 


vendredi 25 janvier 2019

Dusty Attic January Moodboard

Hello everyone!
Today I would like to share with you a layout inspired by the January Moodboard.


I have primed my paper with clear gesso before added textures with the stencil "Fishnet 2" and spray ink. I embossed in white the chipboard "I'm on beach time" from the "Mini Captions #12". Just 1 layer to keep a rustic look as if there was sand on it.


 I added a mini anchor of the set "Mini anchors". I only have embossed in metallic grey embossing powder that I hang on twine.


 I added some plain chipboards of "Creative layers #1" to complete my design. I love the plain look with a beach layout.


Materials used:
-Dusty Attic "Fishnet 2" stencil
-Dusty Attic "Mini Captions #12"
-Dusty Attic "Mini anchors"
-Dusty Attic "Creative layers #1"
-Dusty Attic flowers
-Lindy's stamp gang spray and embossing powder
-Cuts2luv flairs
-Wild Orchid crafts flowers


mercredi 23 janvier 2019

Layout with Lindy's Moon Shadow spray ink

Hi Lindy’s lovers,

I’m back with a special layout. I used for the first time Moon Shadow Spray. For those who know me, I rarely use brown on my creations. I think that it is important to use it very slowly and in small doses. So, I decided to start the year with this personal challenge. Besides, my page goes perfectly with the color combo of the month. Let yourself be charmed by the beautiful colors of Moon Shadow Spray. I used Tawny Turquoise Vintage spray to create my background.

P1160855

Basic Process

  1. Prime your paper with Clear Gesso
  2. Use 3d Gel and stencil to create a beautiful smooth texture
  3. Rip pieces of cheese cloths and glue it on your background with staples and 3d gel
  4. Once dried, apply the Moon shadow ink with a brush on the cheese cloth
  5. Add the black one here and there to create a wonderful wave
  6. Stamp some background stamps around the cheese cloth and on the side of the layout
  7. Spray the chipboard foliage with Tawny Turquoise mist
  8. Glue mini letter stickers, your photo and embellishments
I’ve created a step-by-step video so you can watch the entire process


Here are some close-ups of my finished page

P1160856 

P1160857 

P1160859 

P1160860 

P1160863

Lindy’s Products

Others
  • Cuts2luv flair, Dusty Attic Chipboard, cheese cloths, background stamps, flowers
See you soon ladies!
Have a very nice day,
Lindys Blog Designer badge 2019 Valerie 2


lundi 14 janvier 2019

"Beautiful xoxoxo" Layout for Dusty Attic

Hi everyone!

First of all, I would like to wish you a wonderful year!! I'm so excited to be a part of this fabulous team another year :) Thank you Jennifer and Jen! 

Today, I'm so happy to share with you my first project of the year with Dusty Attic. I had fun with my new pictures taken during the holiday break.
So, I used the holiday chipboards on my layout.  


I used "Scribble Christmas Tree" that I just sprayed with Lindy's spray ink. I altered my "Mini Christmas Trees" with a little bit of white gesso to create a snow effect.


For my title, I cut the word life and is to just keep the word beautiful of the "Mini Captions #3" chipboard. I created an ombre effect on my title by adding white gesso on the top of the letters and adding spray ink.


Materials used:
-Dusty Attic "Mini Captions #3"
 -Lindy's stamp gang spray
-Cuts2luv flair


vendredi 4 janvier 2019

Step-by-step Magical Snowing Background for Lindy's stamp gang

Hi Lindy’s lovers,
I'm back with another turquoise layout! It's not my fault. haha I love turquoise and Lindy's offers a nice variety of this color palette. I created a magical snowing background using my own style and I used white embossing powder to create a fabulous effect. Let me show you the steps.

P1160827
P1160845

Basic Process

  1. Use a watercolor paper
  2. Choose 3-4 sprays that fit well together
  3. Prepare a pot of clean water
  4. Choose 3-4 stamps (snowflakes, doillies, little dots, little stars)
  5. Visualize where you will put your ink and stamp with versamark
  6. Use Lindy's Purely white embossing powder on your stamping and heat
  7. Now, you are ready to put your colors
  8. Choose a medium round brush. It's easier
  9. At the beginning, use the palest tone and add water to blend the color and dry
  10. Add the second one on the first color and dry. Do the same things with every colors.
  11. Avoid putting it everywhere
P1160831 

I’ve created a step-by-step video so you can watch the entire process


Here are some close-ups of my finished project

P1160840 

P1160836 

P1160842 

P1160839 

P1160838

Lindy’s Products

Others
  • Cuts2luv flair, Dusty Attic chipboard
See you soon ladies! Have a very nice day,
Lindys Blog Designer badge 2019 Valerie 2